
IKEA HACK- PLAY KITCHEN AND REFRIGERATOR
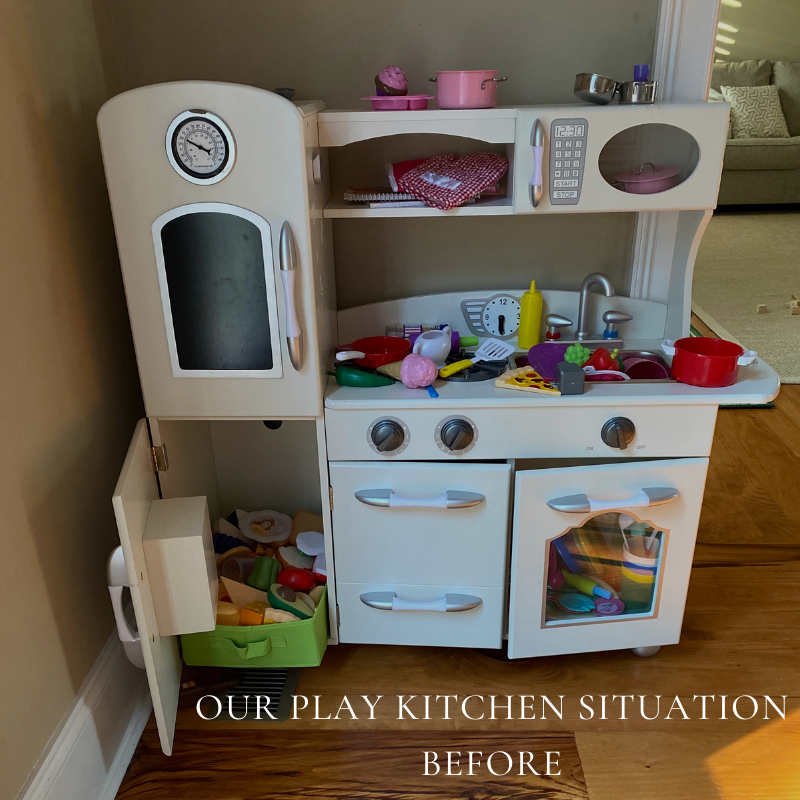
My daughter loves playing with her play kitchen and accessories. It will keep her busy and her imagination running wild for hours, which makes my mommy heart so happy. But the Mrs. B. Organized side of me dreaded the mess and play food items everywhere. We had a second-hand KidKraft play kitchen (linked here), which I loved and so did my daughter, but it did not have enough storage for all of the accessories.
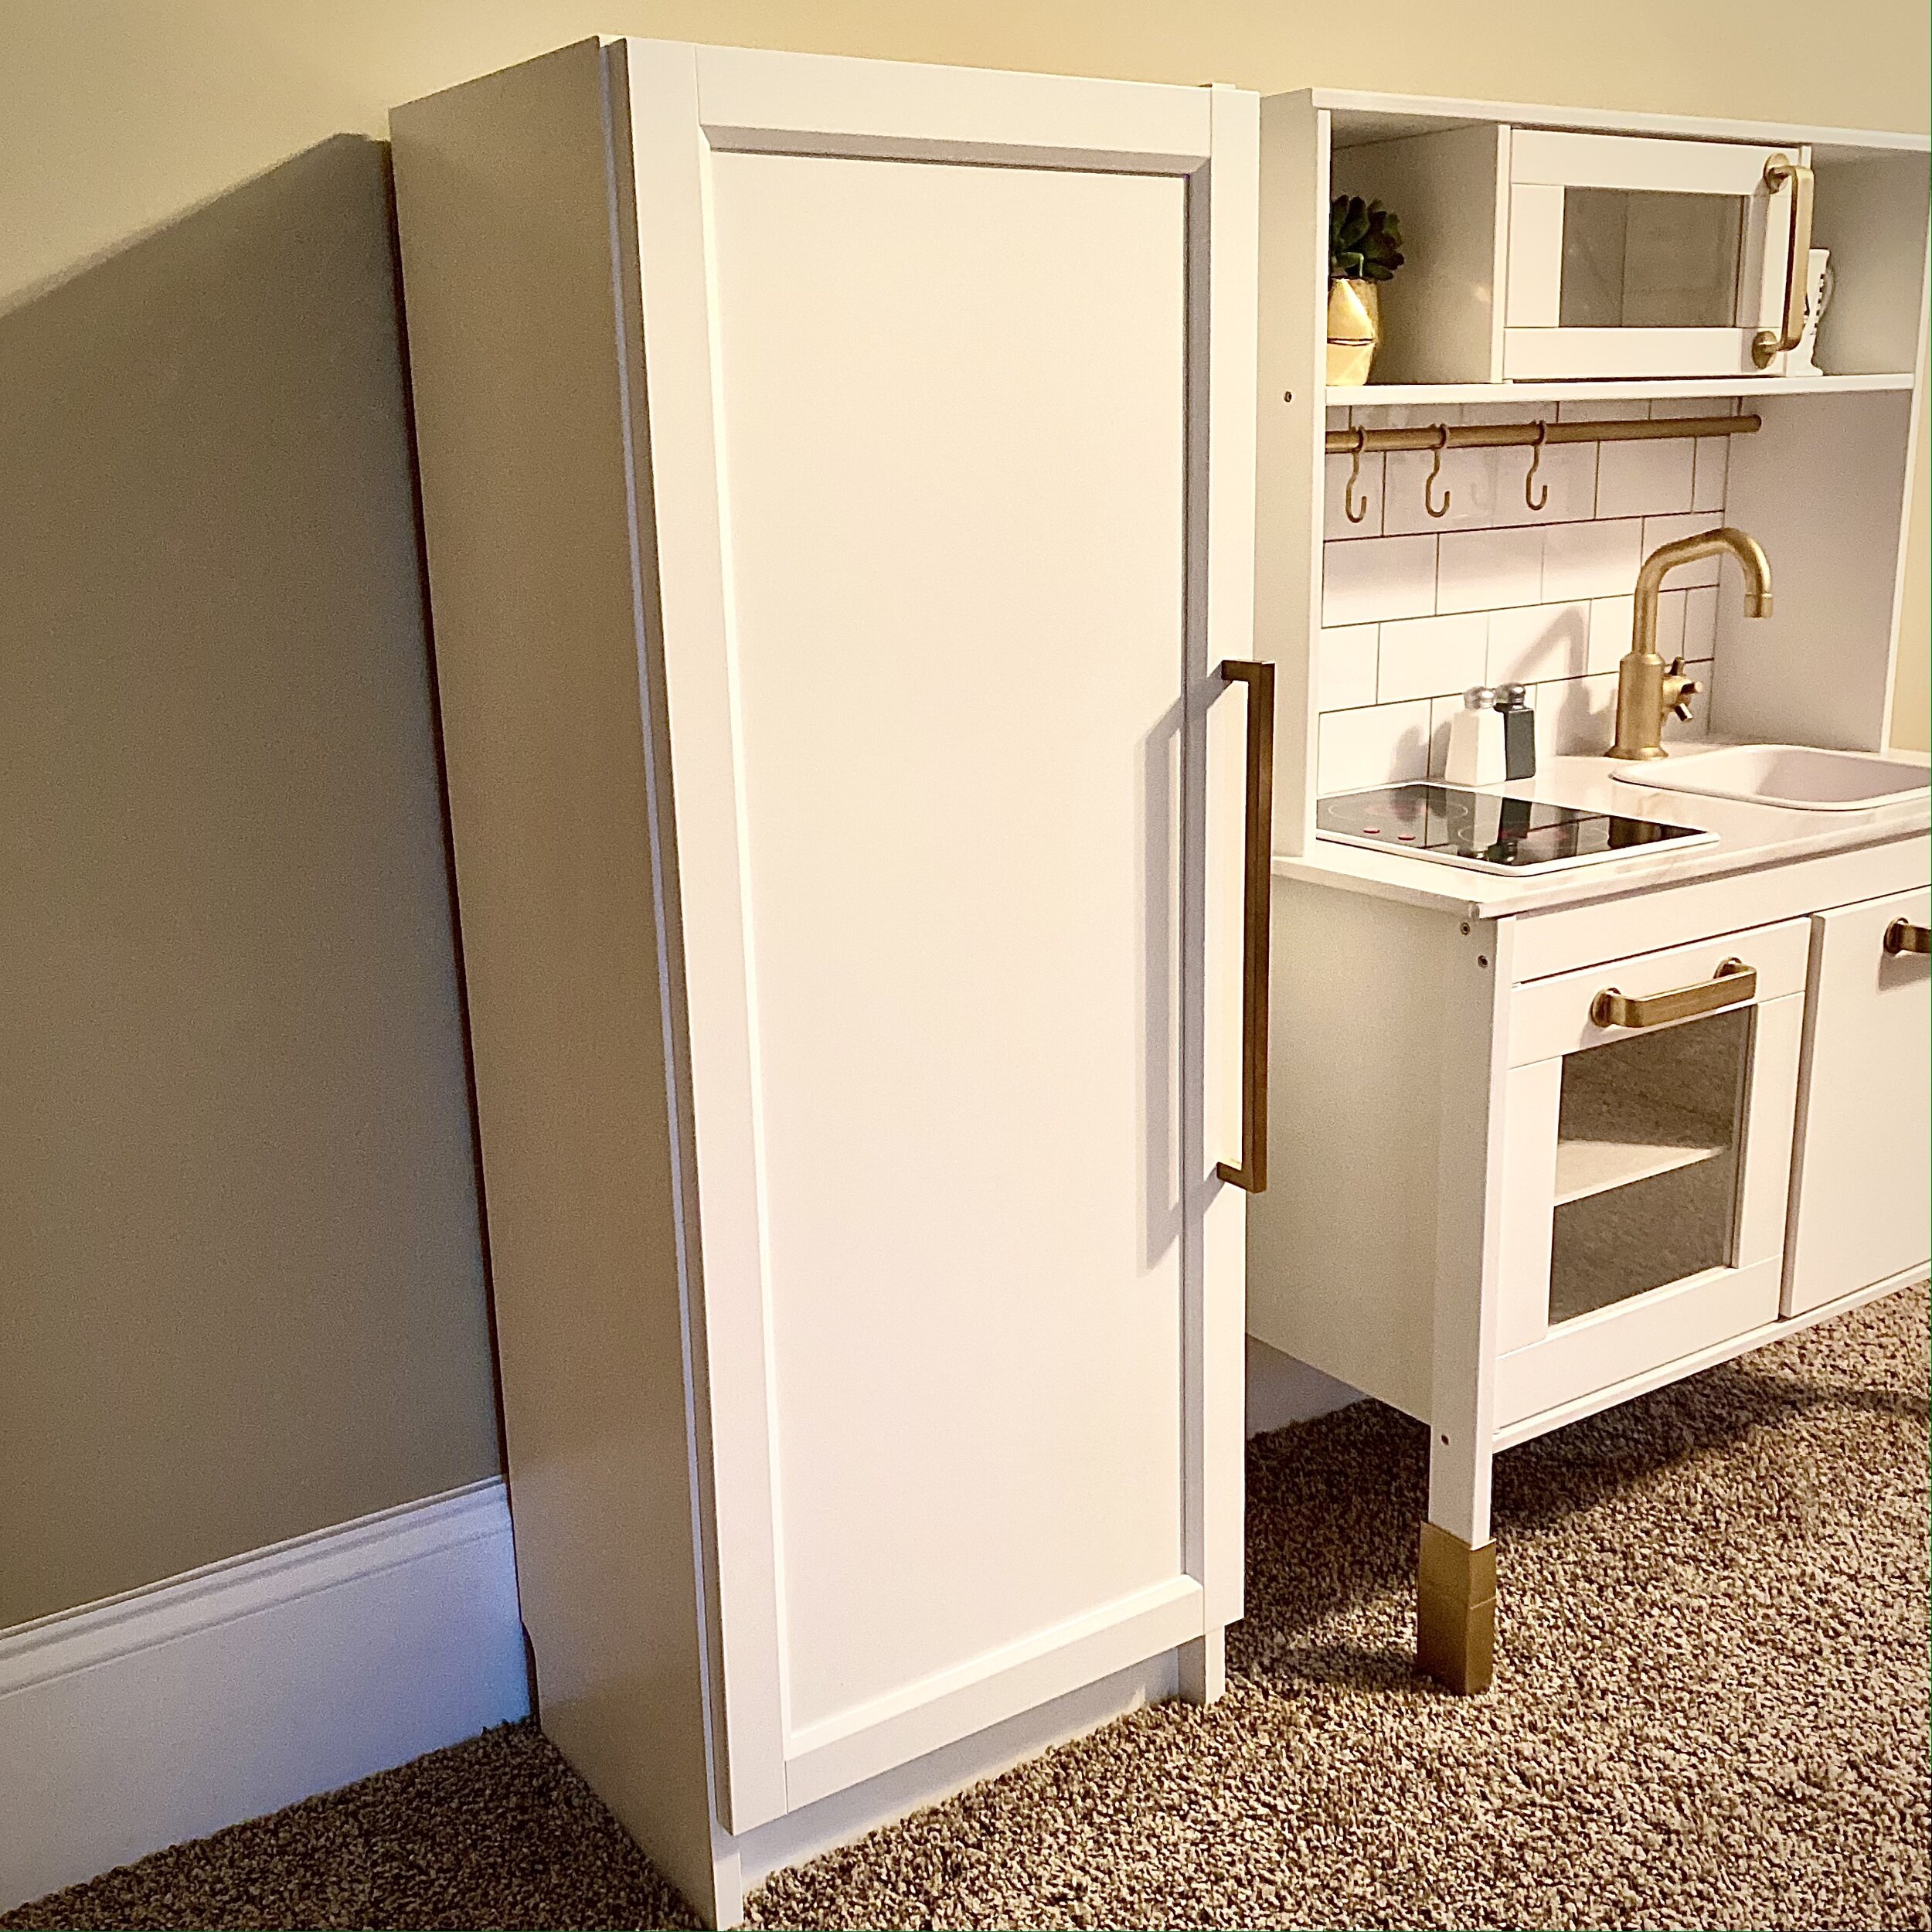
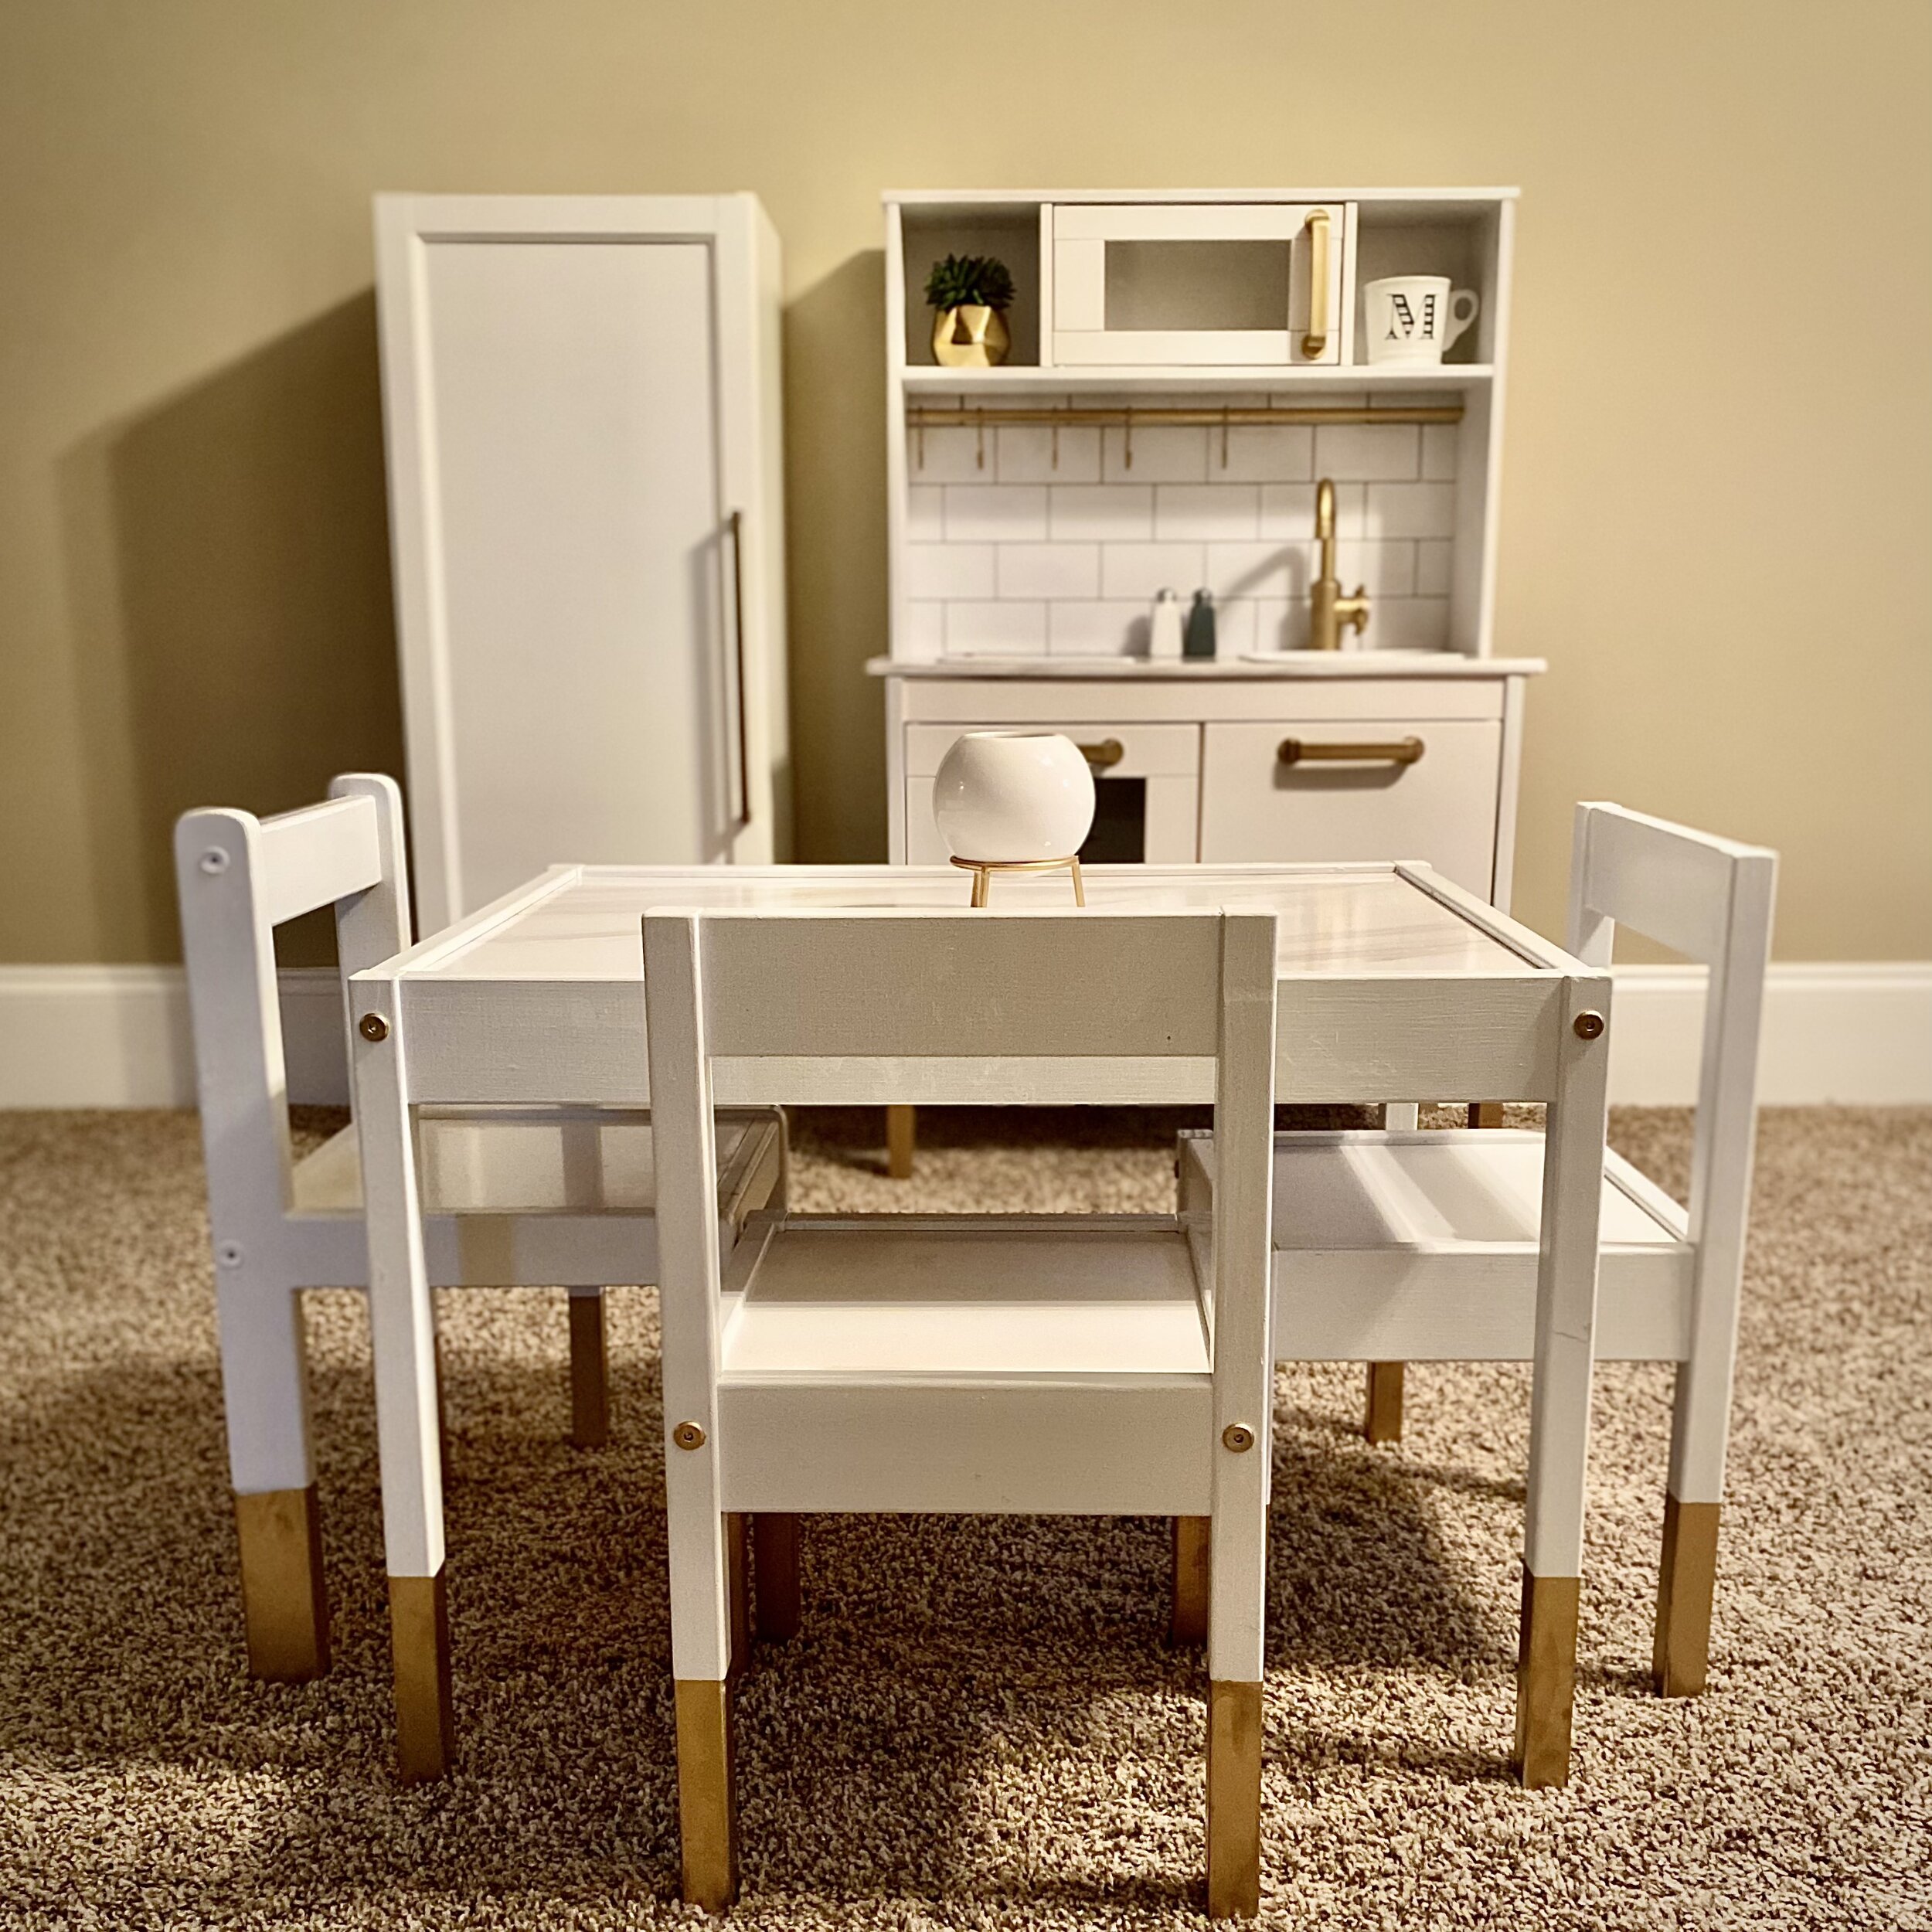
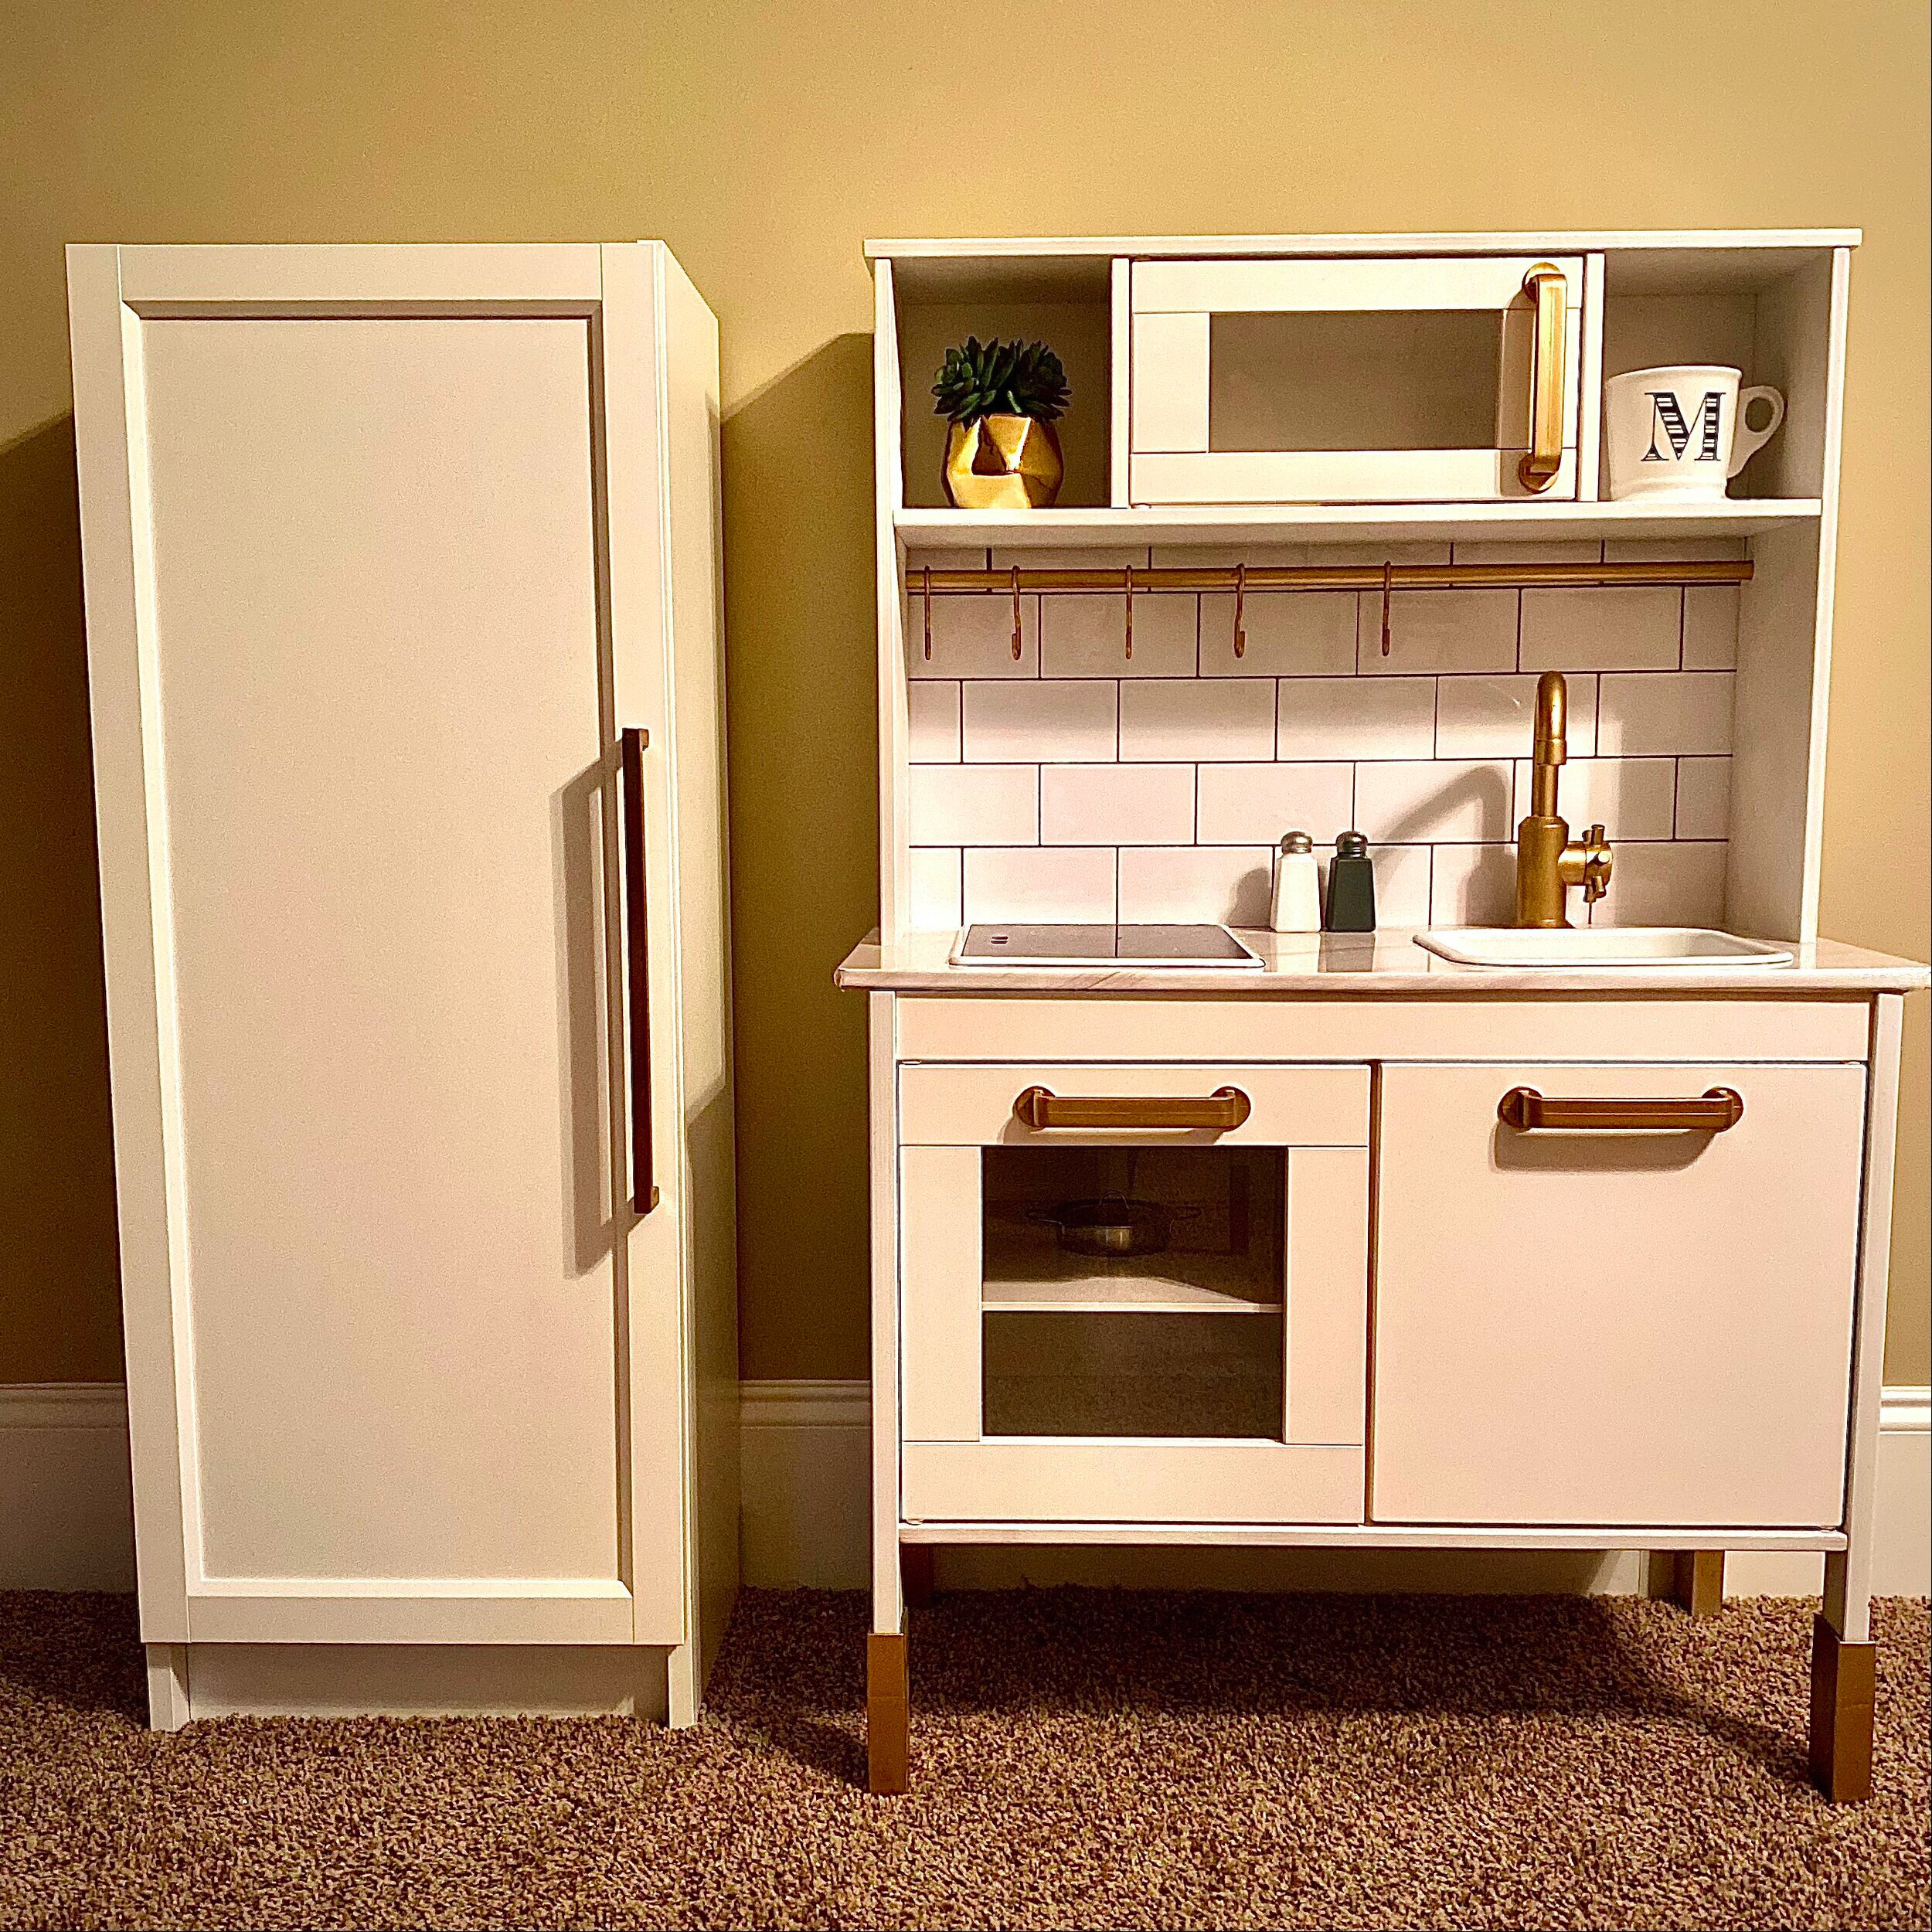
I have been on a IKEA kick lately and I had a quite an idea. I absolutely adore the play kitchens from Pottery Barn, but I do not love the price tag ($299 per piece). But one of the key aspects to those kitchens is the separate pieces that create a little more space for storage and division of kitchen items. Soooo… my organization brain had an idea to jazz up the IKEA DUKTIG play kitchen and add a refrigerator for storage. You can customize the DUKTIG kitchen in several ways and converting the BILLY bookcase to a refrigerator can be as simple as adding a cabinet pull! I have included the materials and process I used below.
Here are the materials I used (with product links):
IKEA DUKTIG play kitchen- (linked here)
Rustoleum metallic spray paint, gold- (linked here)
Rustoleum gloss spray paint, white- (linked here)
Marble contact paper (the exact one I used is no longer available)- (similar linked here)
Rustoleum flat spray paint, white- (linked here)
Peel and stick subway tile- (linked here) (similar linked here)
IKEA BILLY bookcase- (linked here)
IKEA OXBERG door- (linked here)
Brushed brass cabinet pulls (linked here)
IKEA DUKTIG play kitchen:
Before assembly, spray paint the hardware, the handles, the hooks and pole, and the sink faucet. I sprayed each of them gold to match the IKEA LÄTT table I did earlier.
Paint the wood colored pieces on the sides and shelves of the kitchen to match the rest of the kitchen pieces that were already white (I used Rustoleum flat white spray paint because I had some available and it was easy, but it does not match the white perfectly. If I did it again, I would paint the white pieces too so that everything was the exact same color. But honestly, it is only a slight difference).
Spray paint the sink with glossy white to make it look more like a farmhouse sink.
Apply marble contact paper for the countertop. Use a flat, dull object, like an old credit card, to smooth out the bubbles. Cut out the spaces for the sink and the stove top, leaving at least an inch to tuck the contact paper under the edges.
Measure the press on tiles to create a backsplash on poster board. First, cut the poster board to fit the space, leaving 1/4 inch extra on each side to nail the poster board to the wood pieces. Use a level to make sure the tiles are straight. Secure the poster board to the back of the kitchen. I used tiny nails but you could also use an adhesive.
Assemble the DUKTIG play kitchen according to the IKEA instructions, including anchoring the kitchen to the wall.
IKEA BILLY Bookcase and IKEA OXBERG Door (aka the refrigerator):
Measure the cabinet pull and drill holes in the door at the desired height. Attach the handle with a screwdriver.
Assemble the BILLY bookcase according to the IKEA instructions.
Set the shelves at desired height.
Attach the OXBERG door according to the IKEA instructions.
Use wood filler to fill the extra holes inside the bookcase (for aesthetic purposes only). If you want to shift the shelves up and down, skip this step.
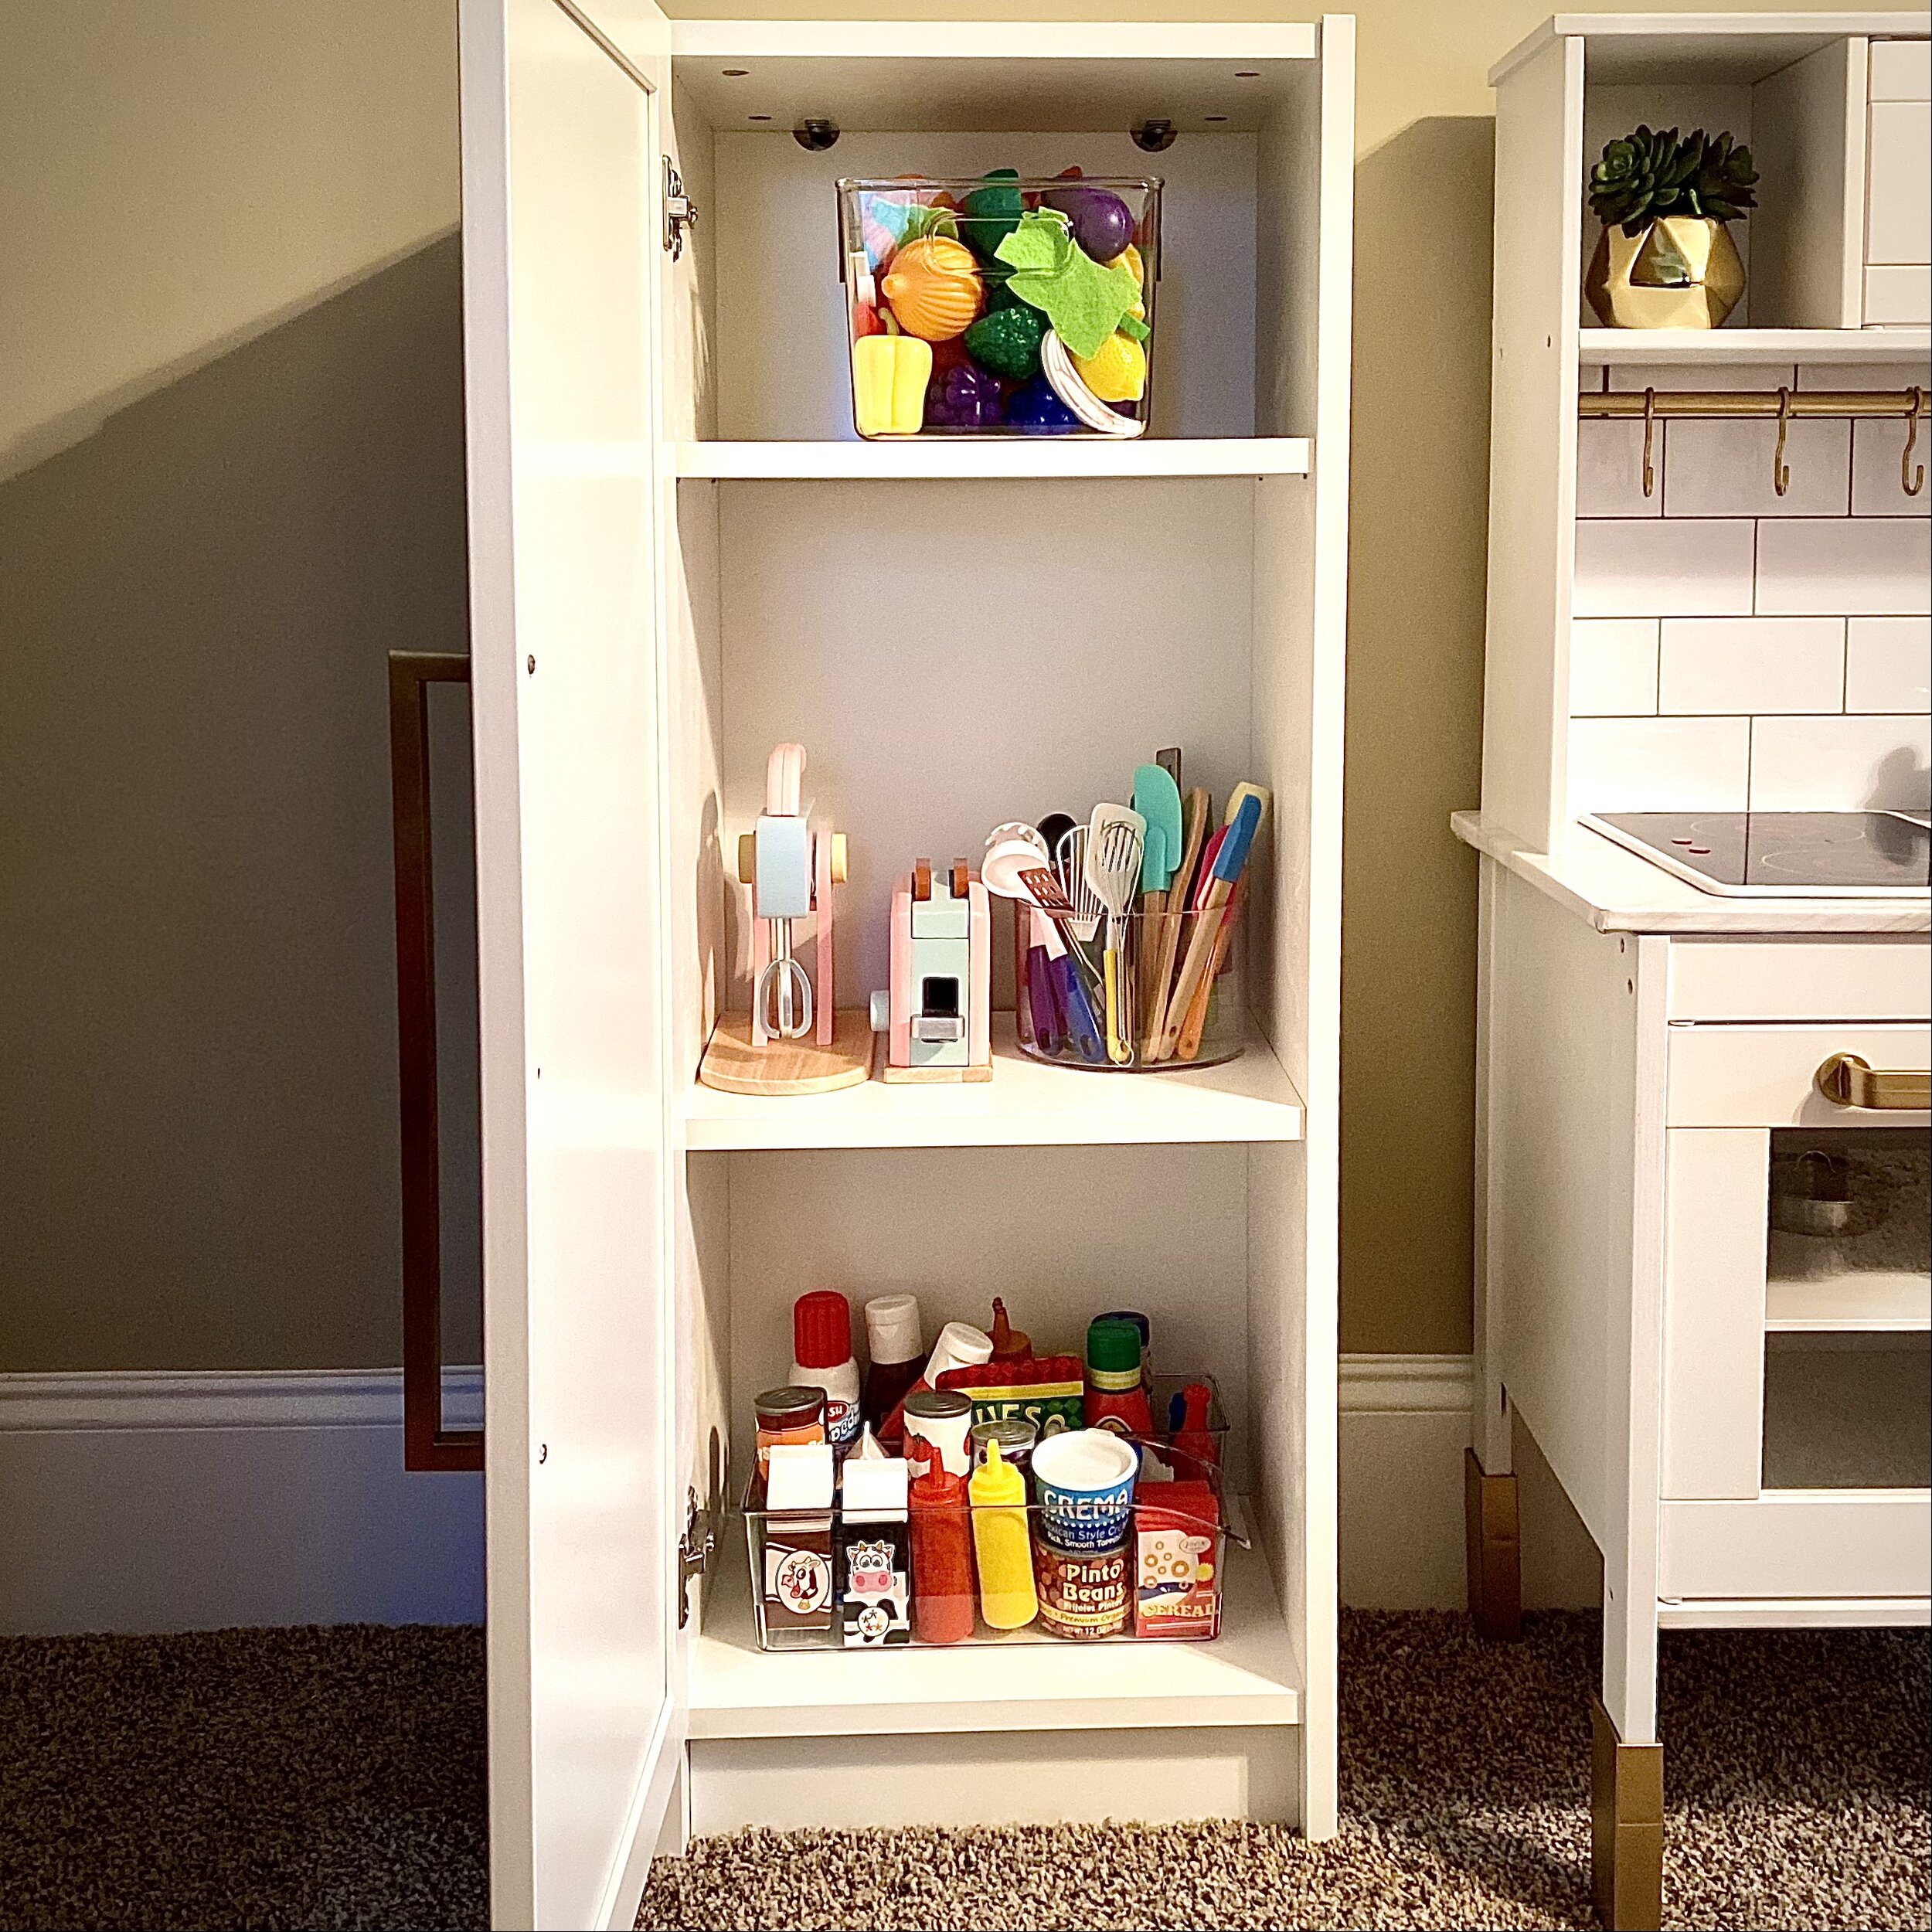
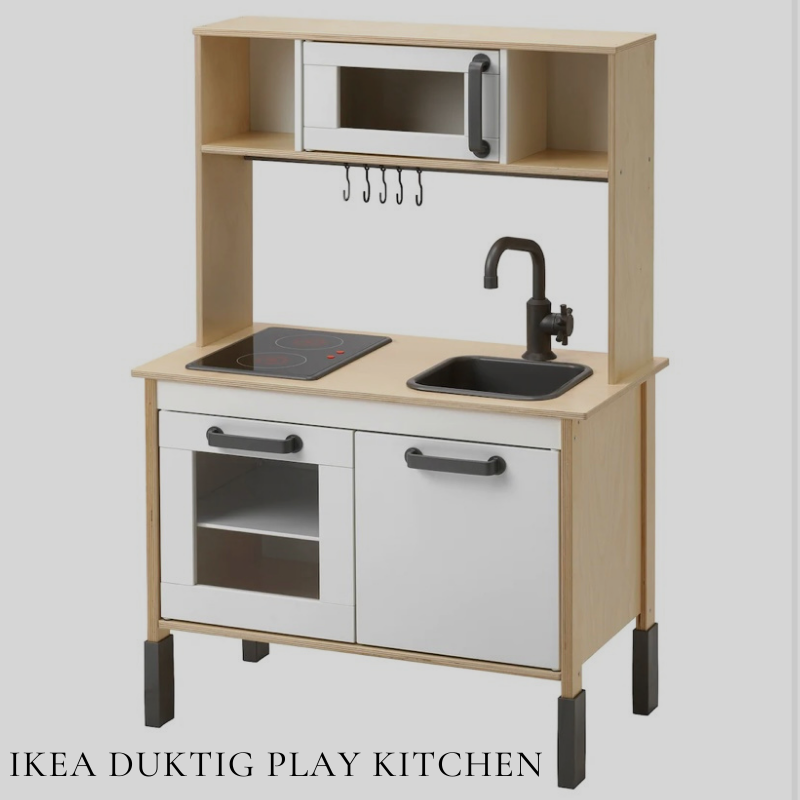
I found clear plastic storage bins for $4.99-$7.99 at TJ Maxx to hold all of the food items. For reference, I included pictures below of our kitchen situation before and what the IKEA DUKTIG looks like before an upgrade!
VOILA! She loves it! And so does Mrs. B!
Note: Please always remember to anchor furnishings to the wall to avoid injury from furniture tipping over. The IKEA BILLY bookcase and the IKEA DUKTIG both come with anchor kits.
Also note: As an Amazon Associate, I may earn from qualifying purchases on Amazon.com.