
ORC - EIGHT WEEK CHALLENGE

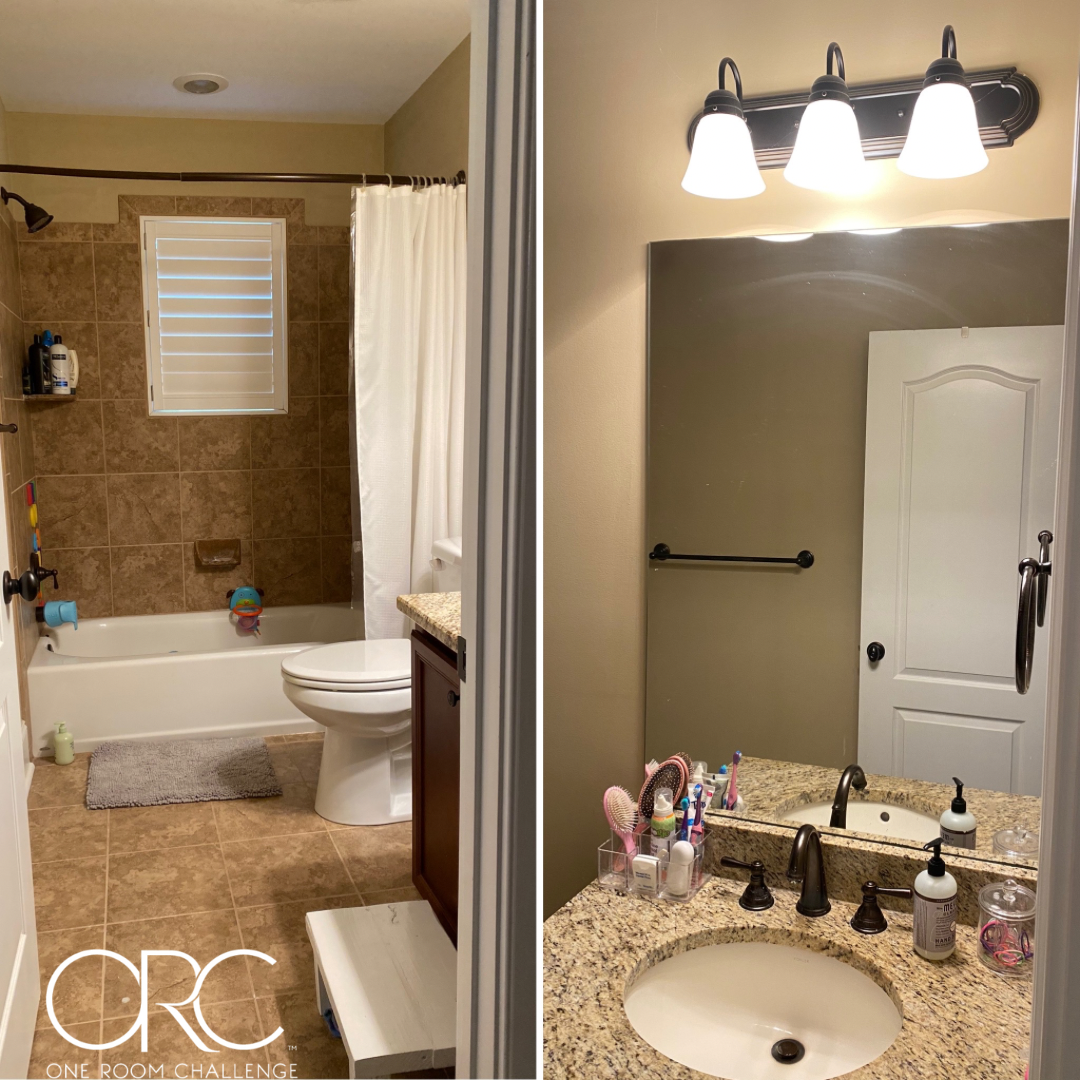
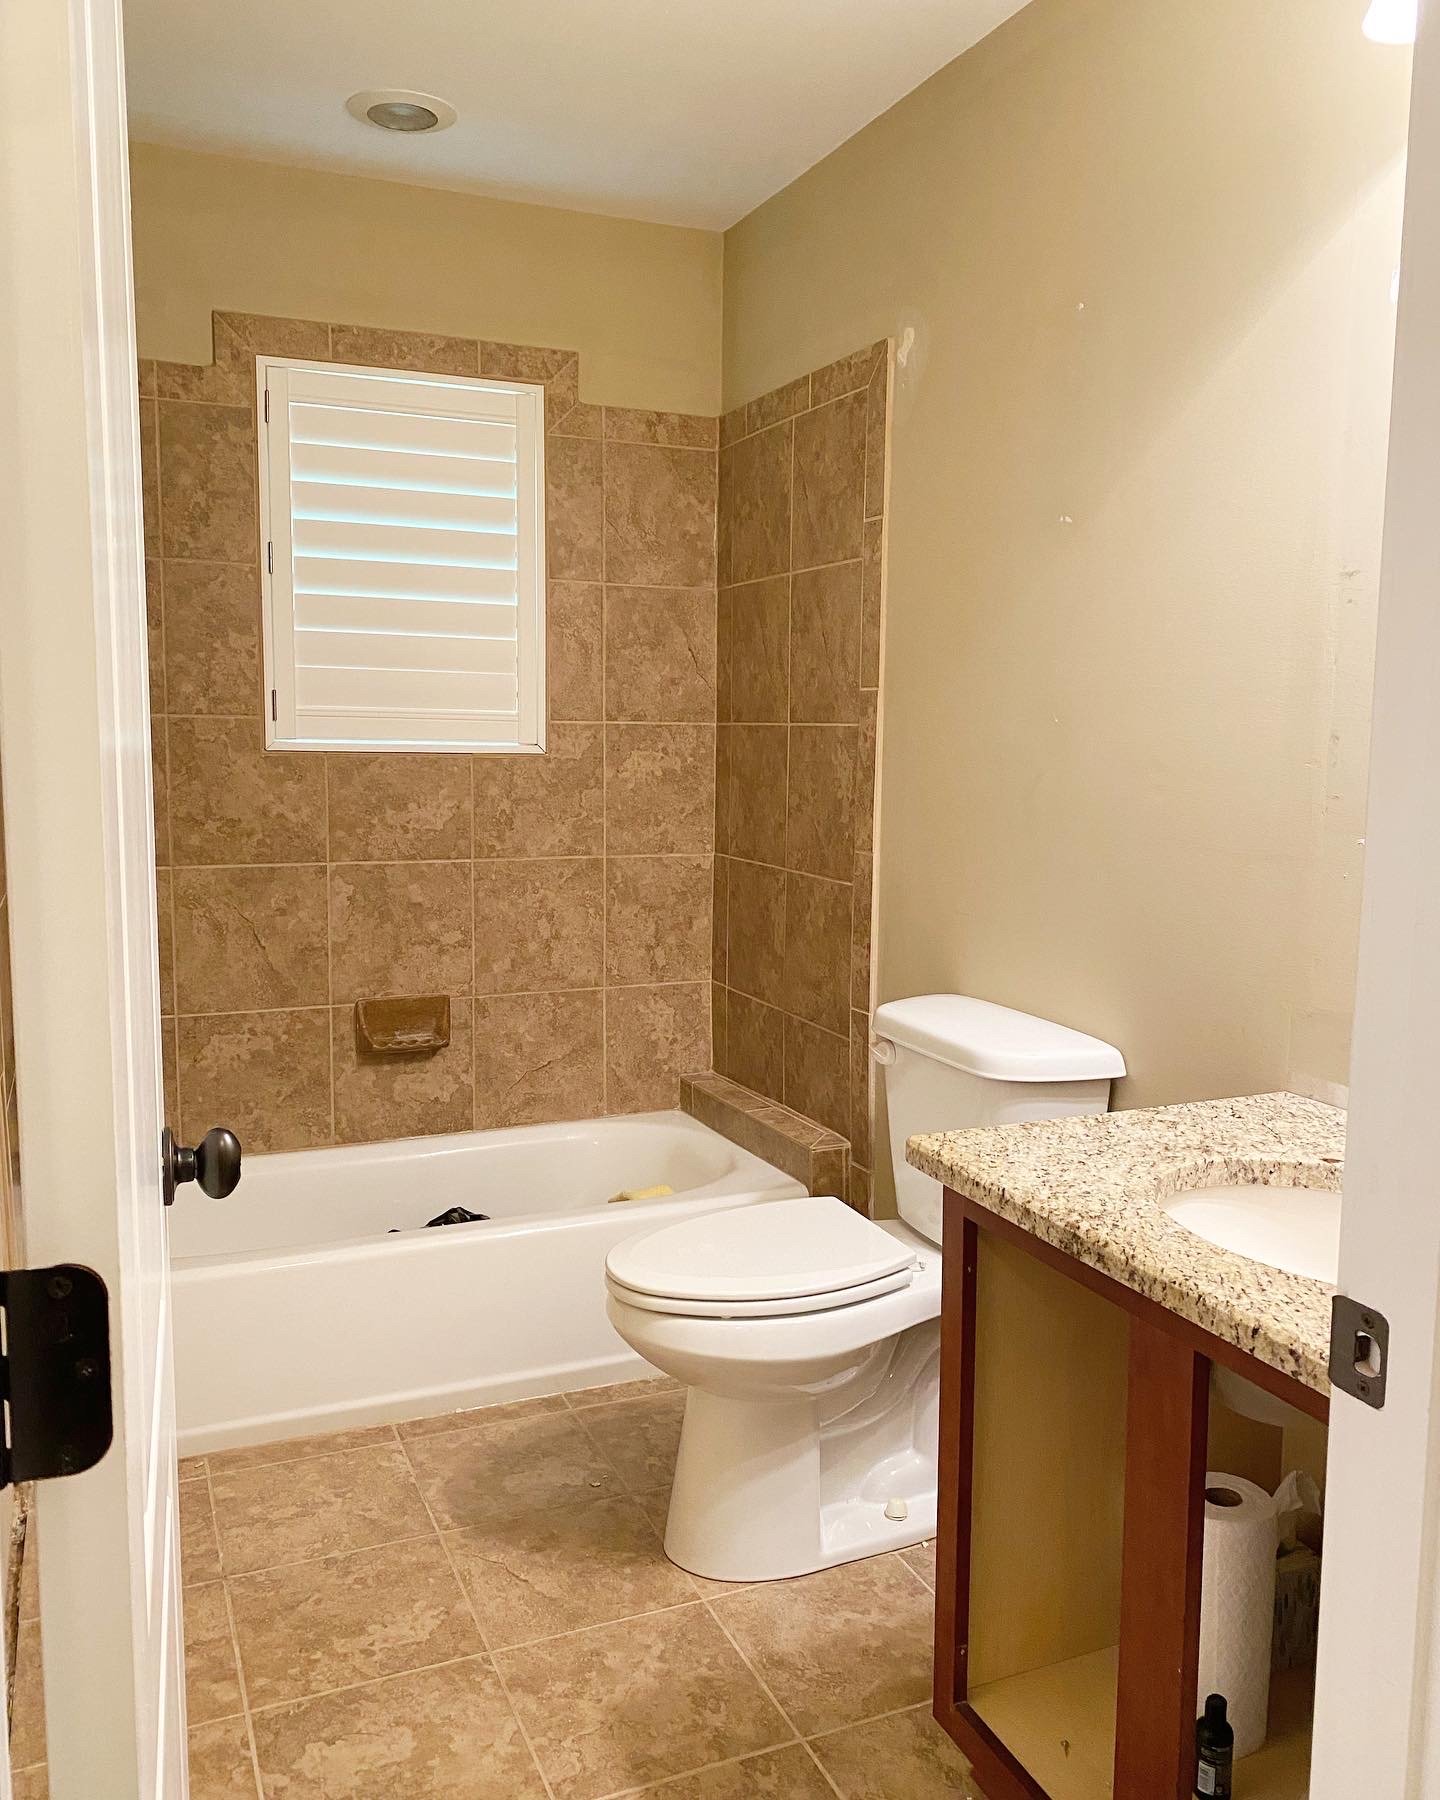
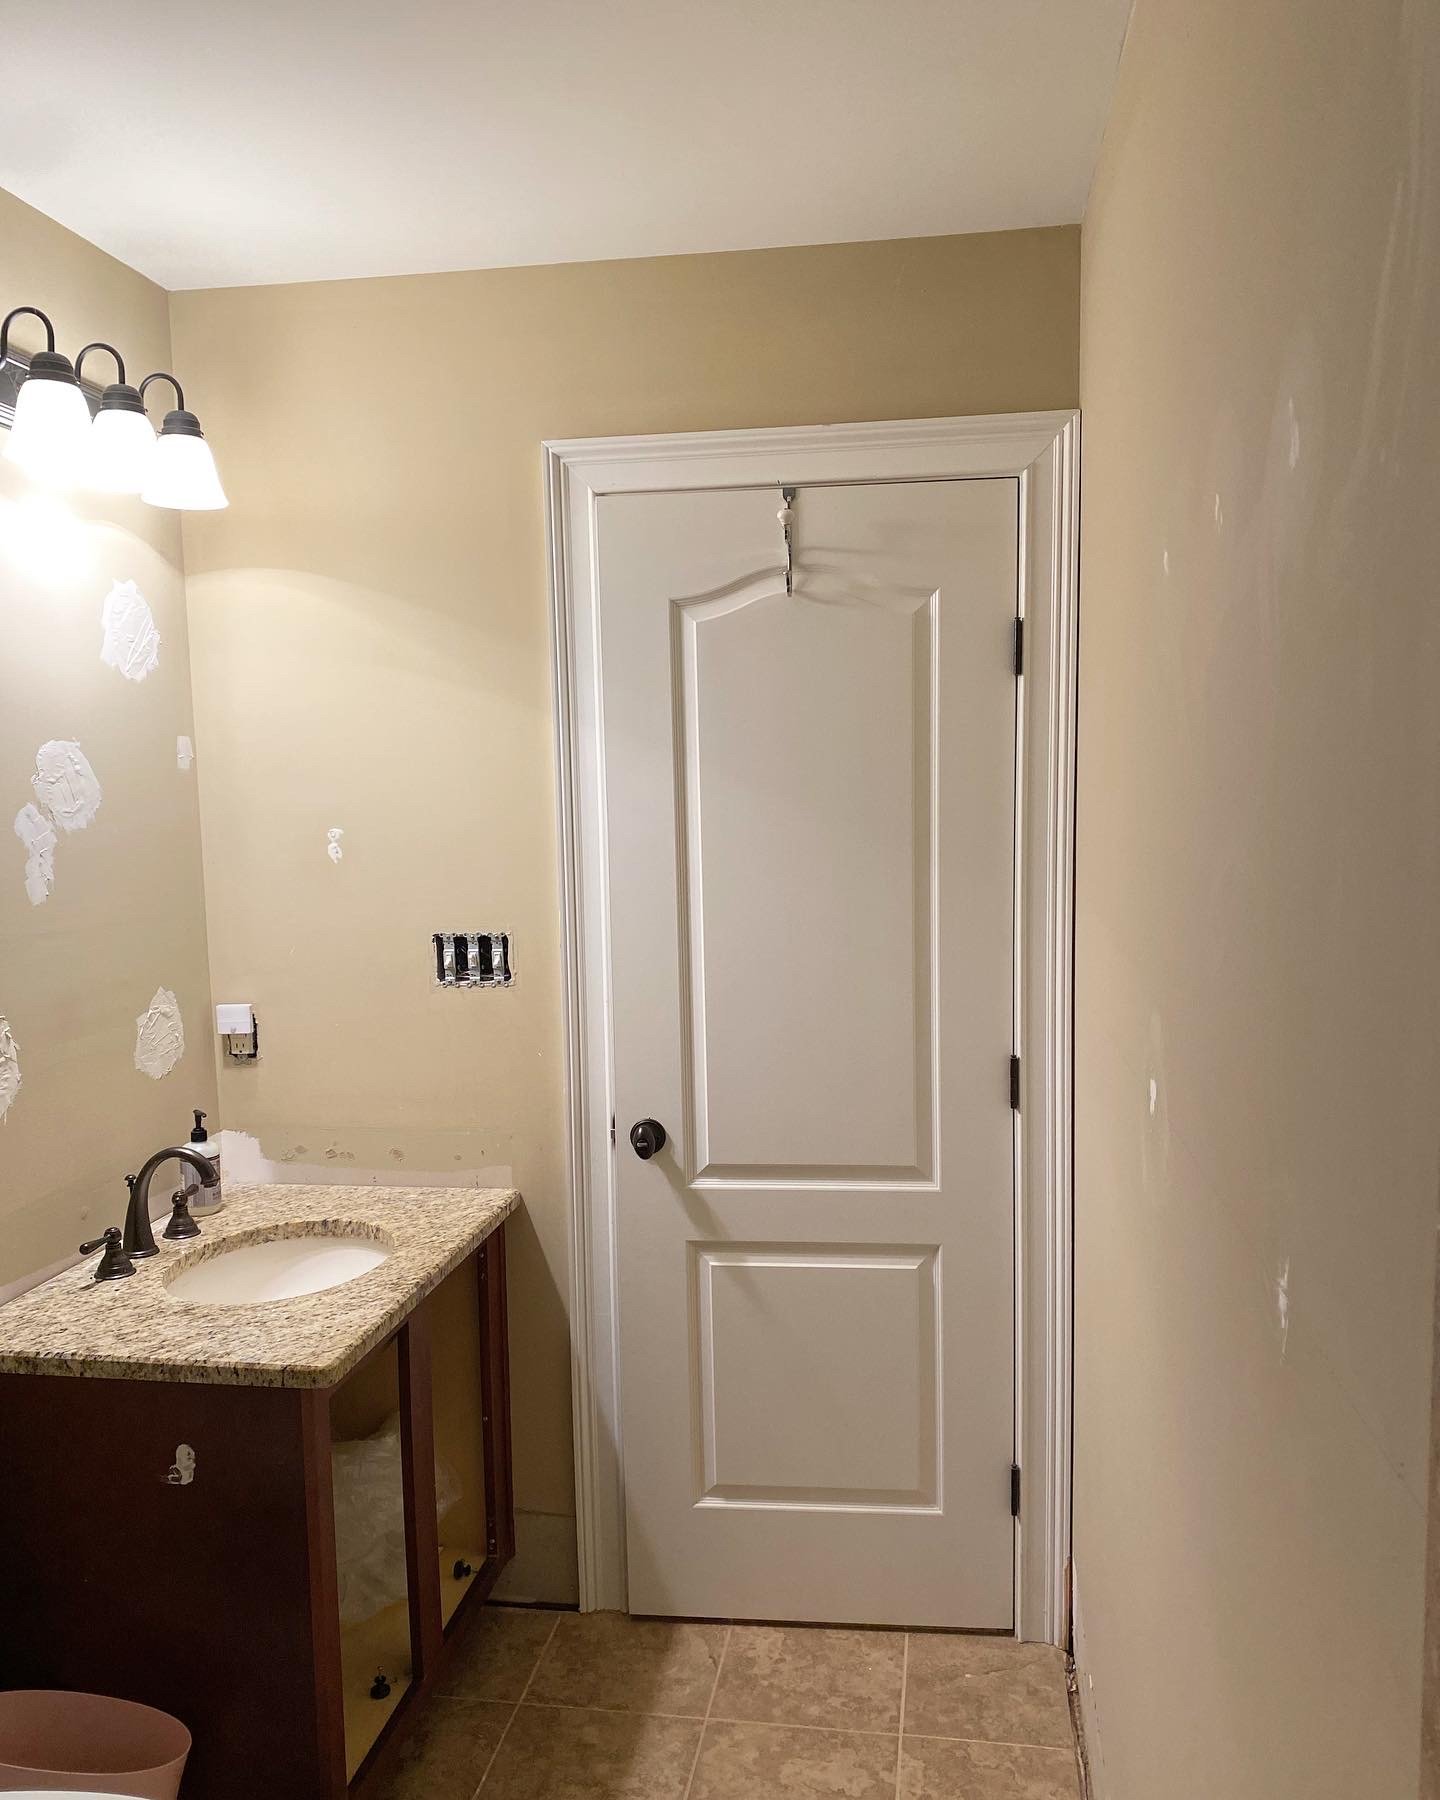
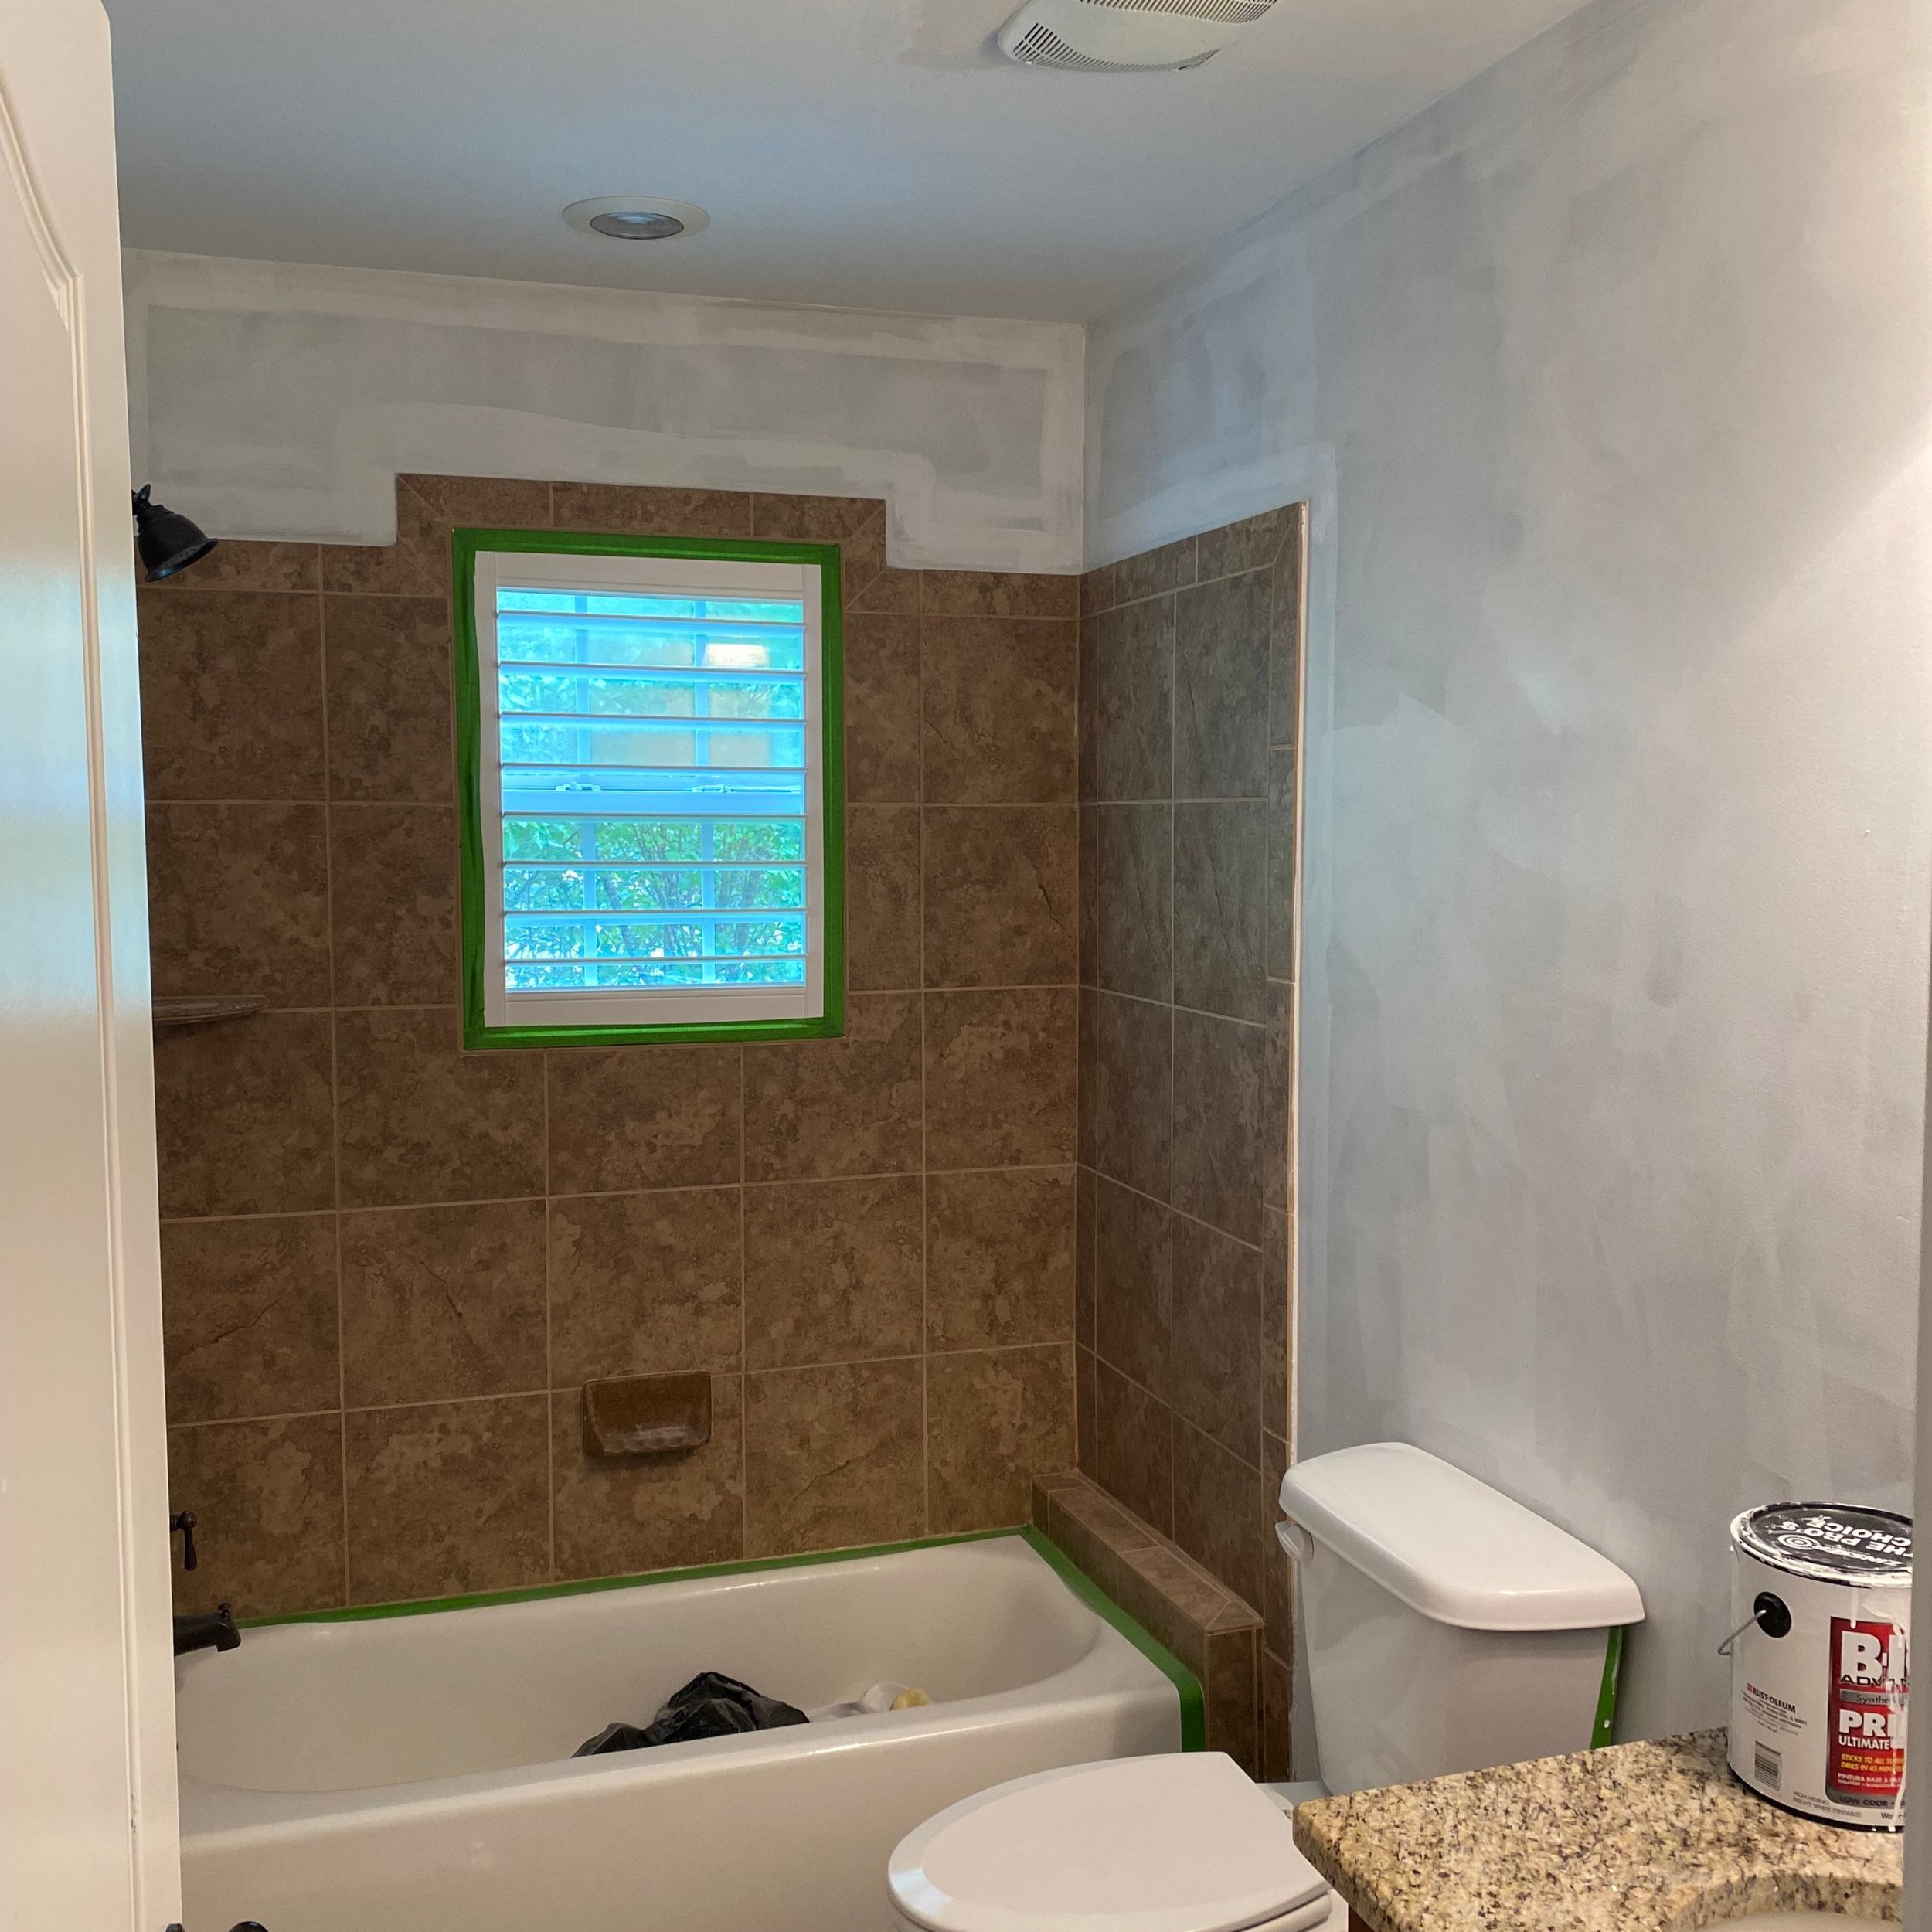
I am excited to say I decided to participate in the One Room Challenge (ORC) Spring 2023, and I decided to redo the kids’ bathroom! The all-brown-everything has to go!
ORC is one room in eight weeks. In these eight weeks, the major tasks I plan on doing to this bathroom are:
•paint the tile
•add board and batten
•paint the cabinet
•paint the walls
•swap out the fixtures and mirror
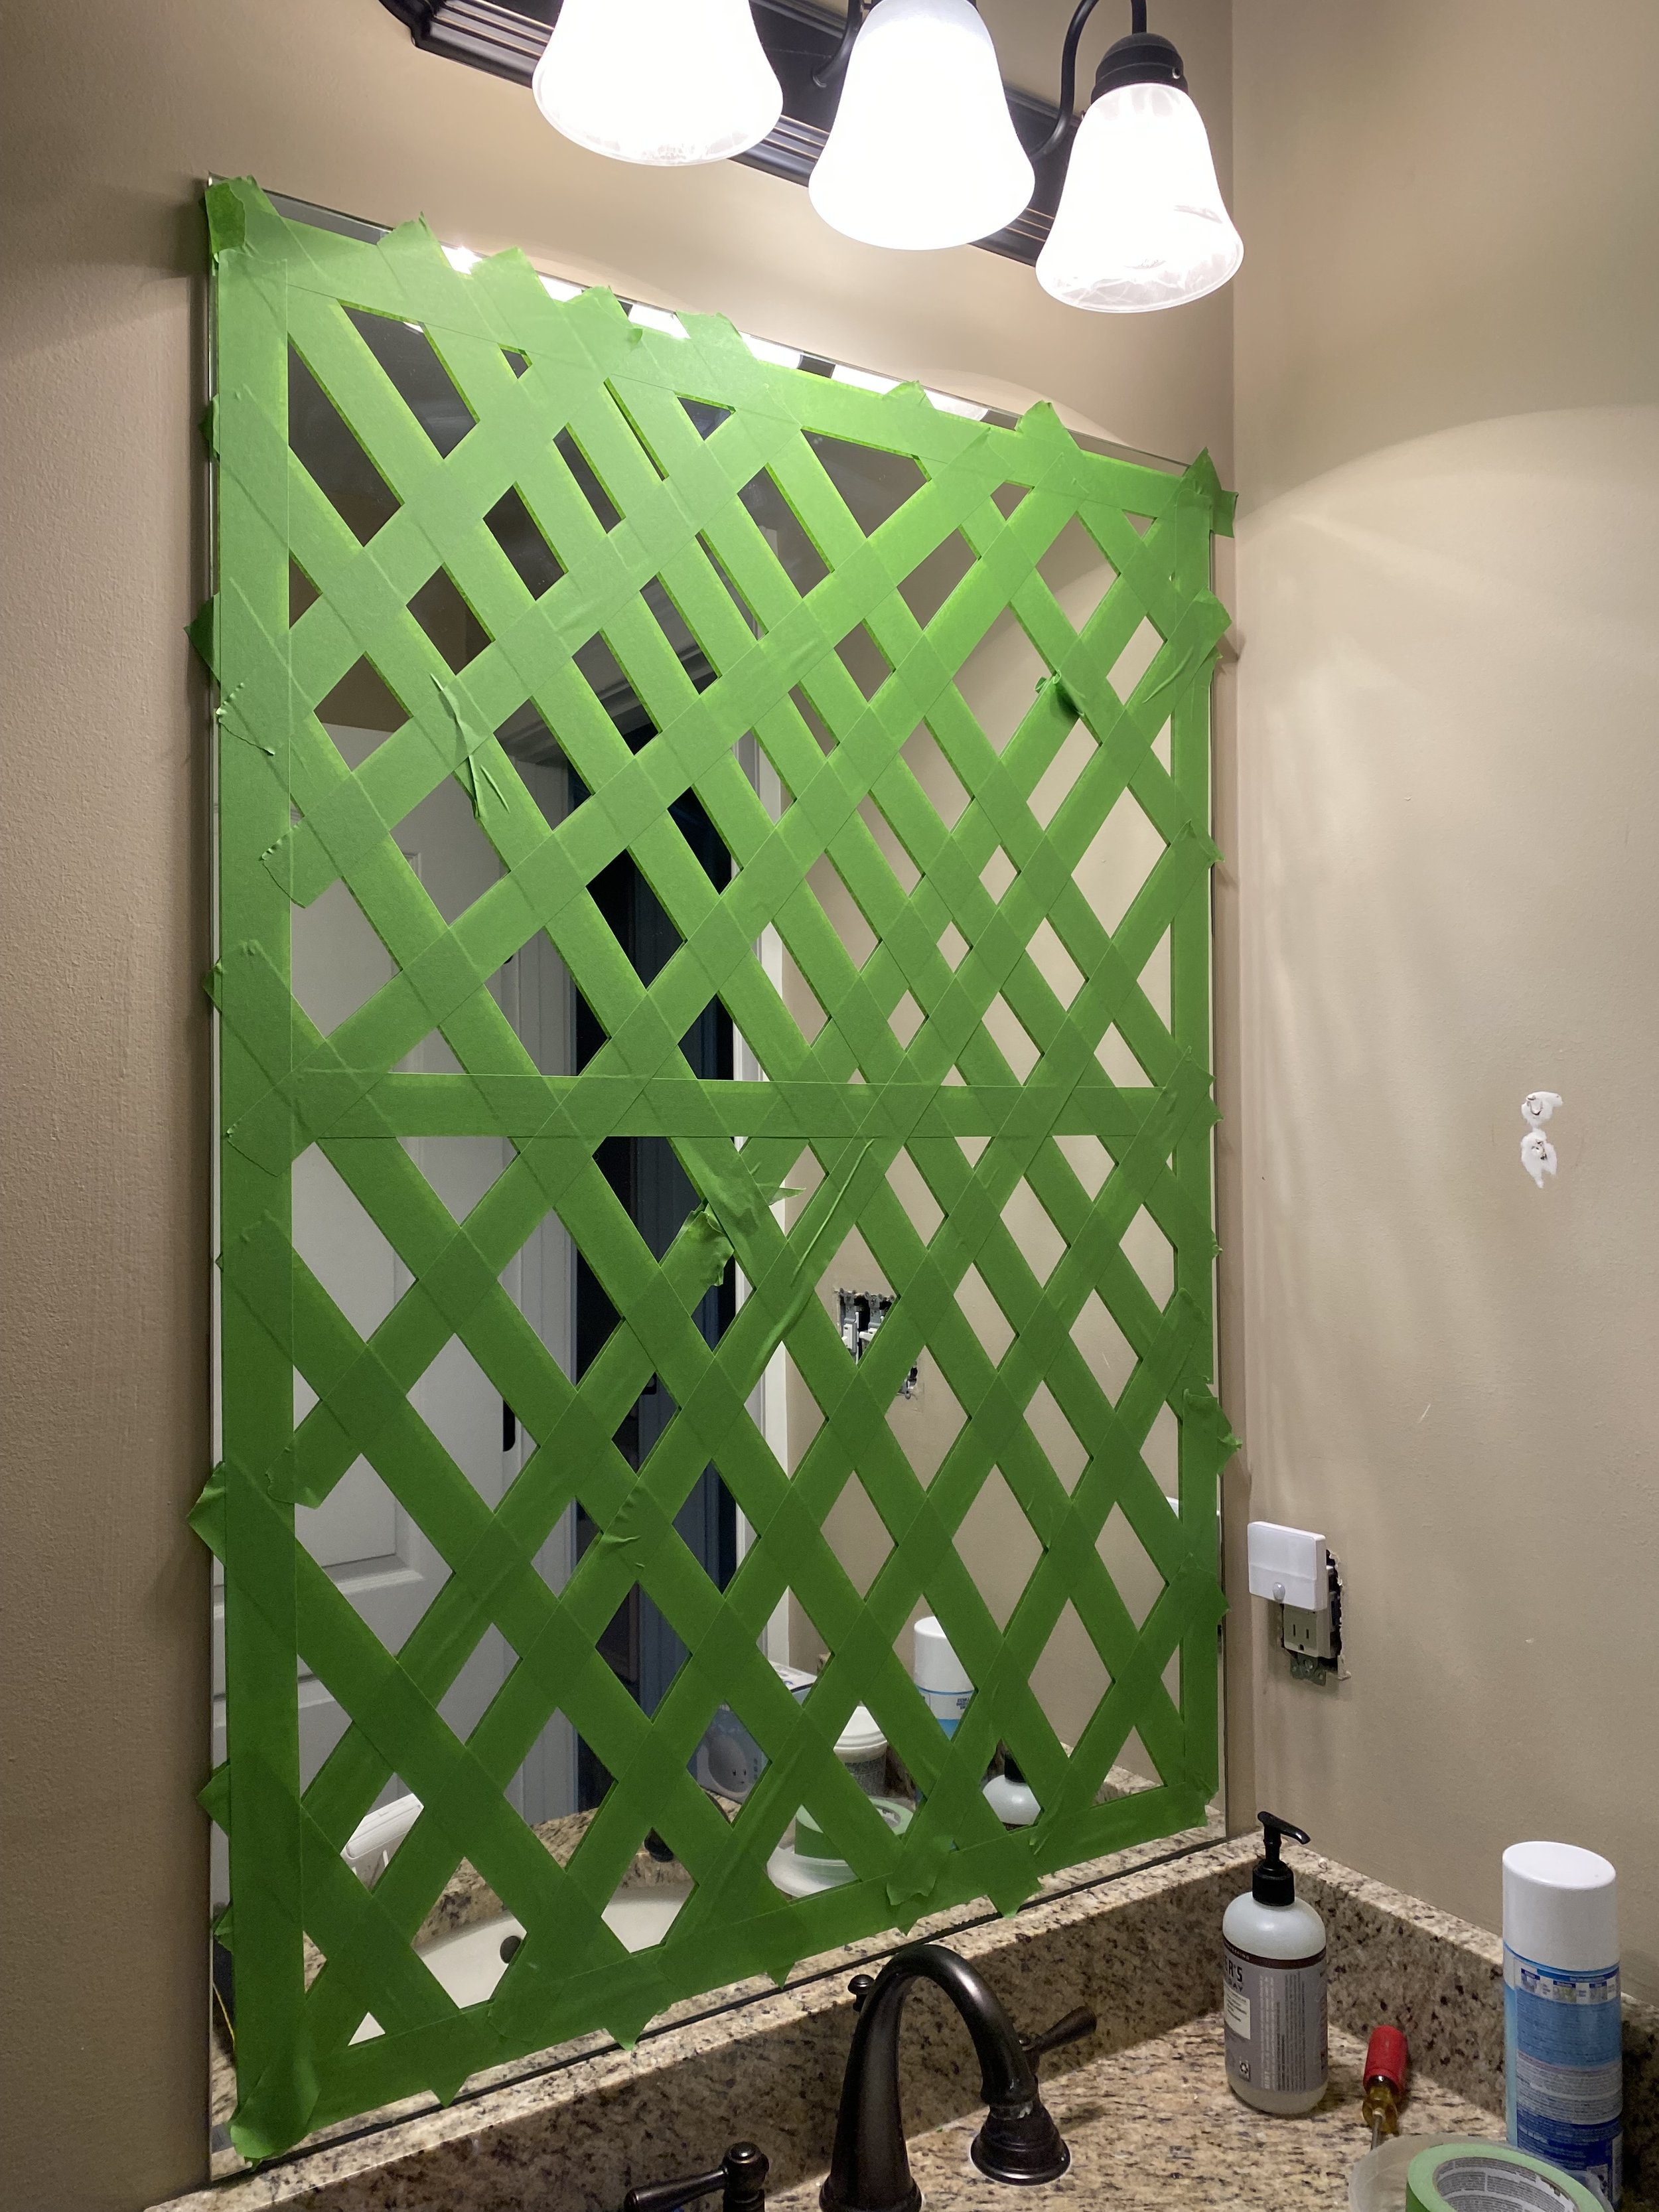
During week one, I am going to develop my timeline and budget, clean and get everything ready, order supplies, and take down the mirror.
I will be posting my progress here and on Instagram! I hope you follow along on this challenge!!
PROGRESS REPORT
WEEK ONE:
A lot of planning and getting organized to start this project.
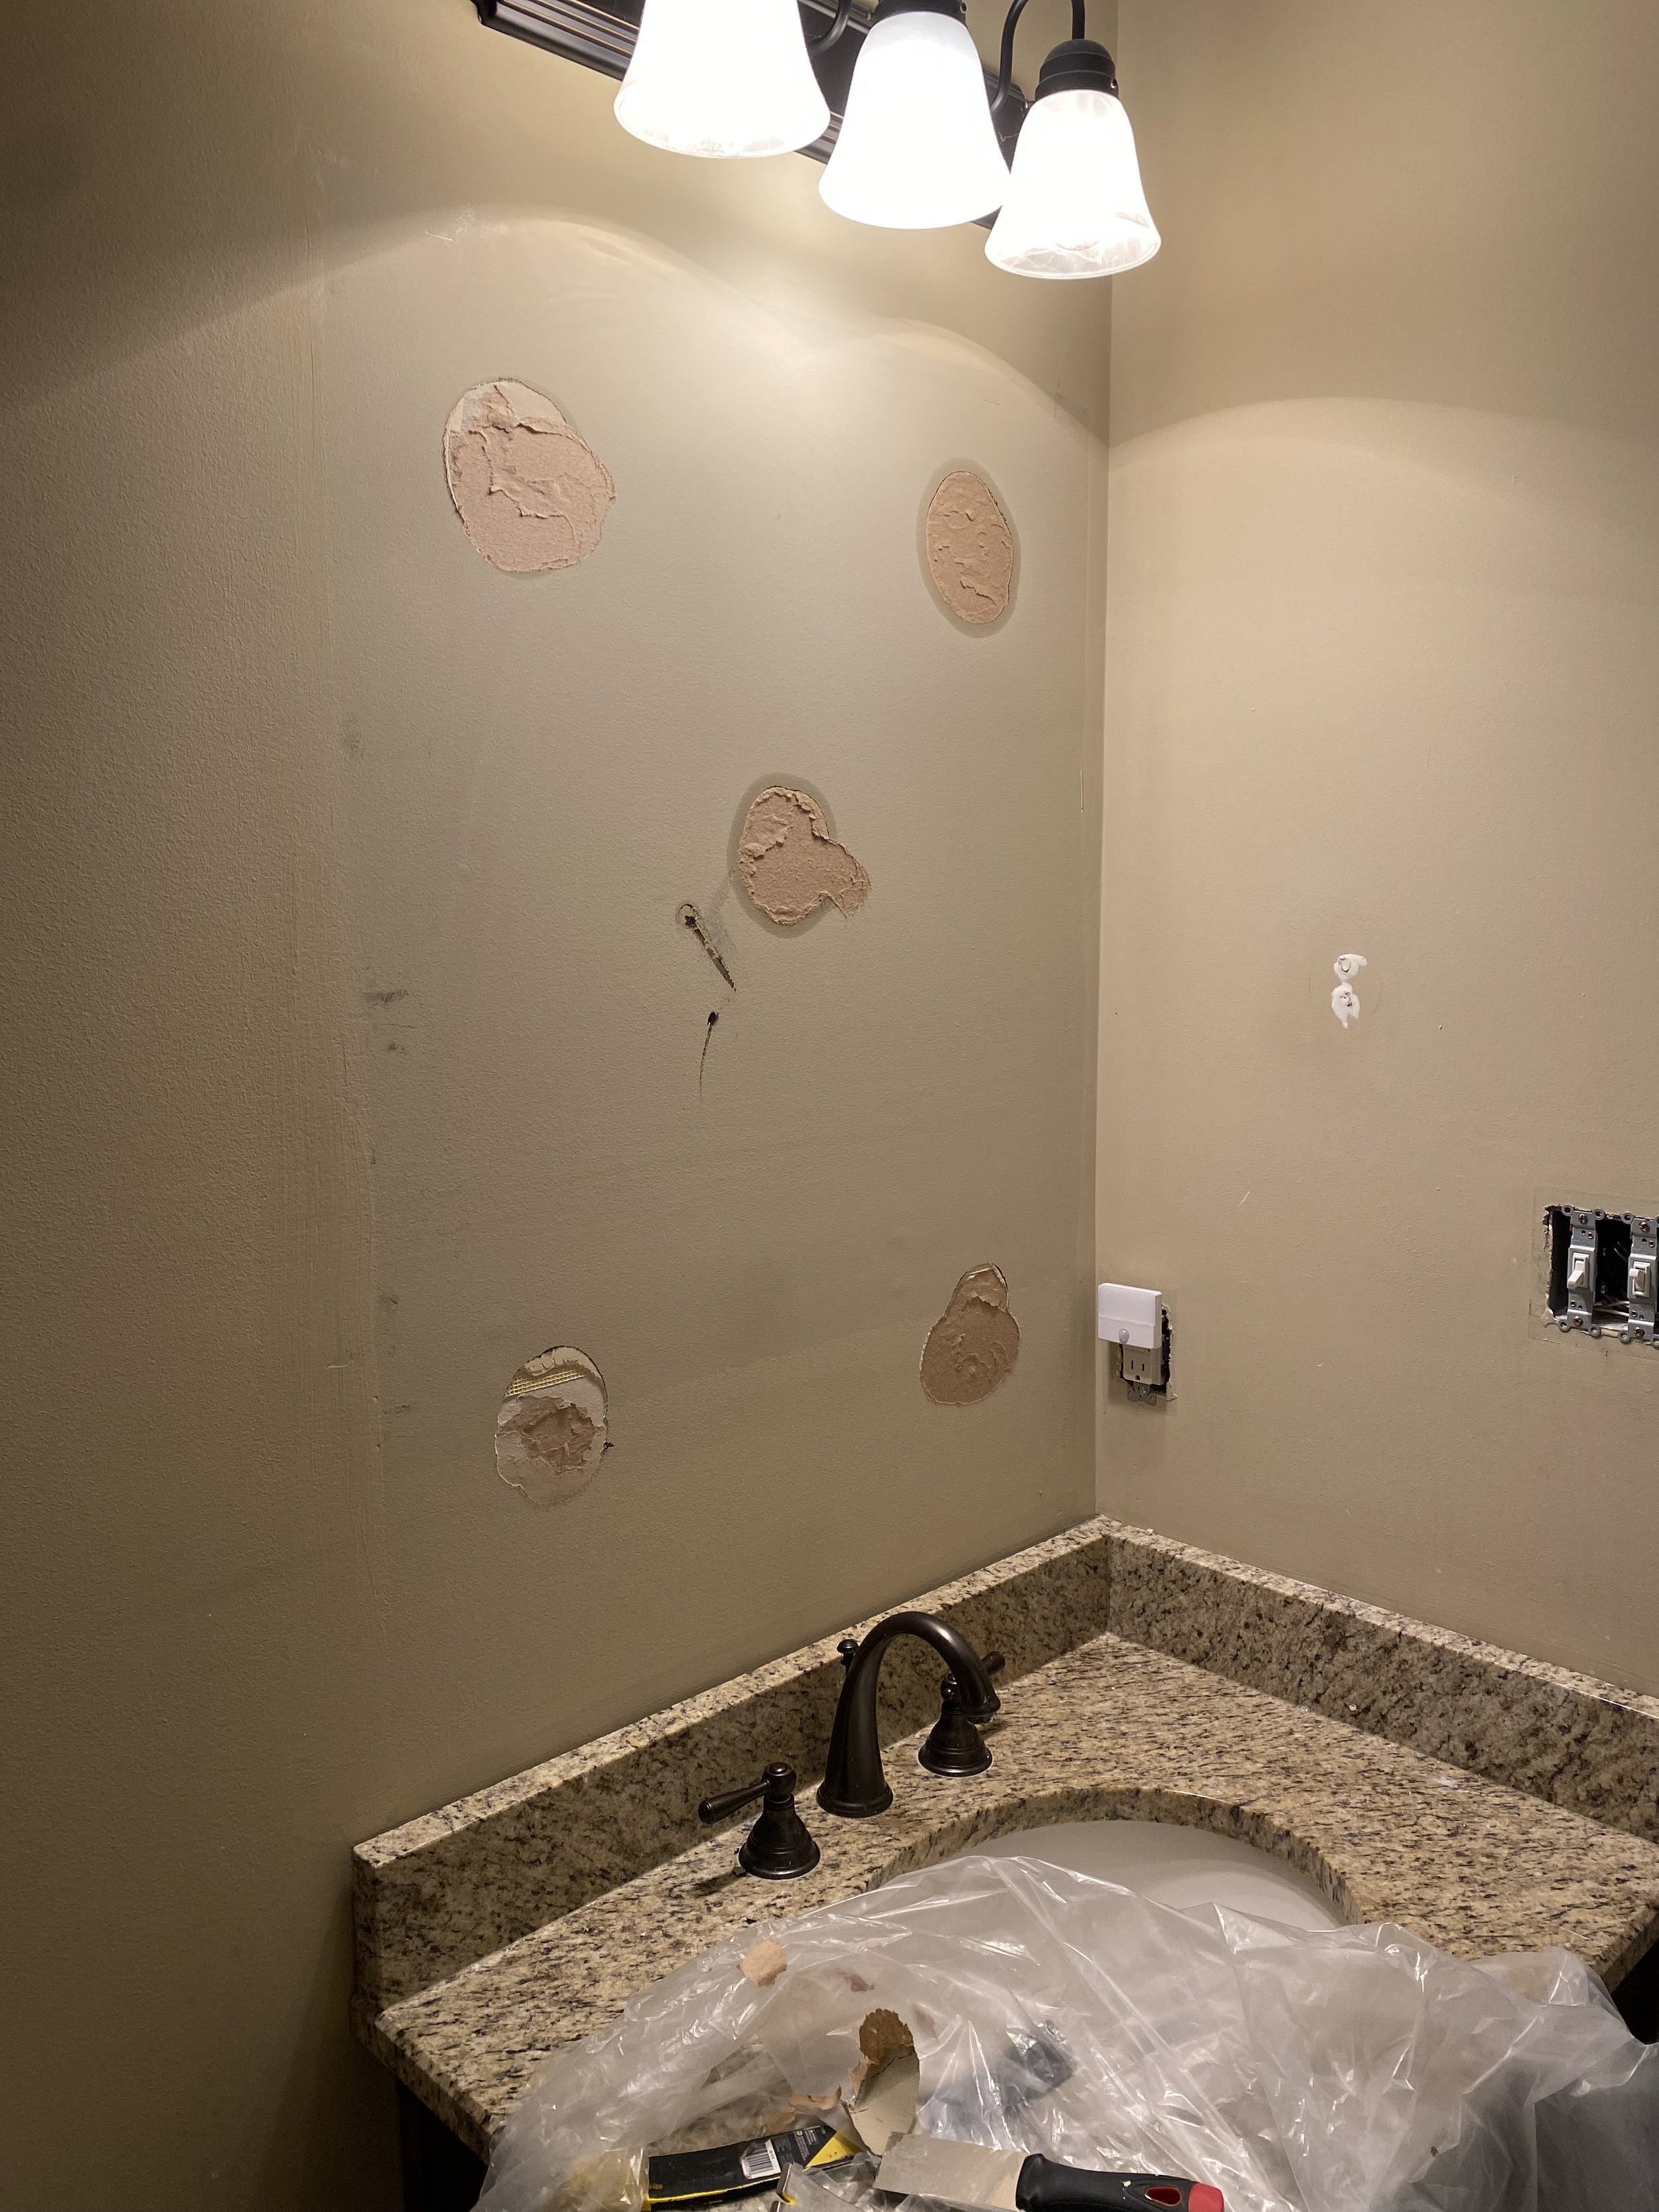
Removed hardware from the walls and cabinet.
Removed the baseboards and quarter round.
Took down the mirror (in one piece I might add!).
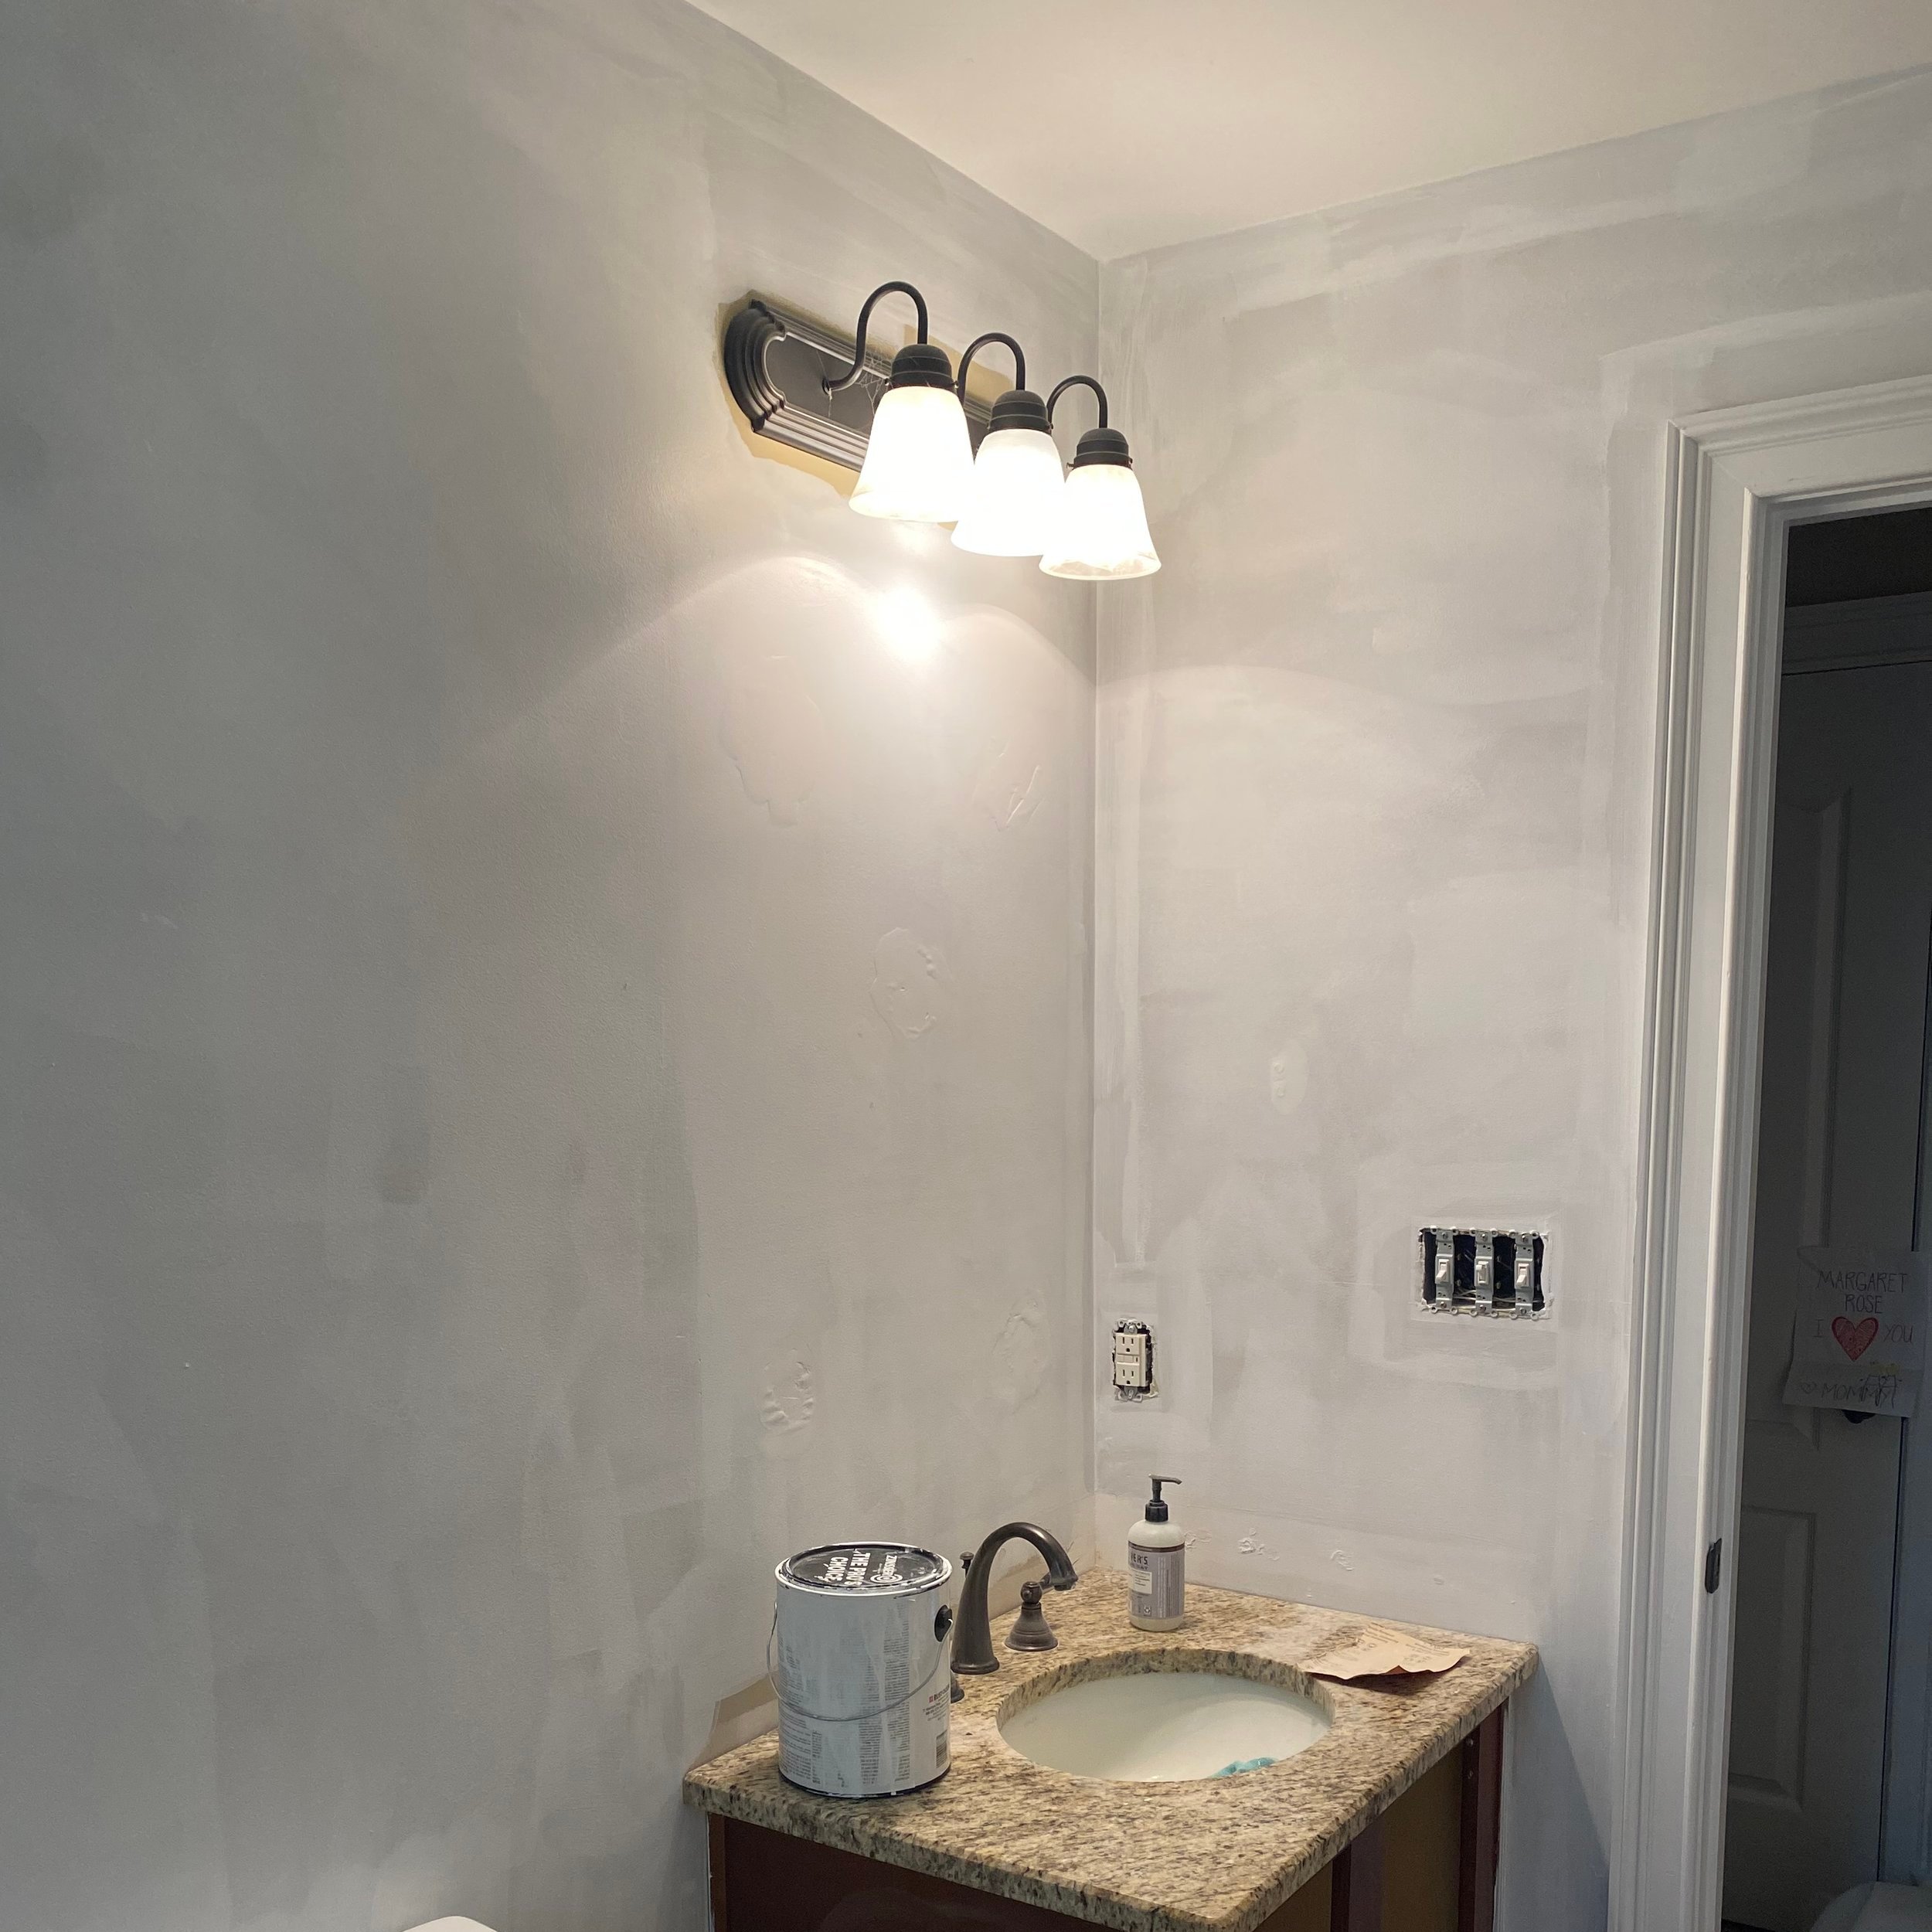
Repaired the walls.
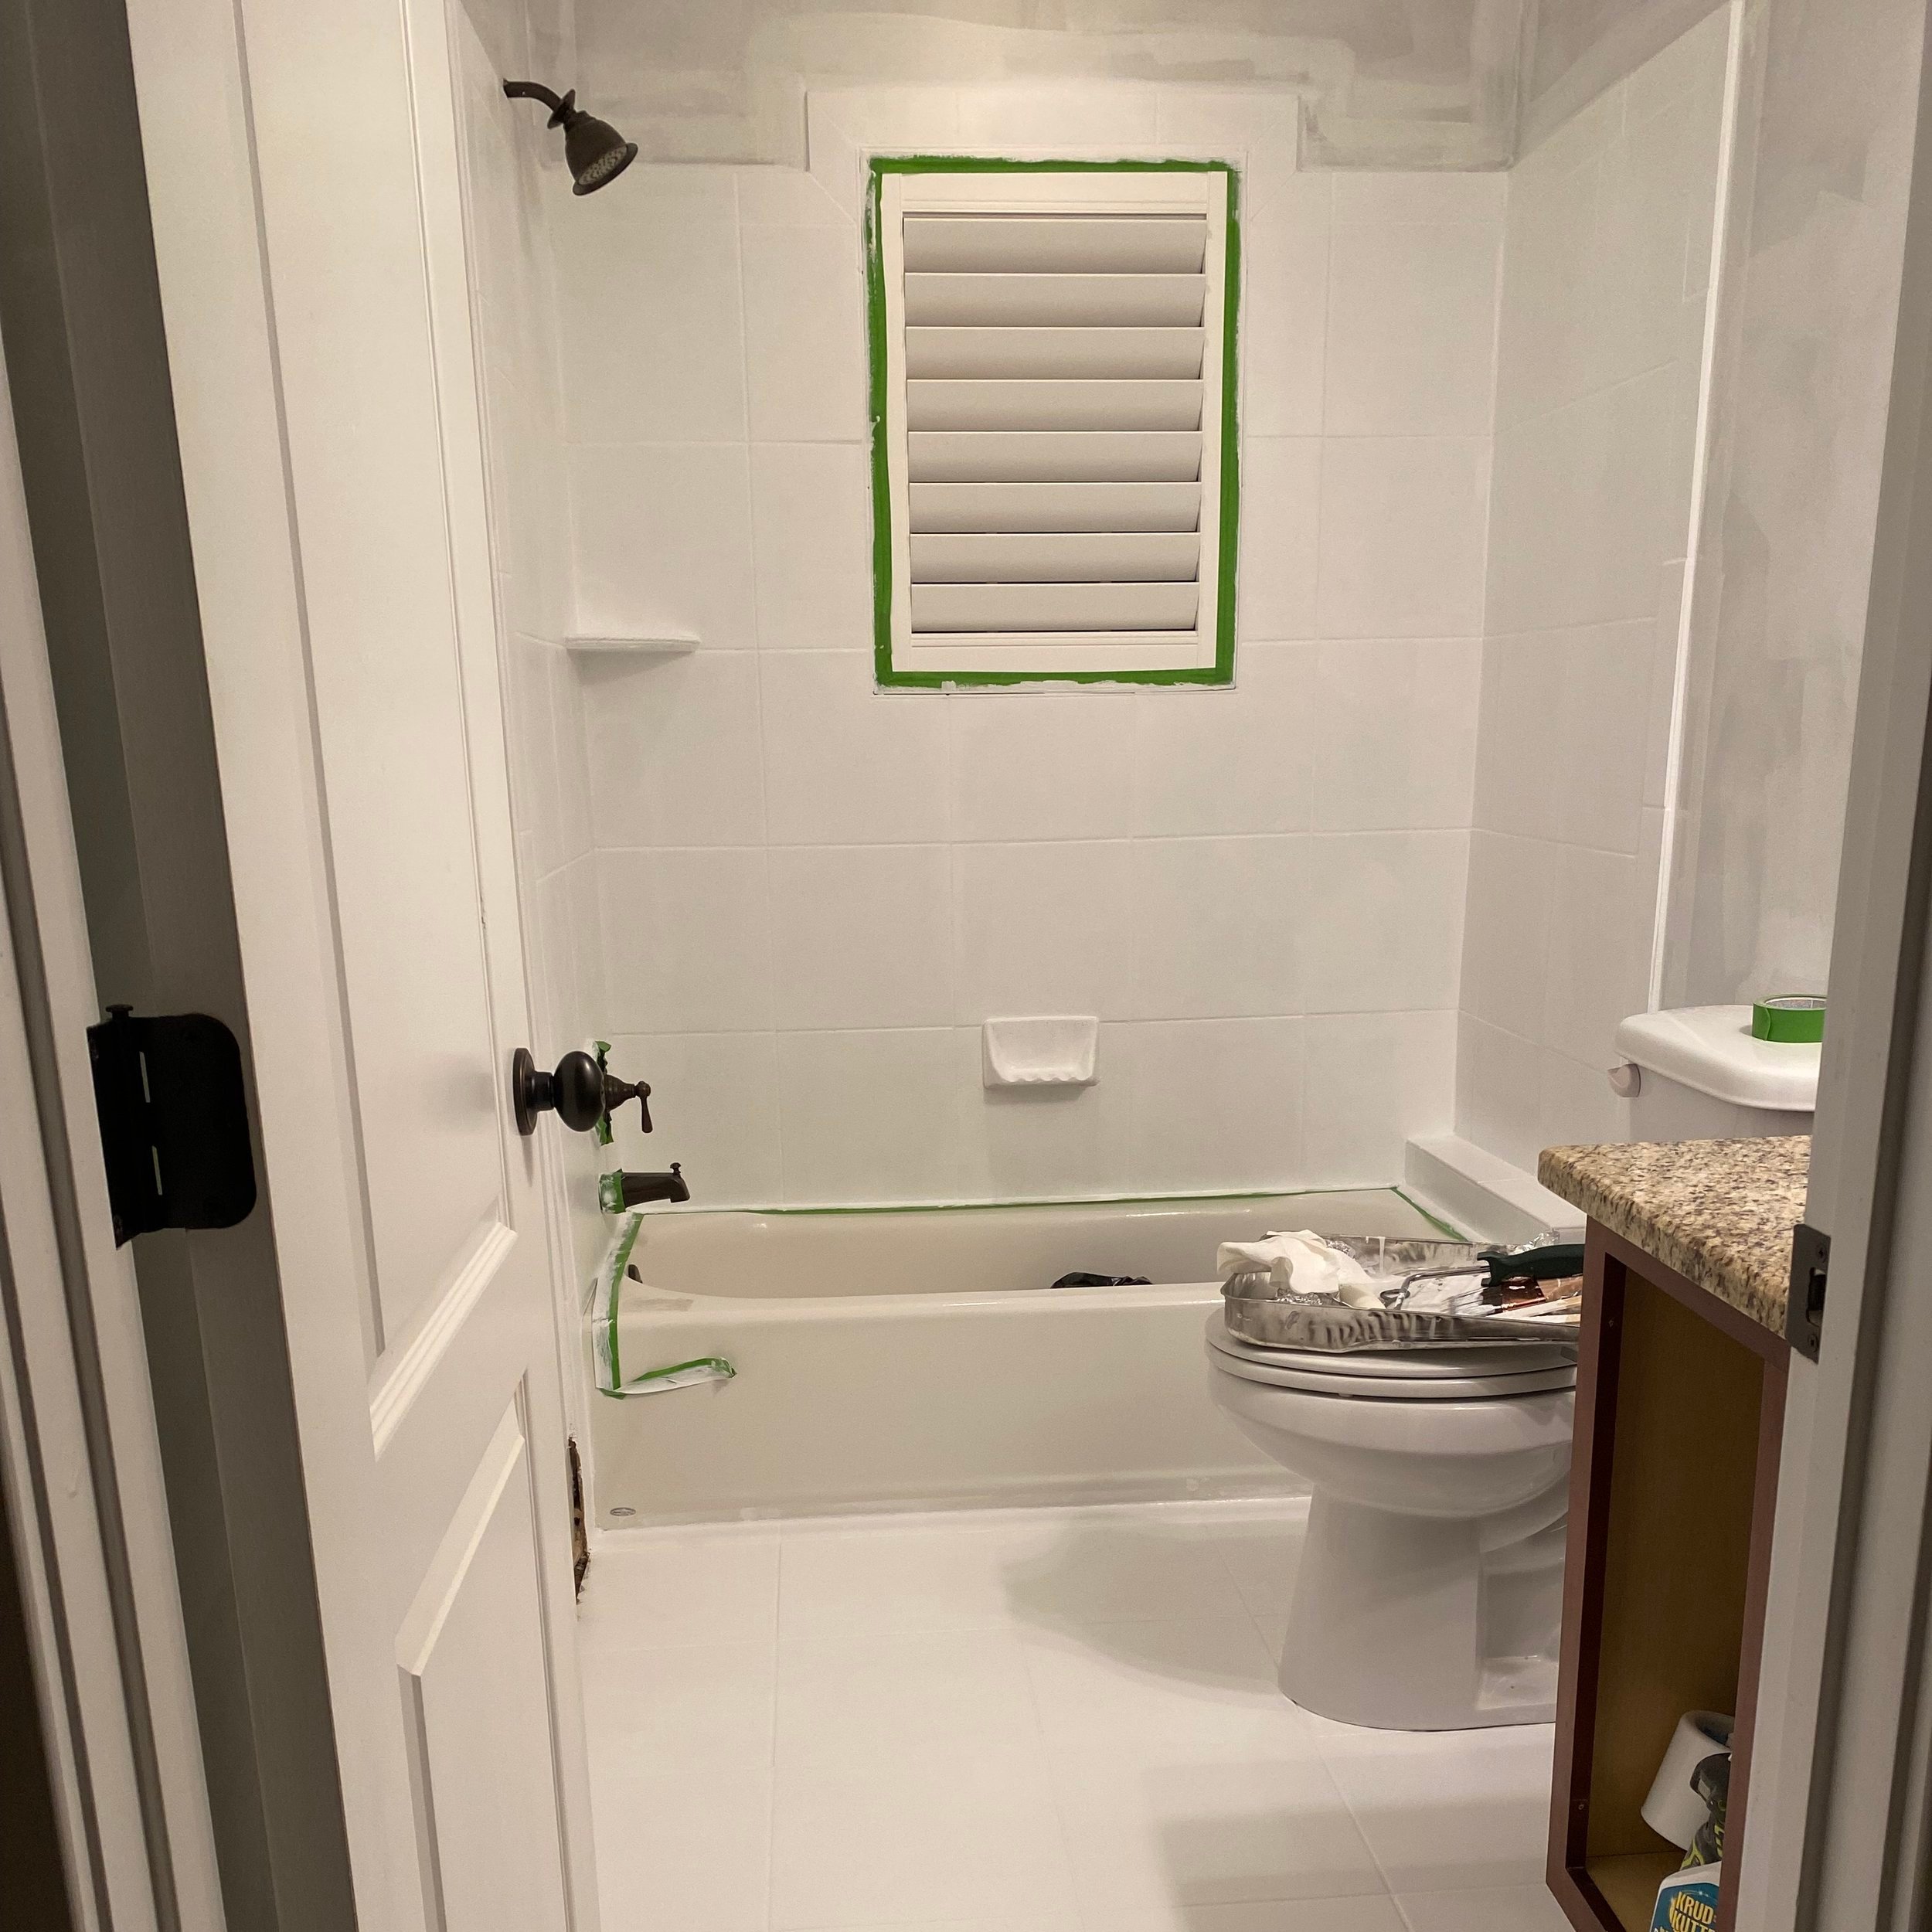
Cleaned the tile with Krud Kutter to prep for painting (linked here).
WEEK TWO:
Purchased and ordered supplies.
Primed the walls.
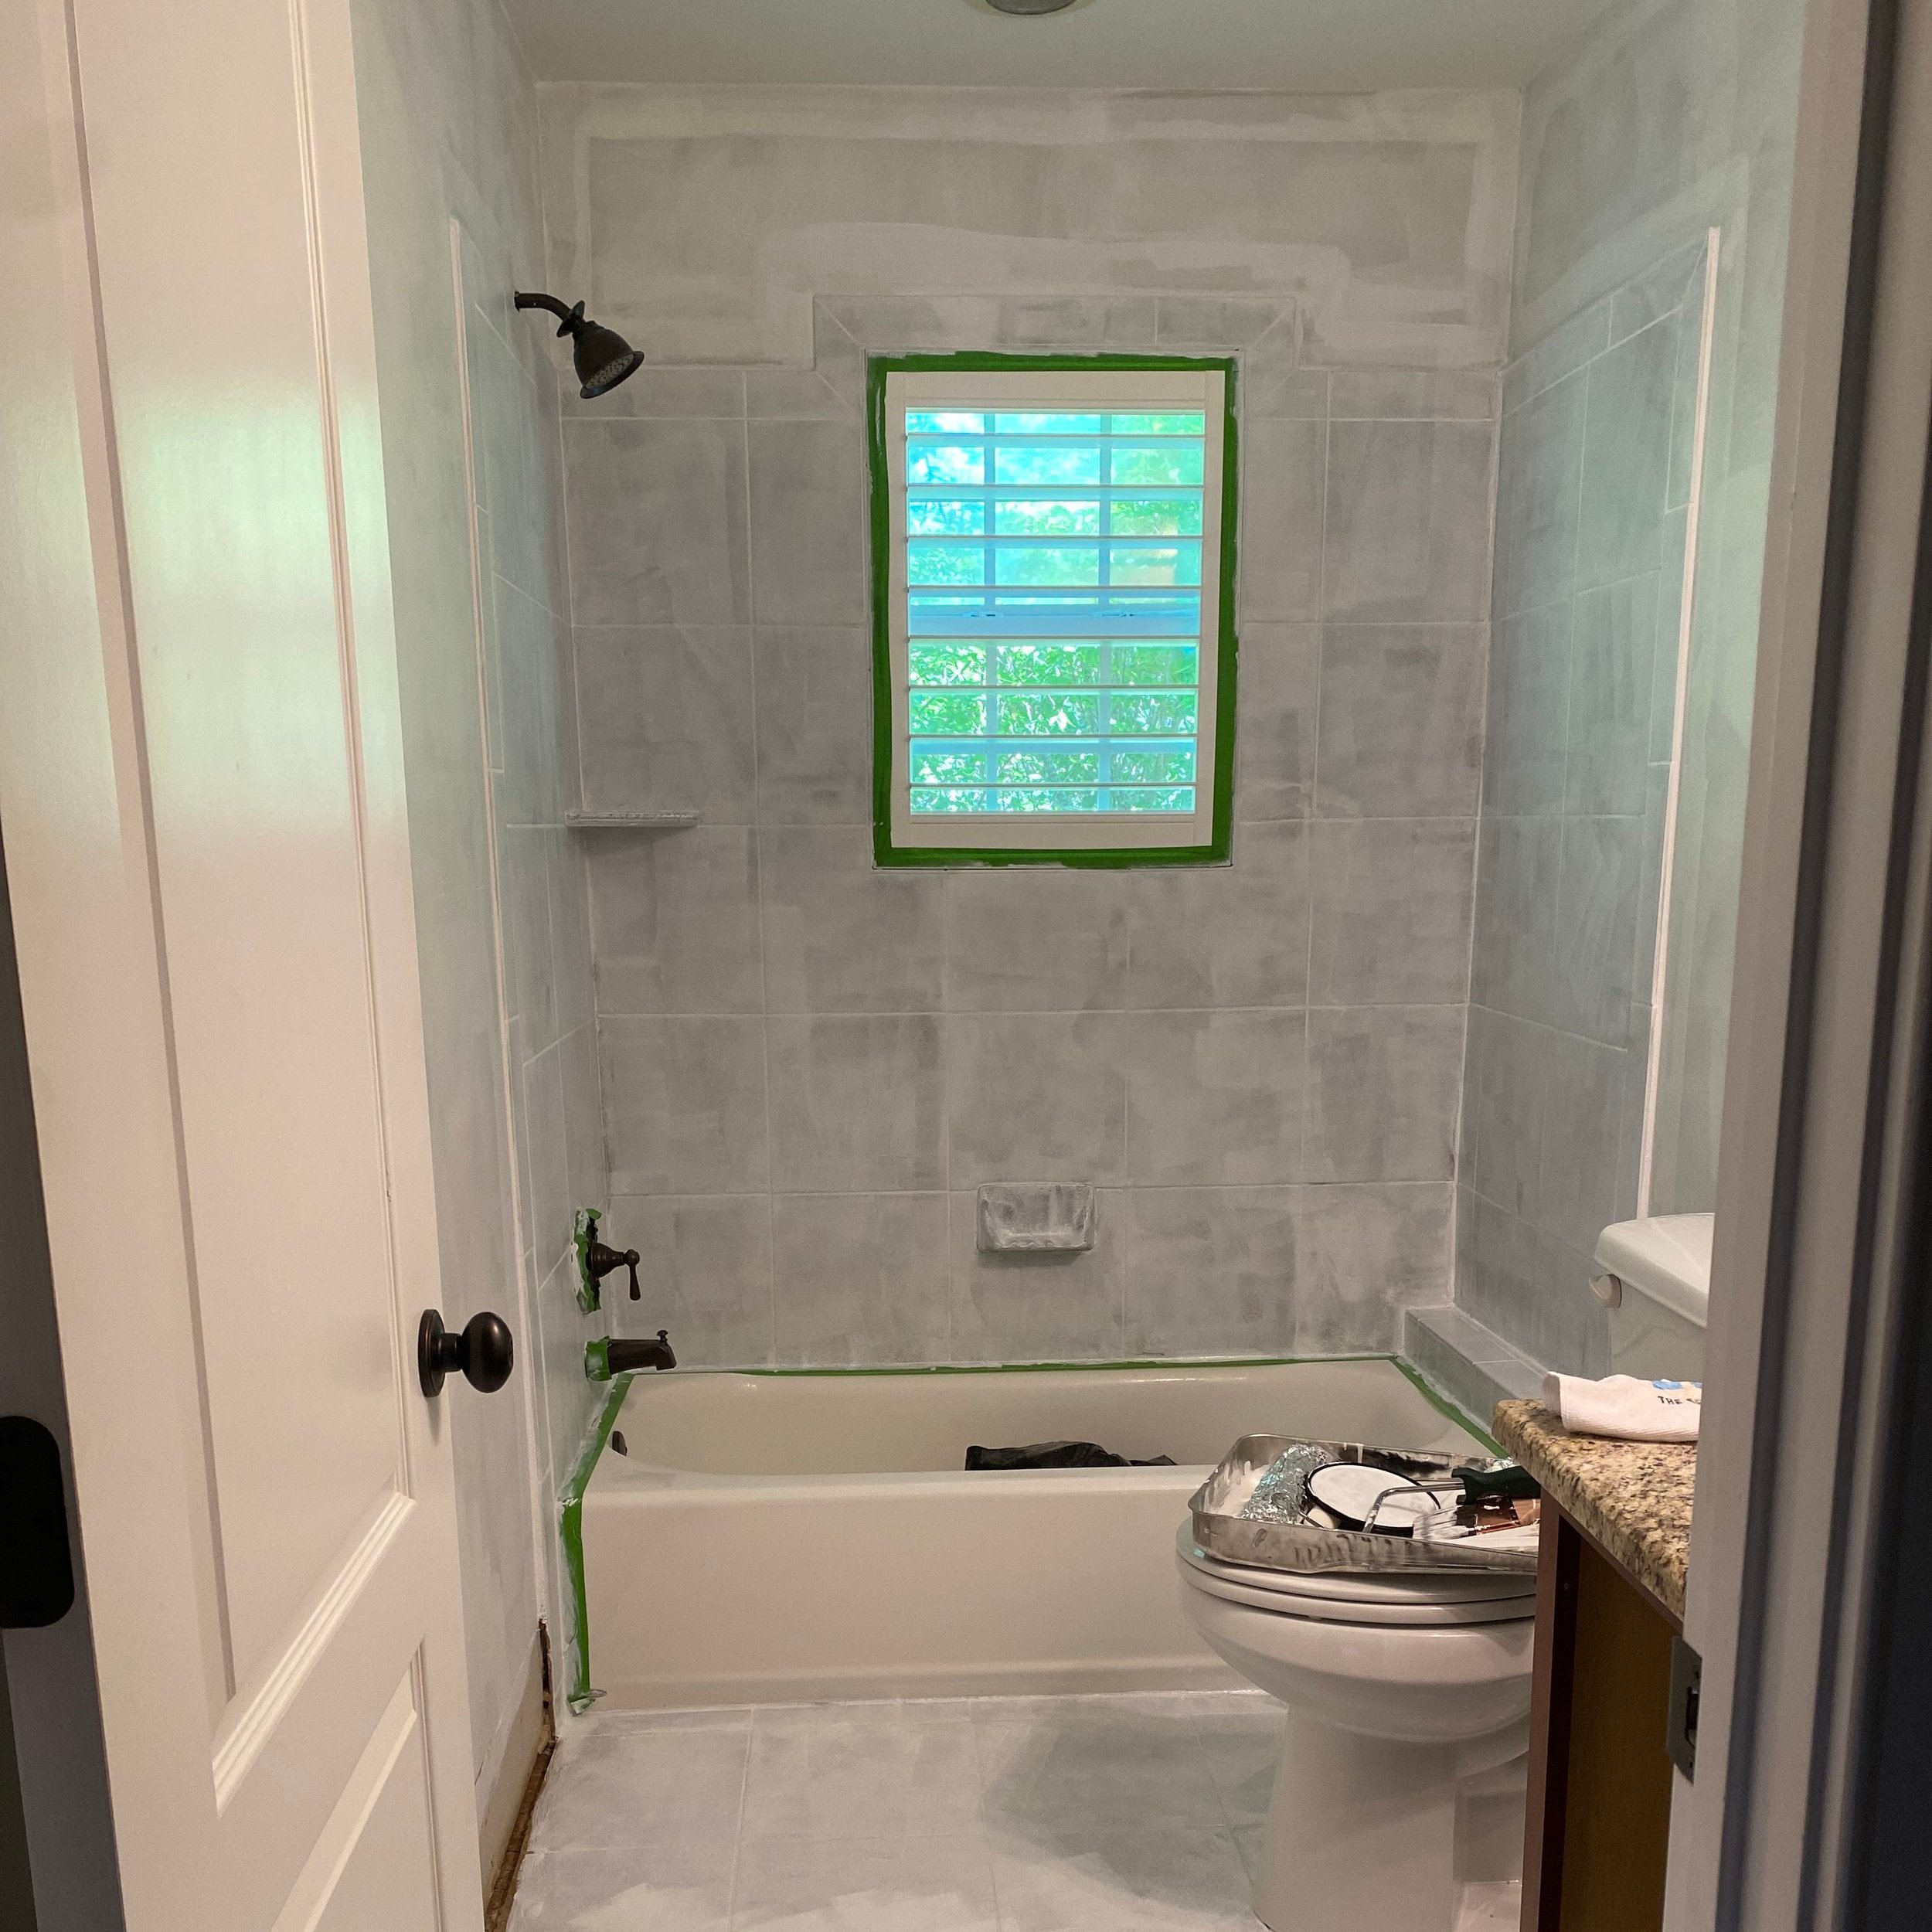
Primed the tile with Behr Concrete and Masonry Bonding Primer (linked here).
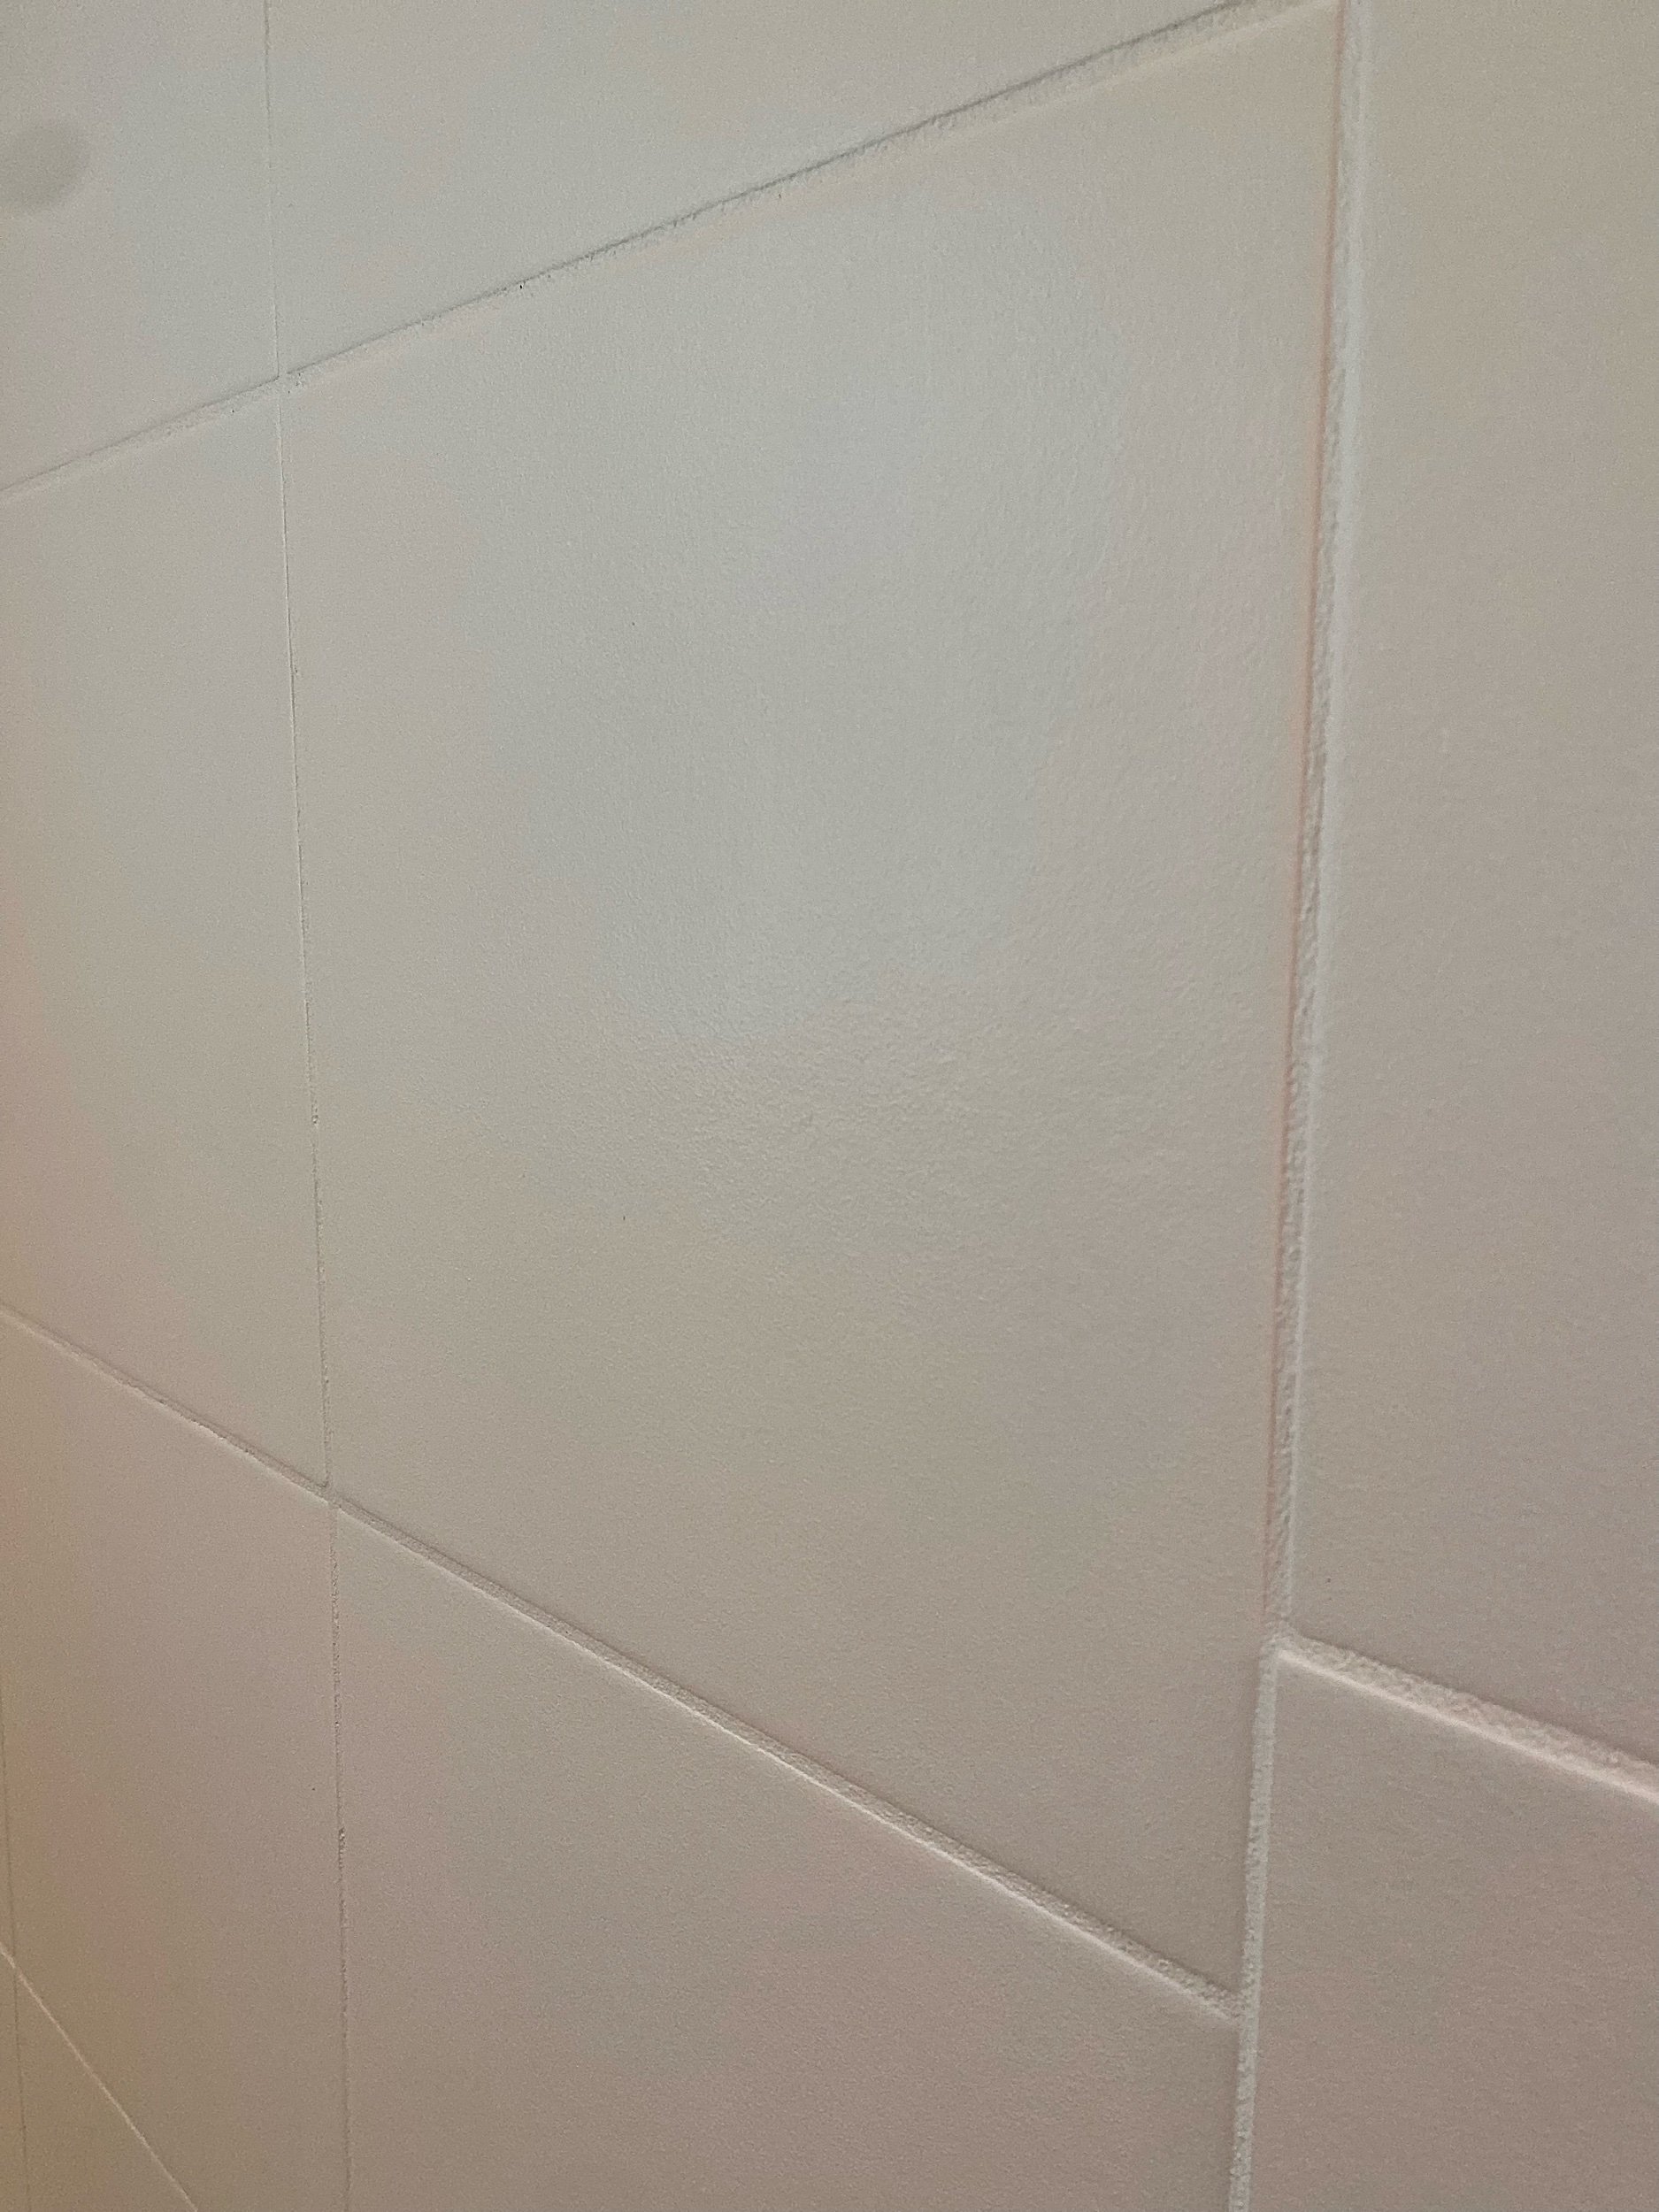
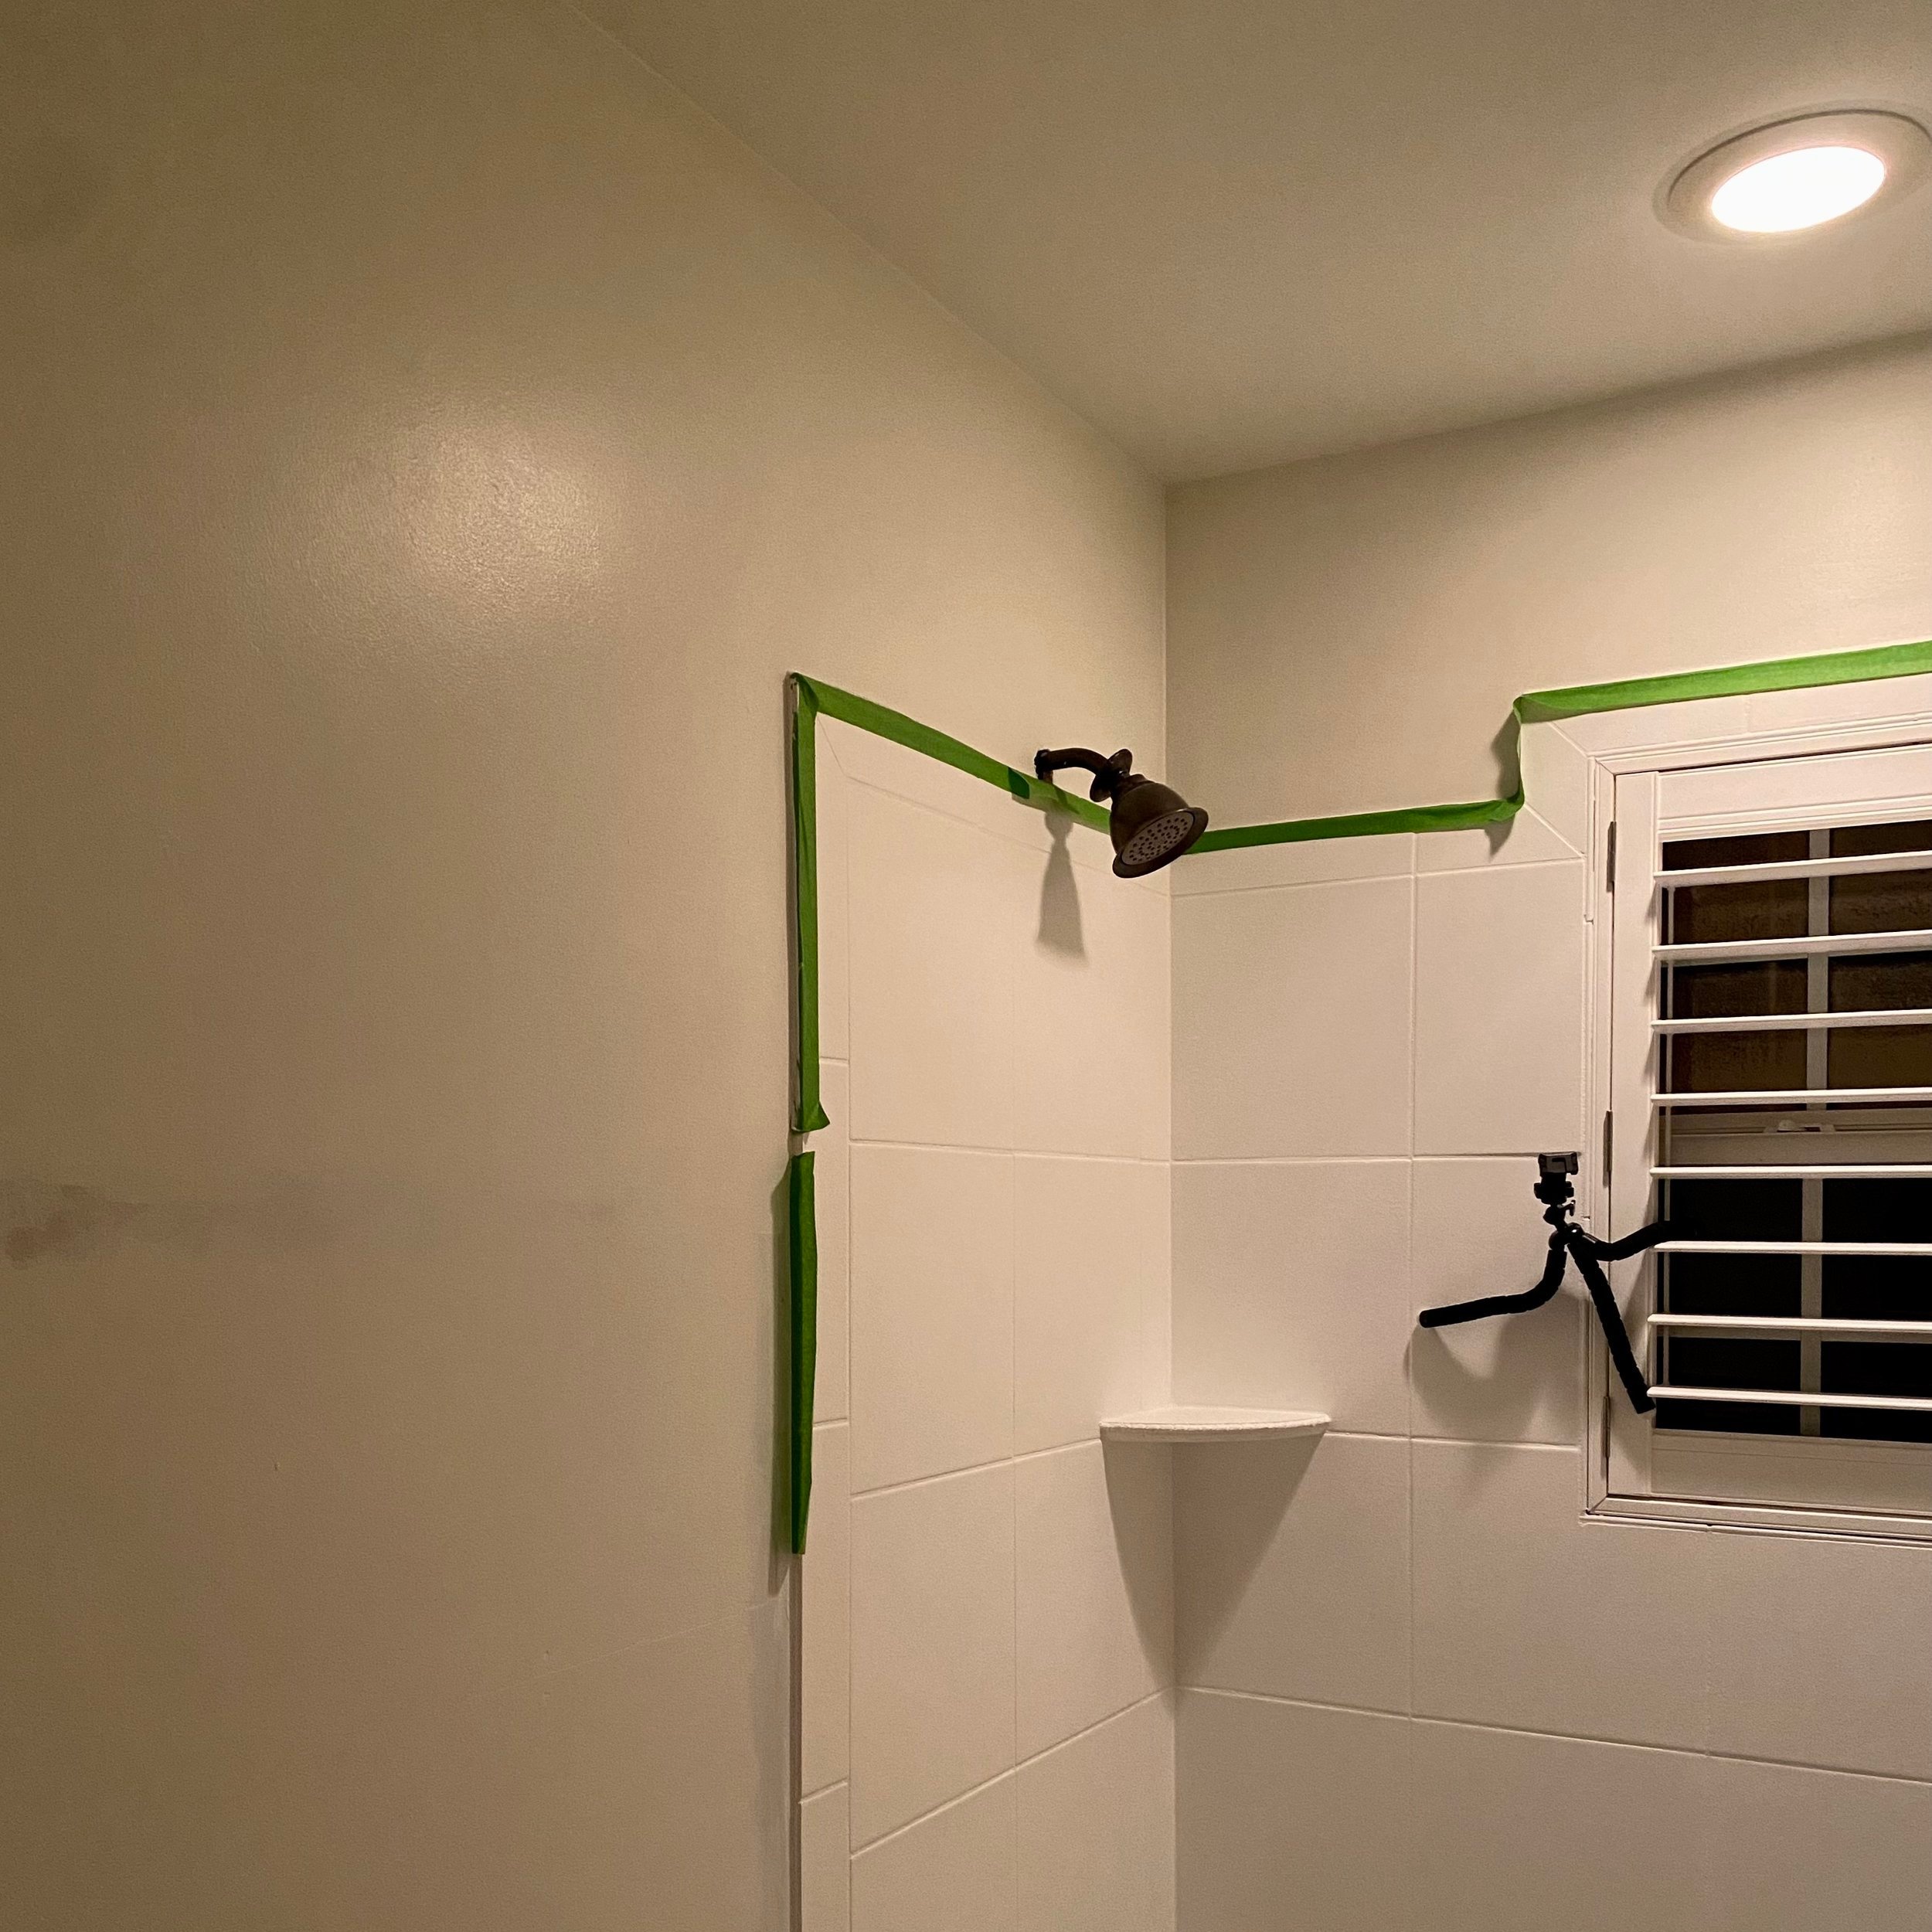
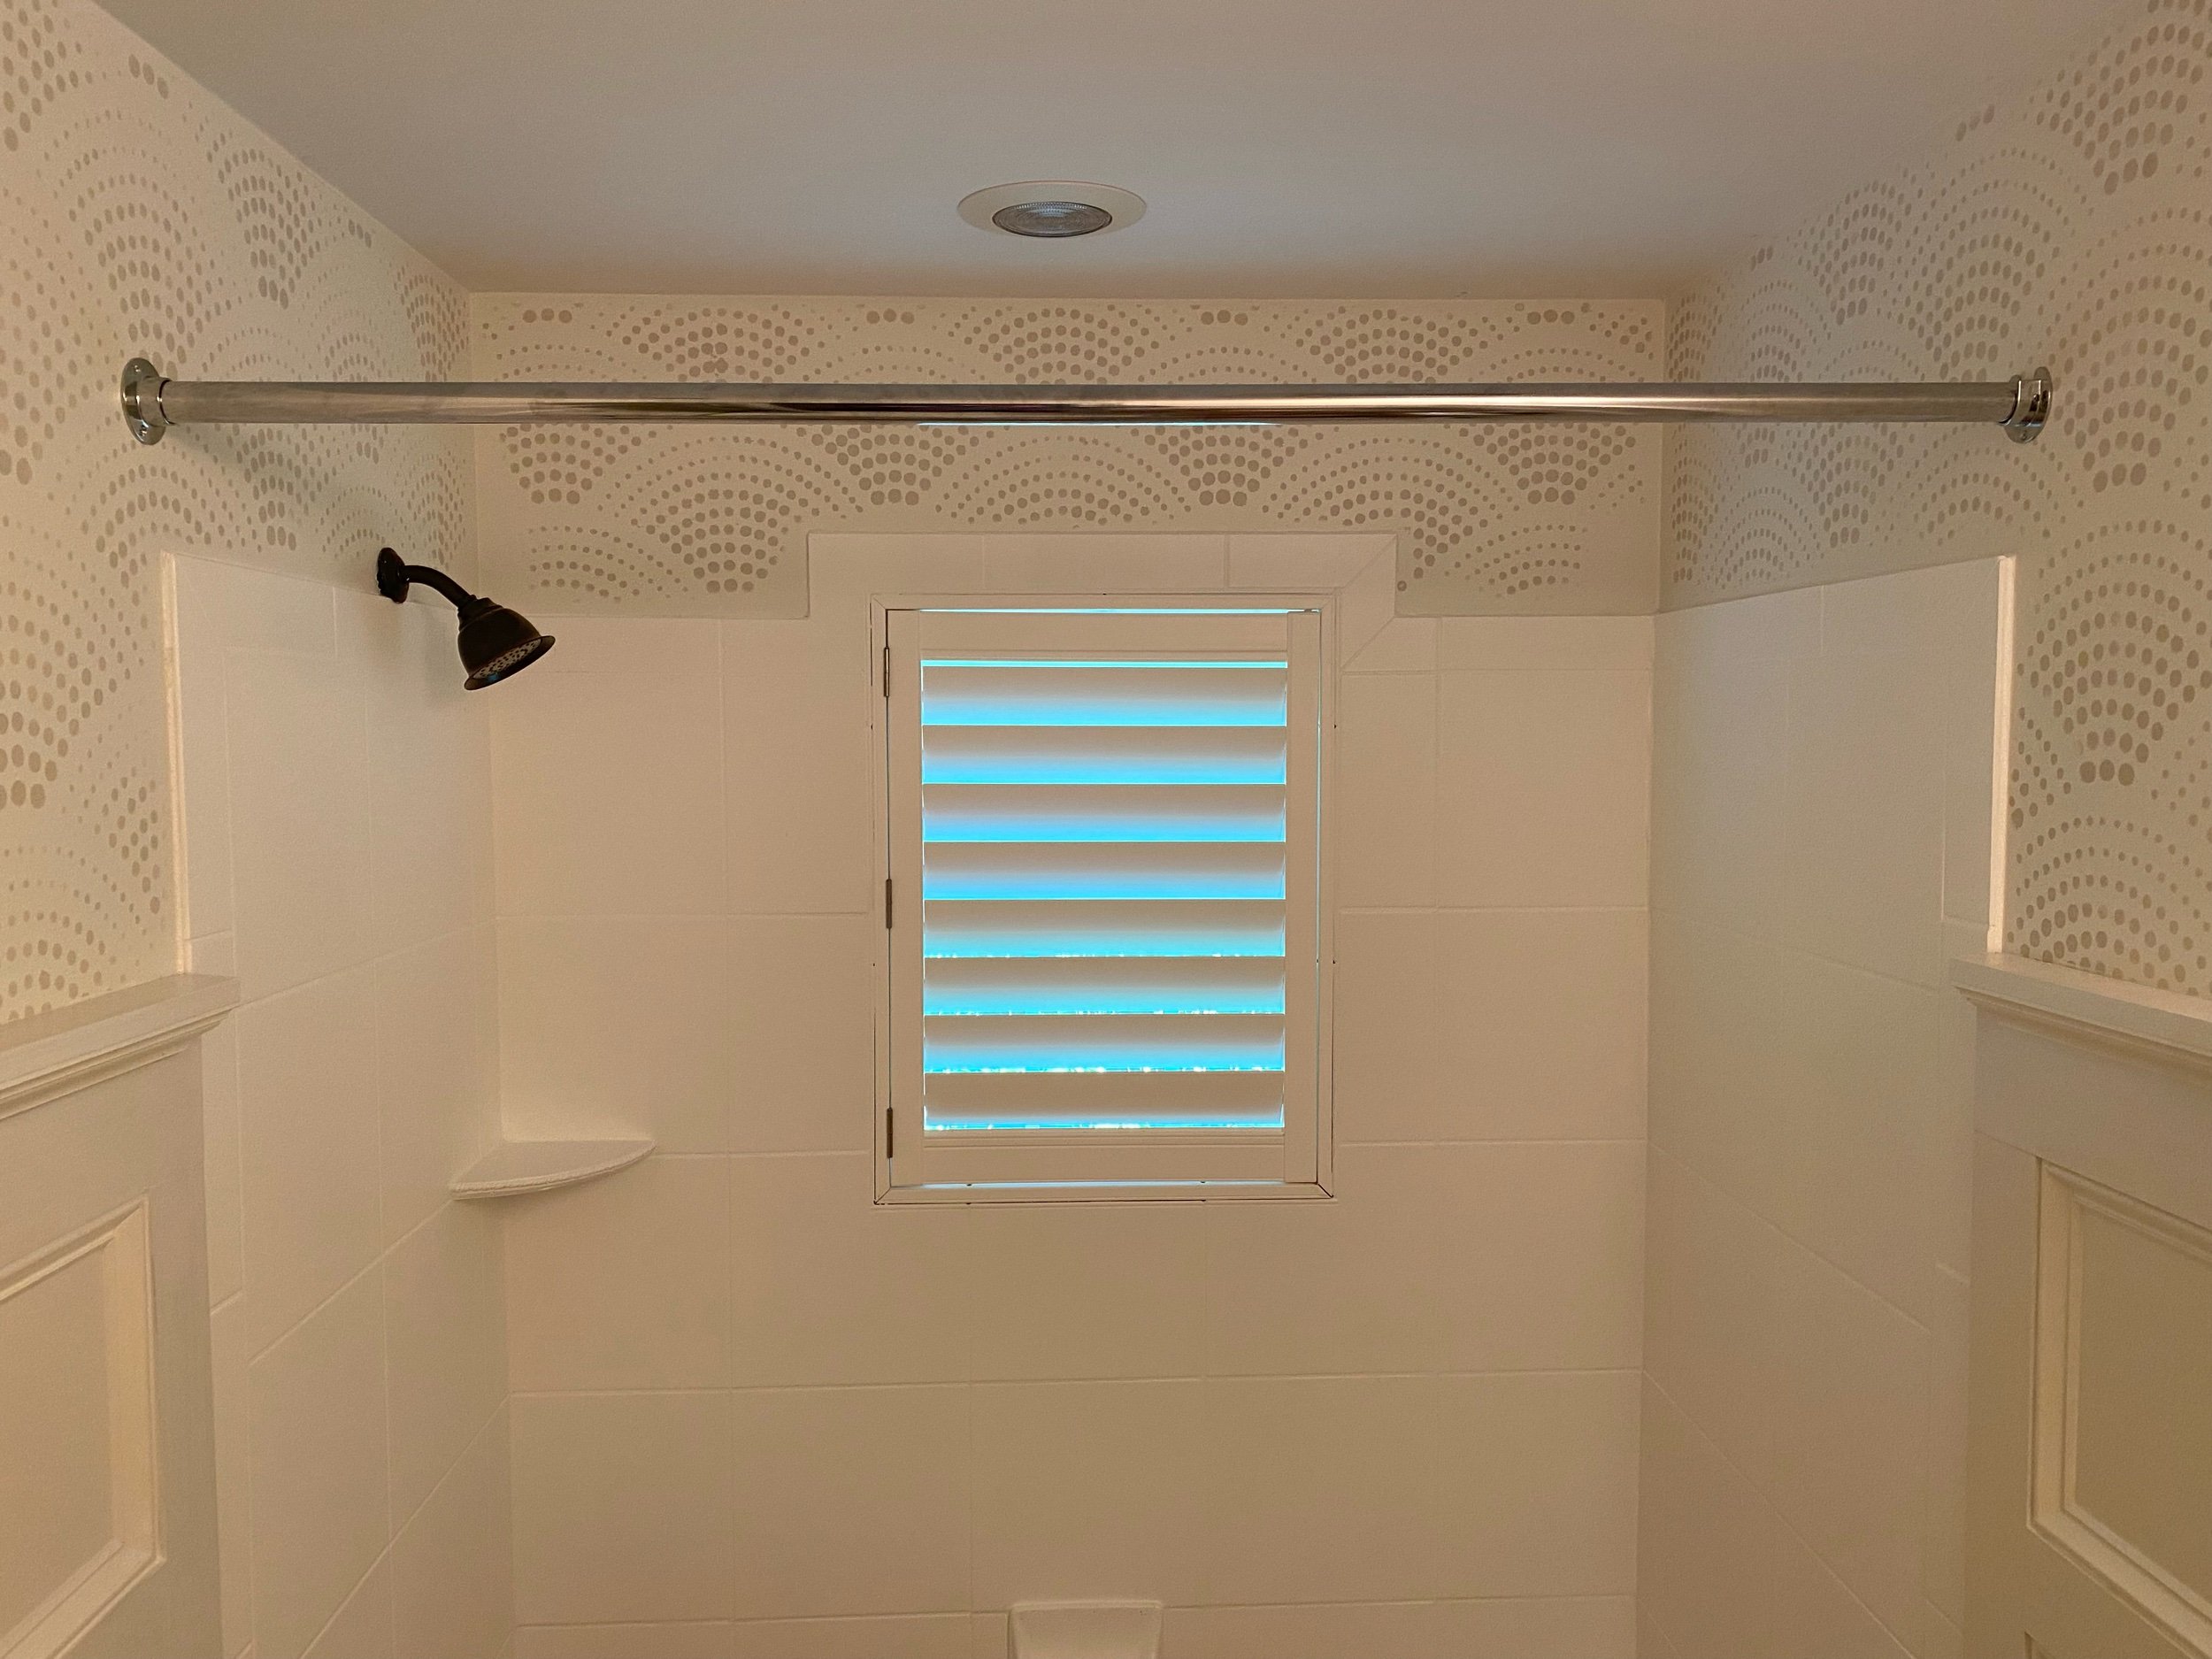
Painted the tile (it took three coats) with Behr Porch and Patio Floor Paint (linked here). (I will give my initial review of these products later).
WEEK THREE:
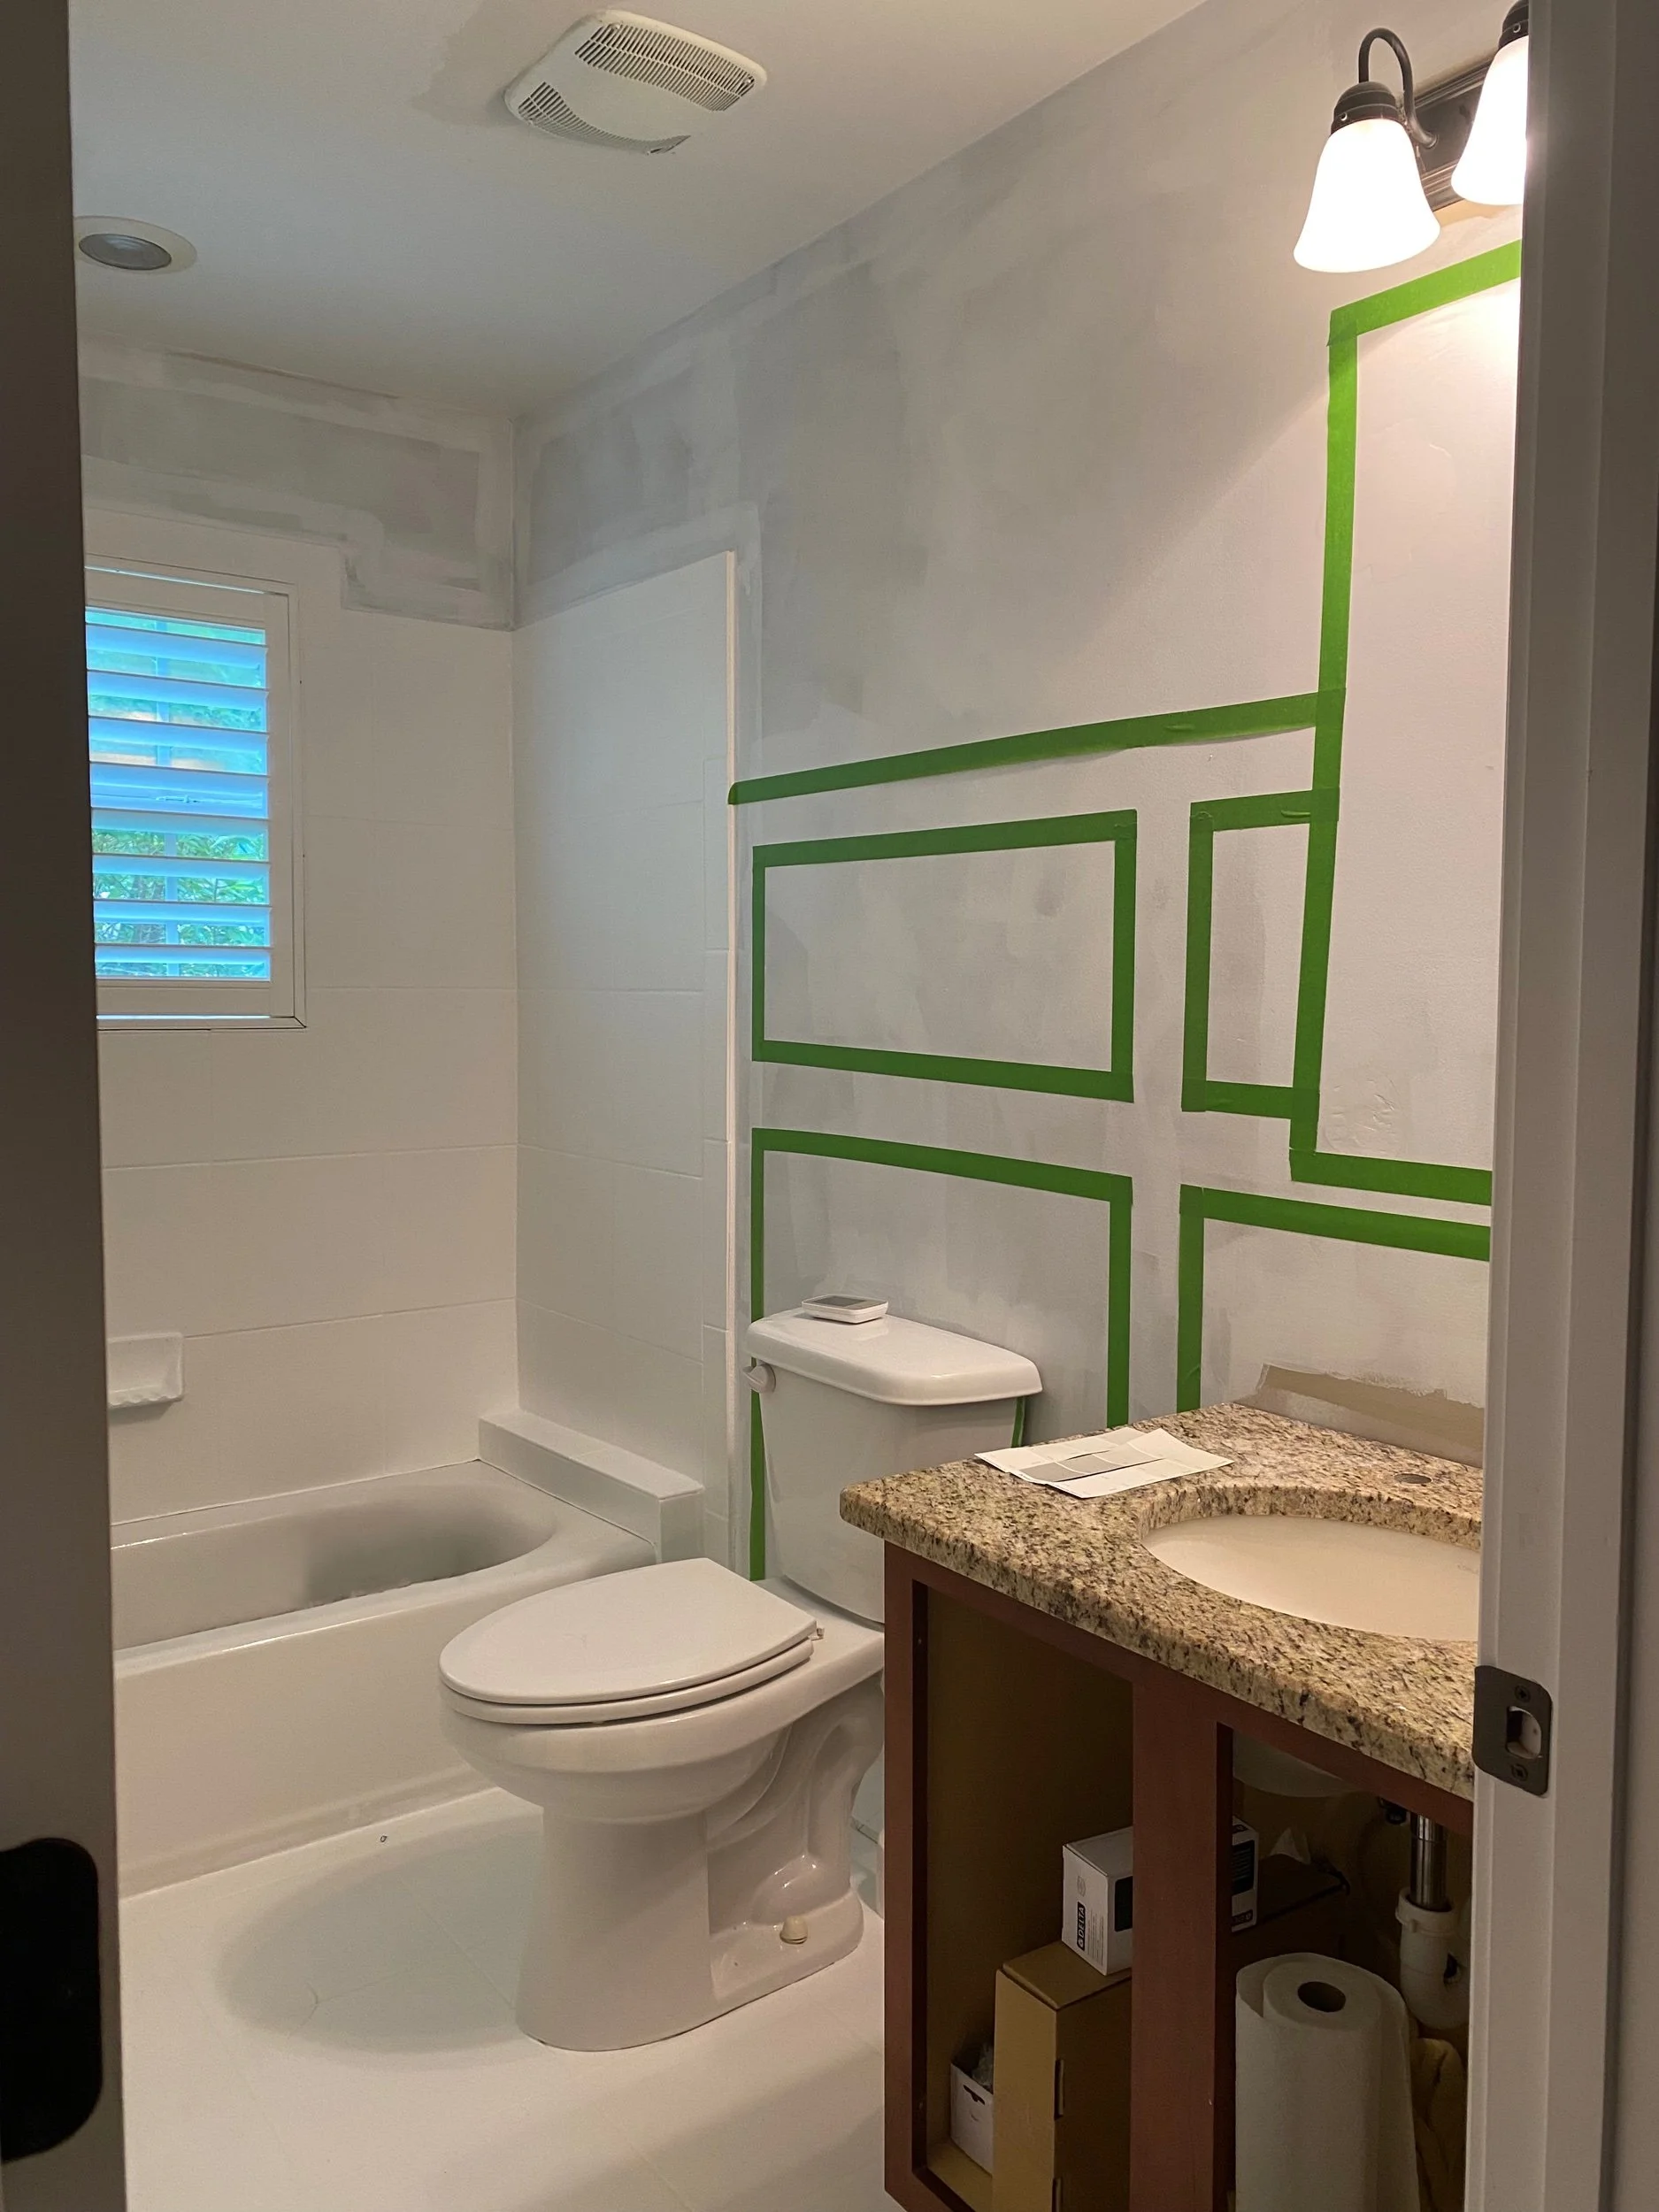
•Sealed the tile using Behr Concrete, Brick, and Tile Low-lustre Sealer. I did three coats, but if I had to do it again, I would stop at two, even though the directions say up to four coats. I wanted extra protection and durability but it shows a little yellow in some spots. (I plan on doing a full review of this process after the challenge is over!)
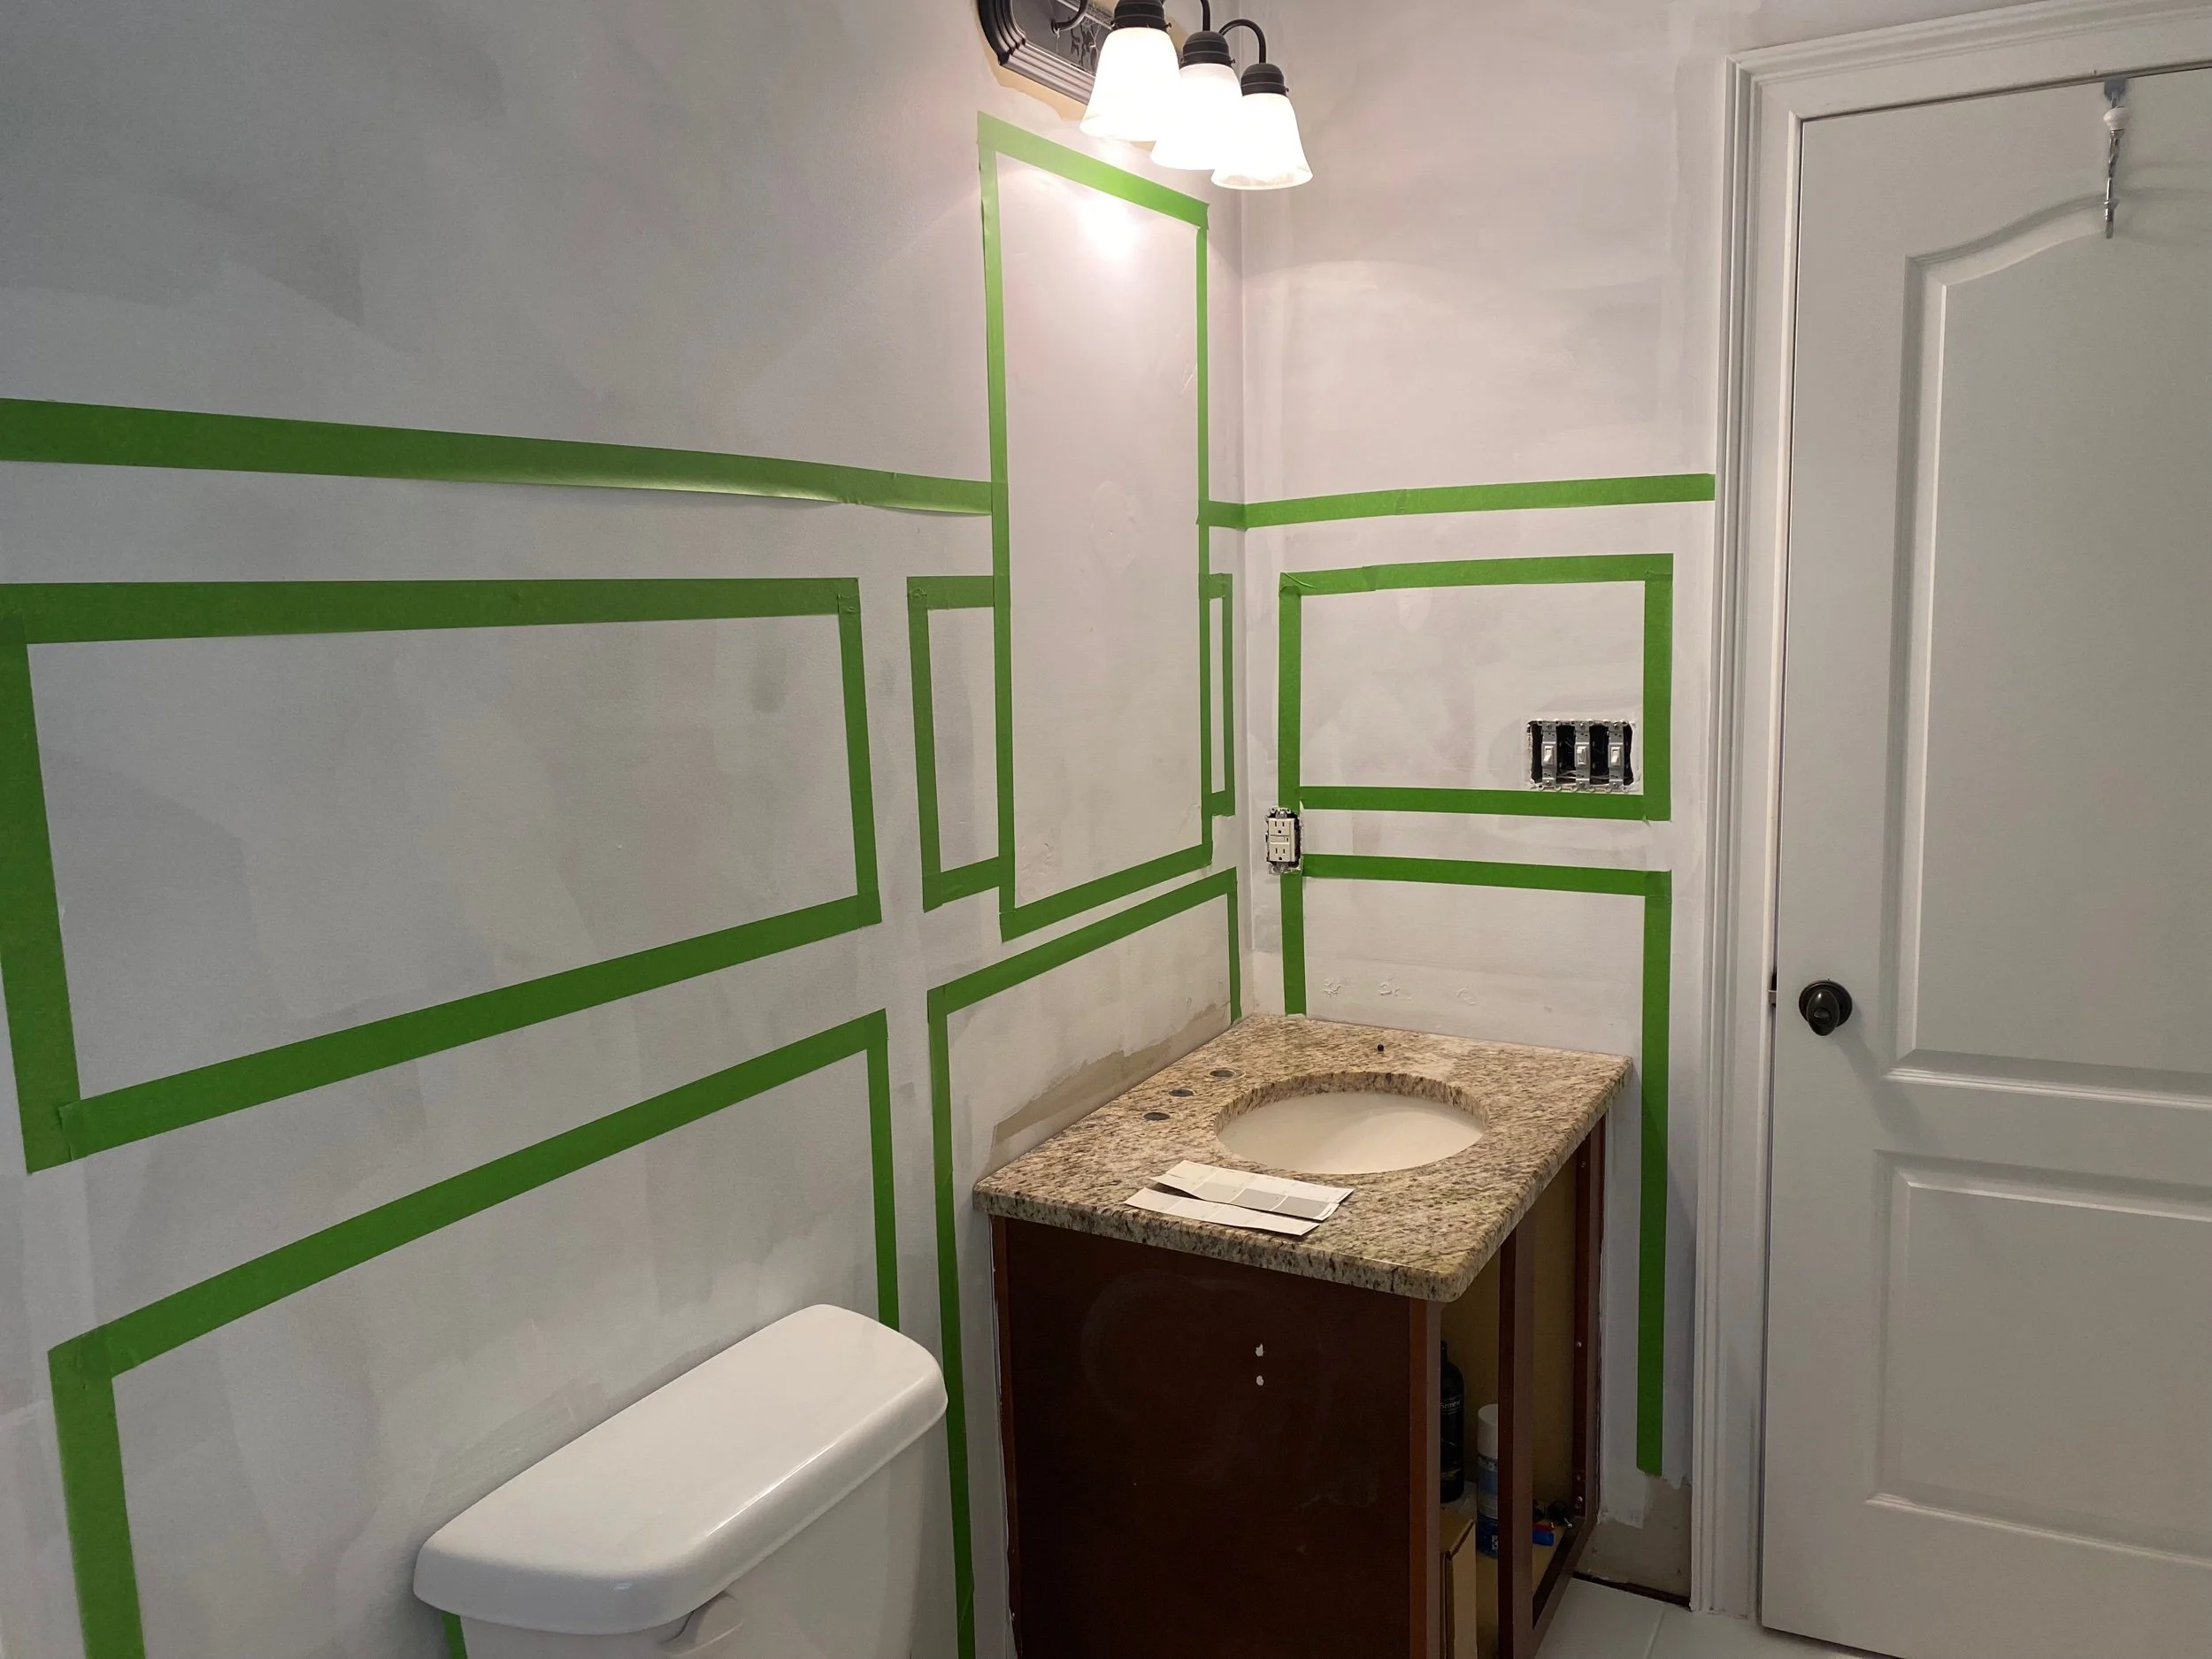
•Mapped out the board and batten using painter’s tape.
•Decided on paint colors for the wall and cabinet.
•Removed the faucet.
WEEK FOUR:
Removed the old light fixture and ordered a new light fixture (that I LOVE). And because I don’t have a light in there my pictures are not the best this week.
Sanded, primed, and painted the cabinet.
Finished painting the base color on the walls (Color: SW Alabaster).
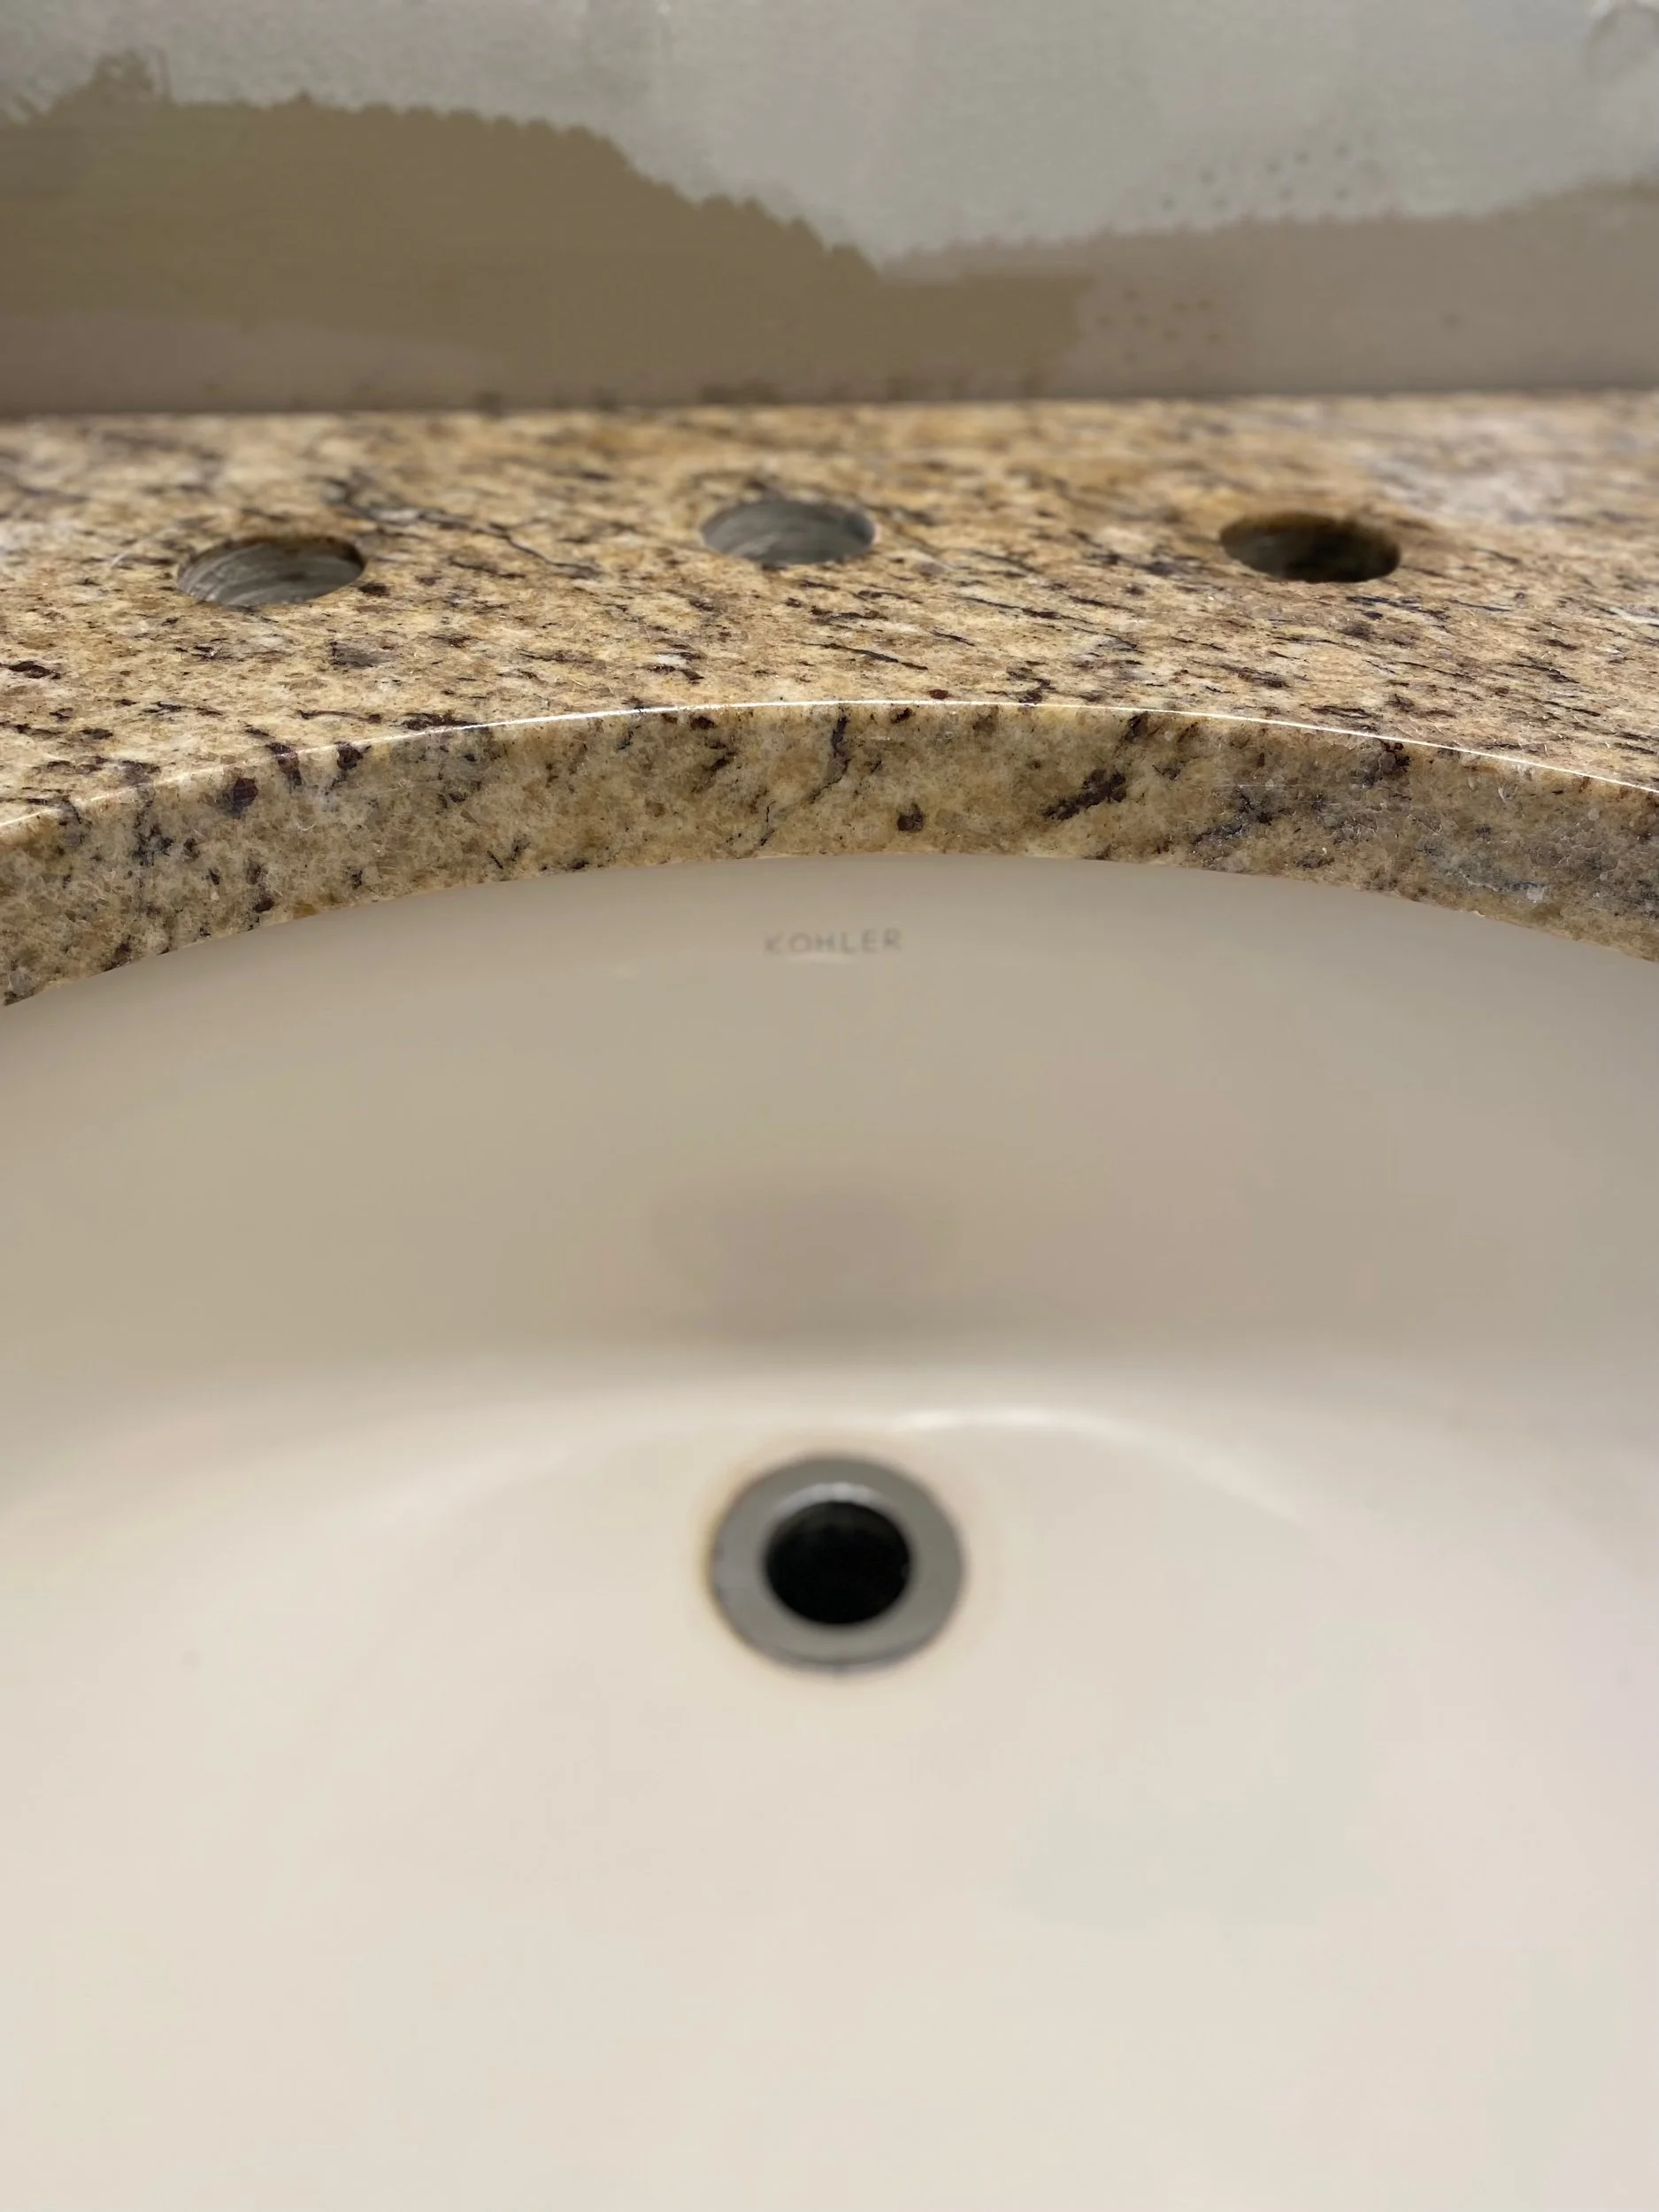
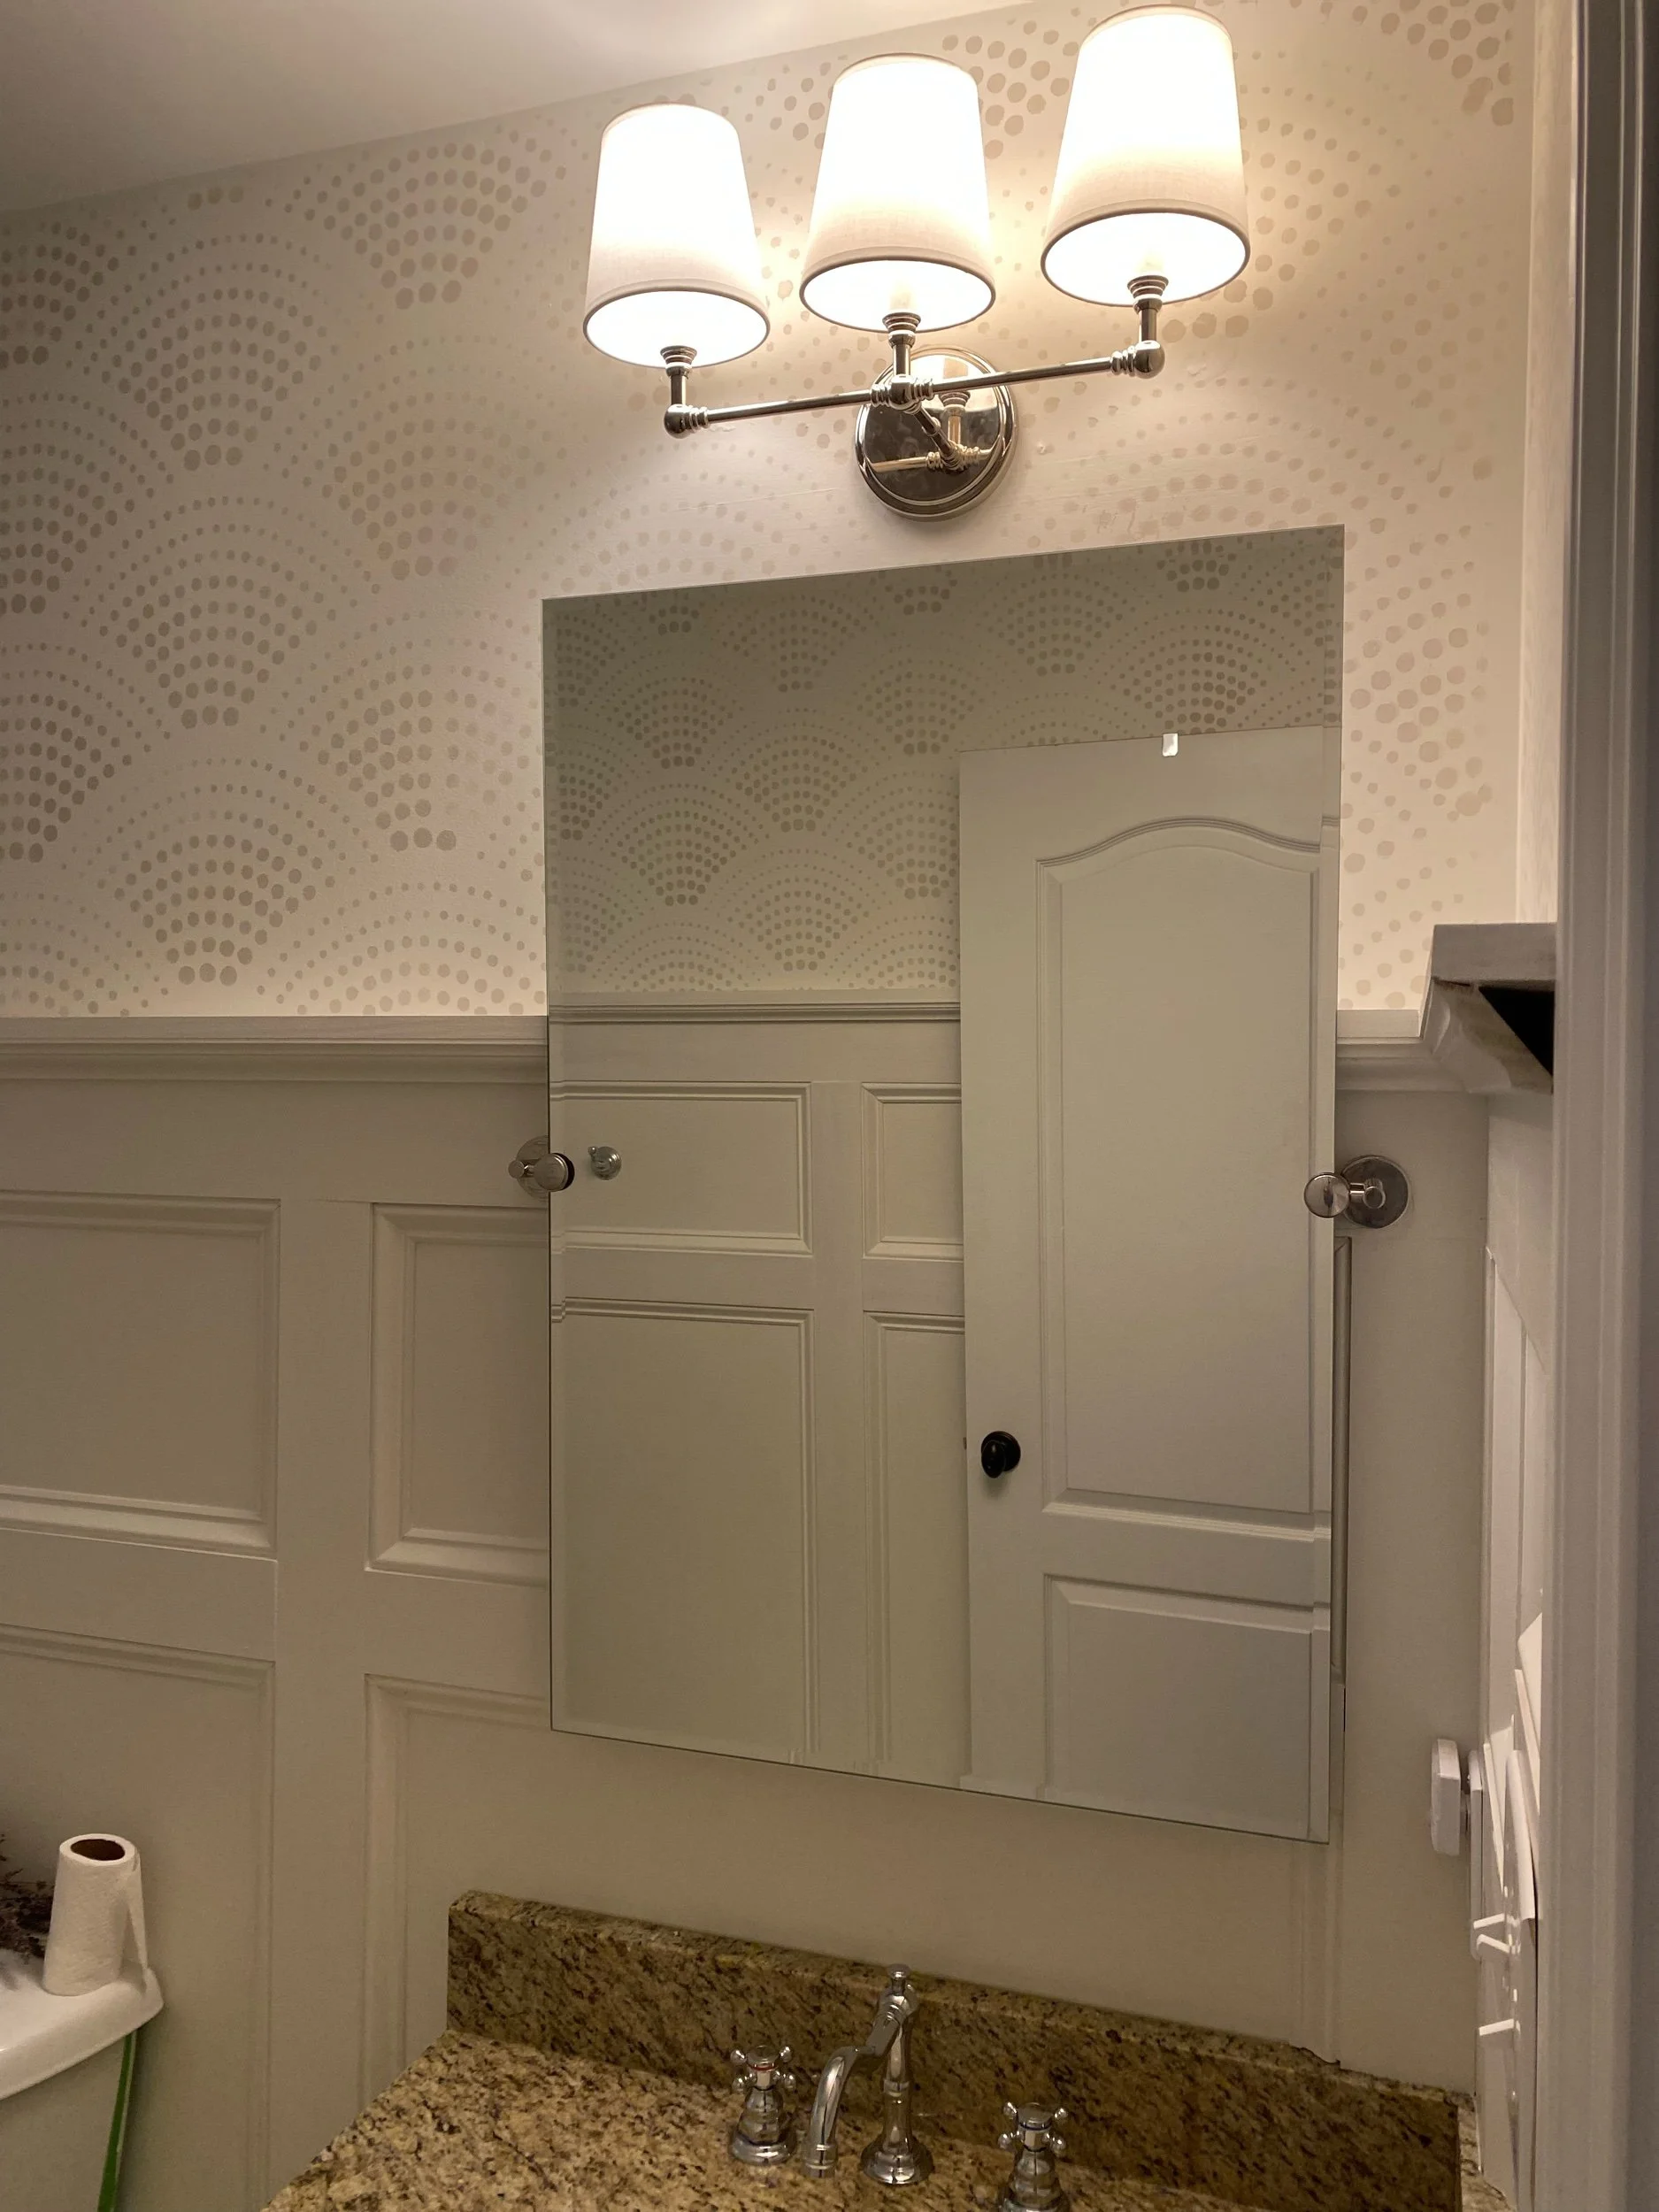
Reattached the granite backsplash to the vanity.
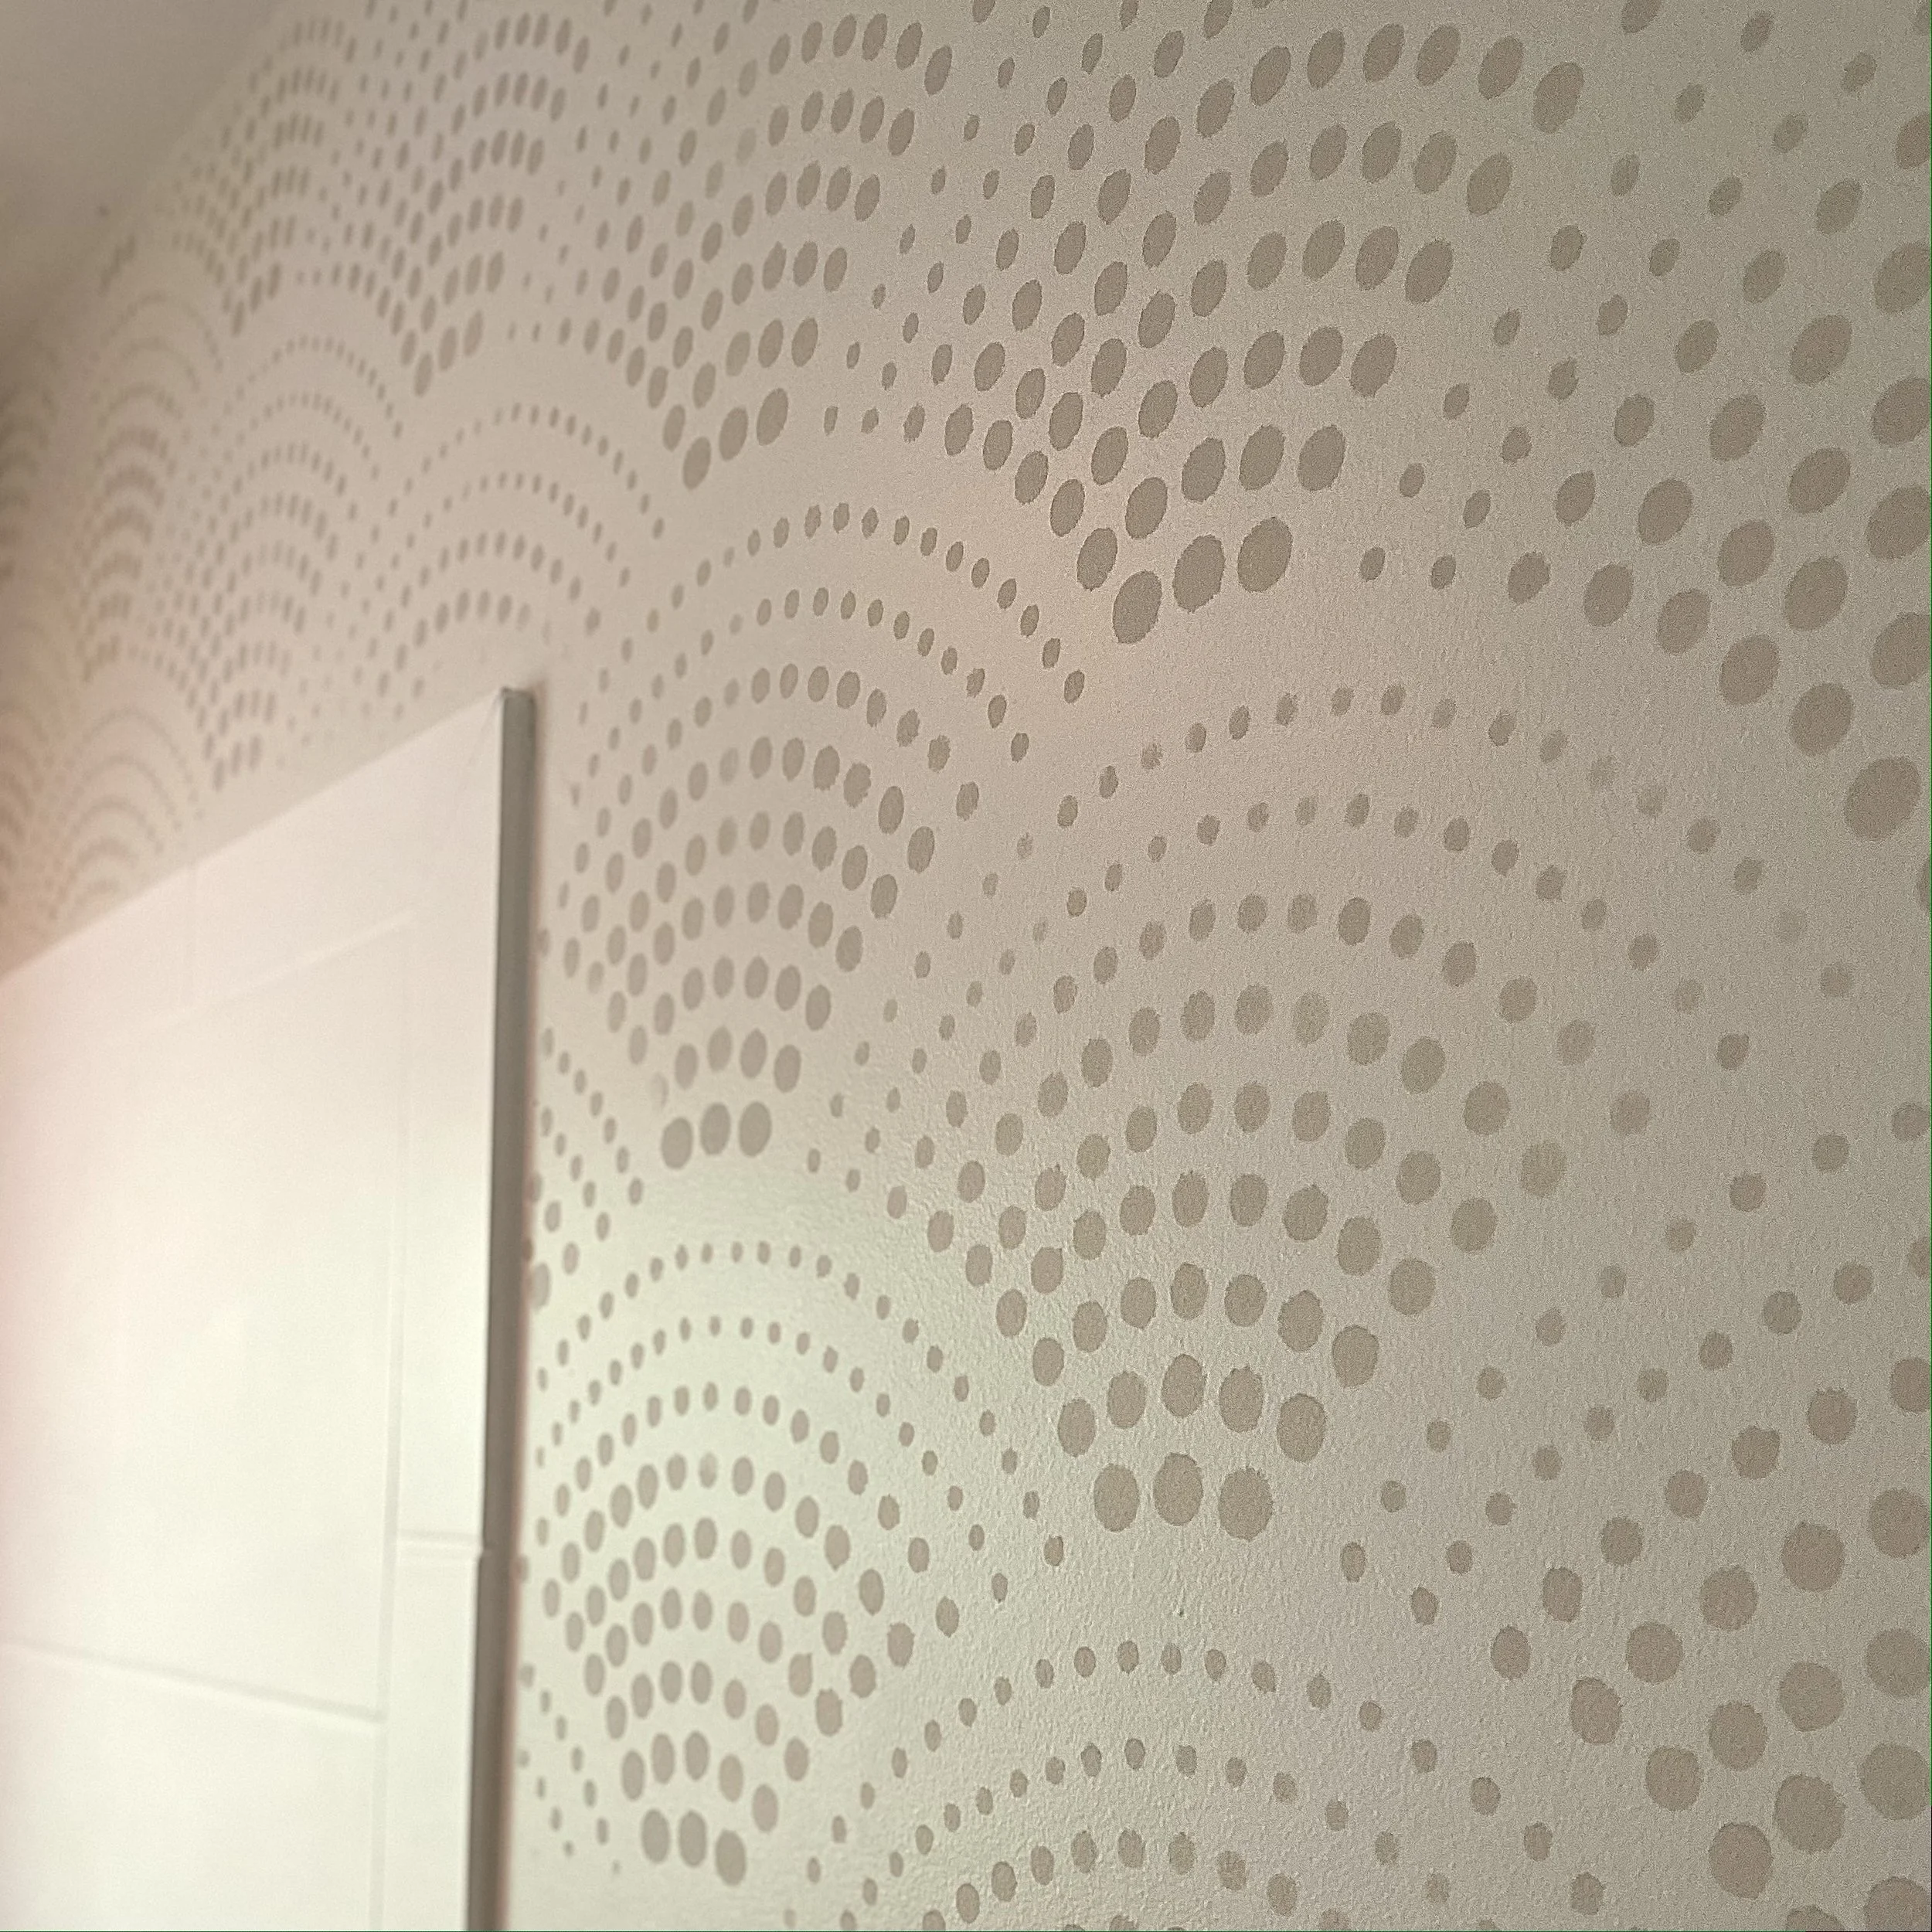
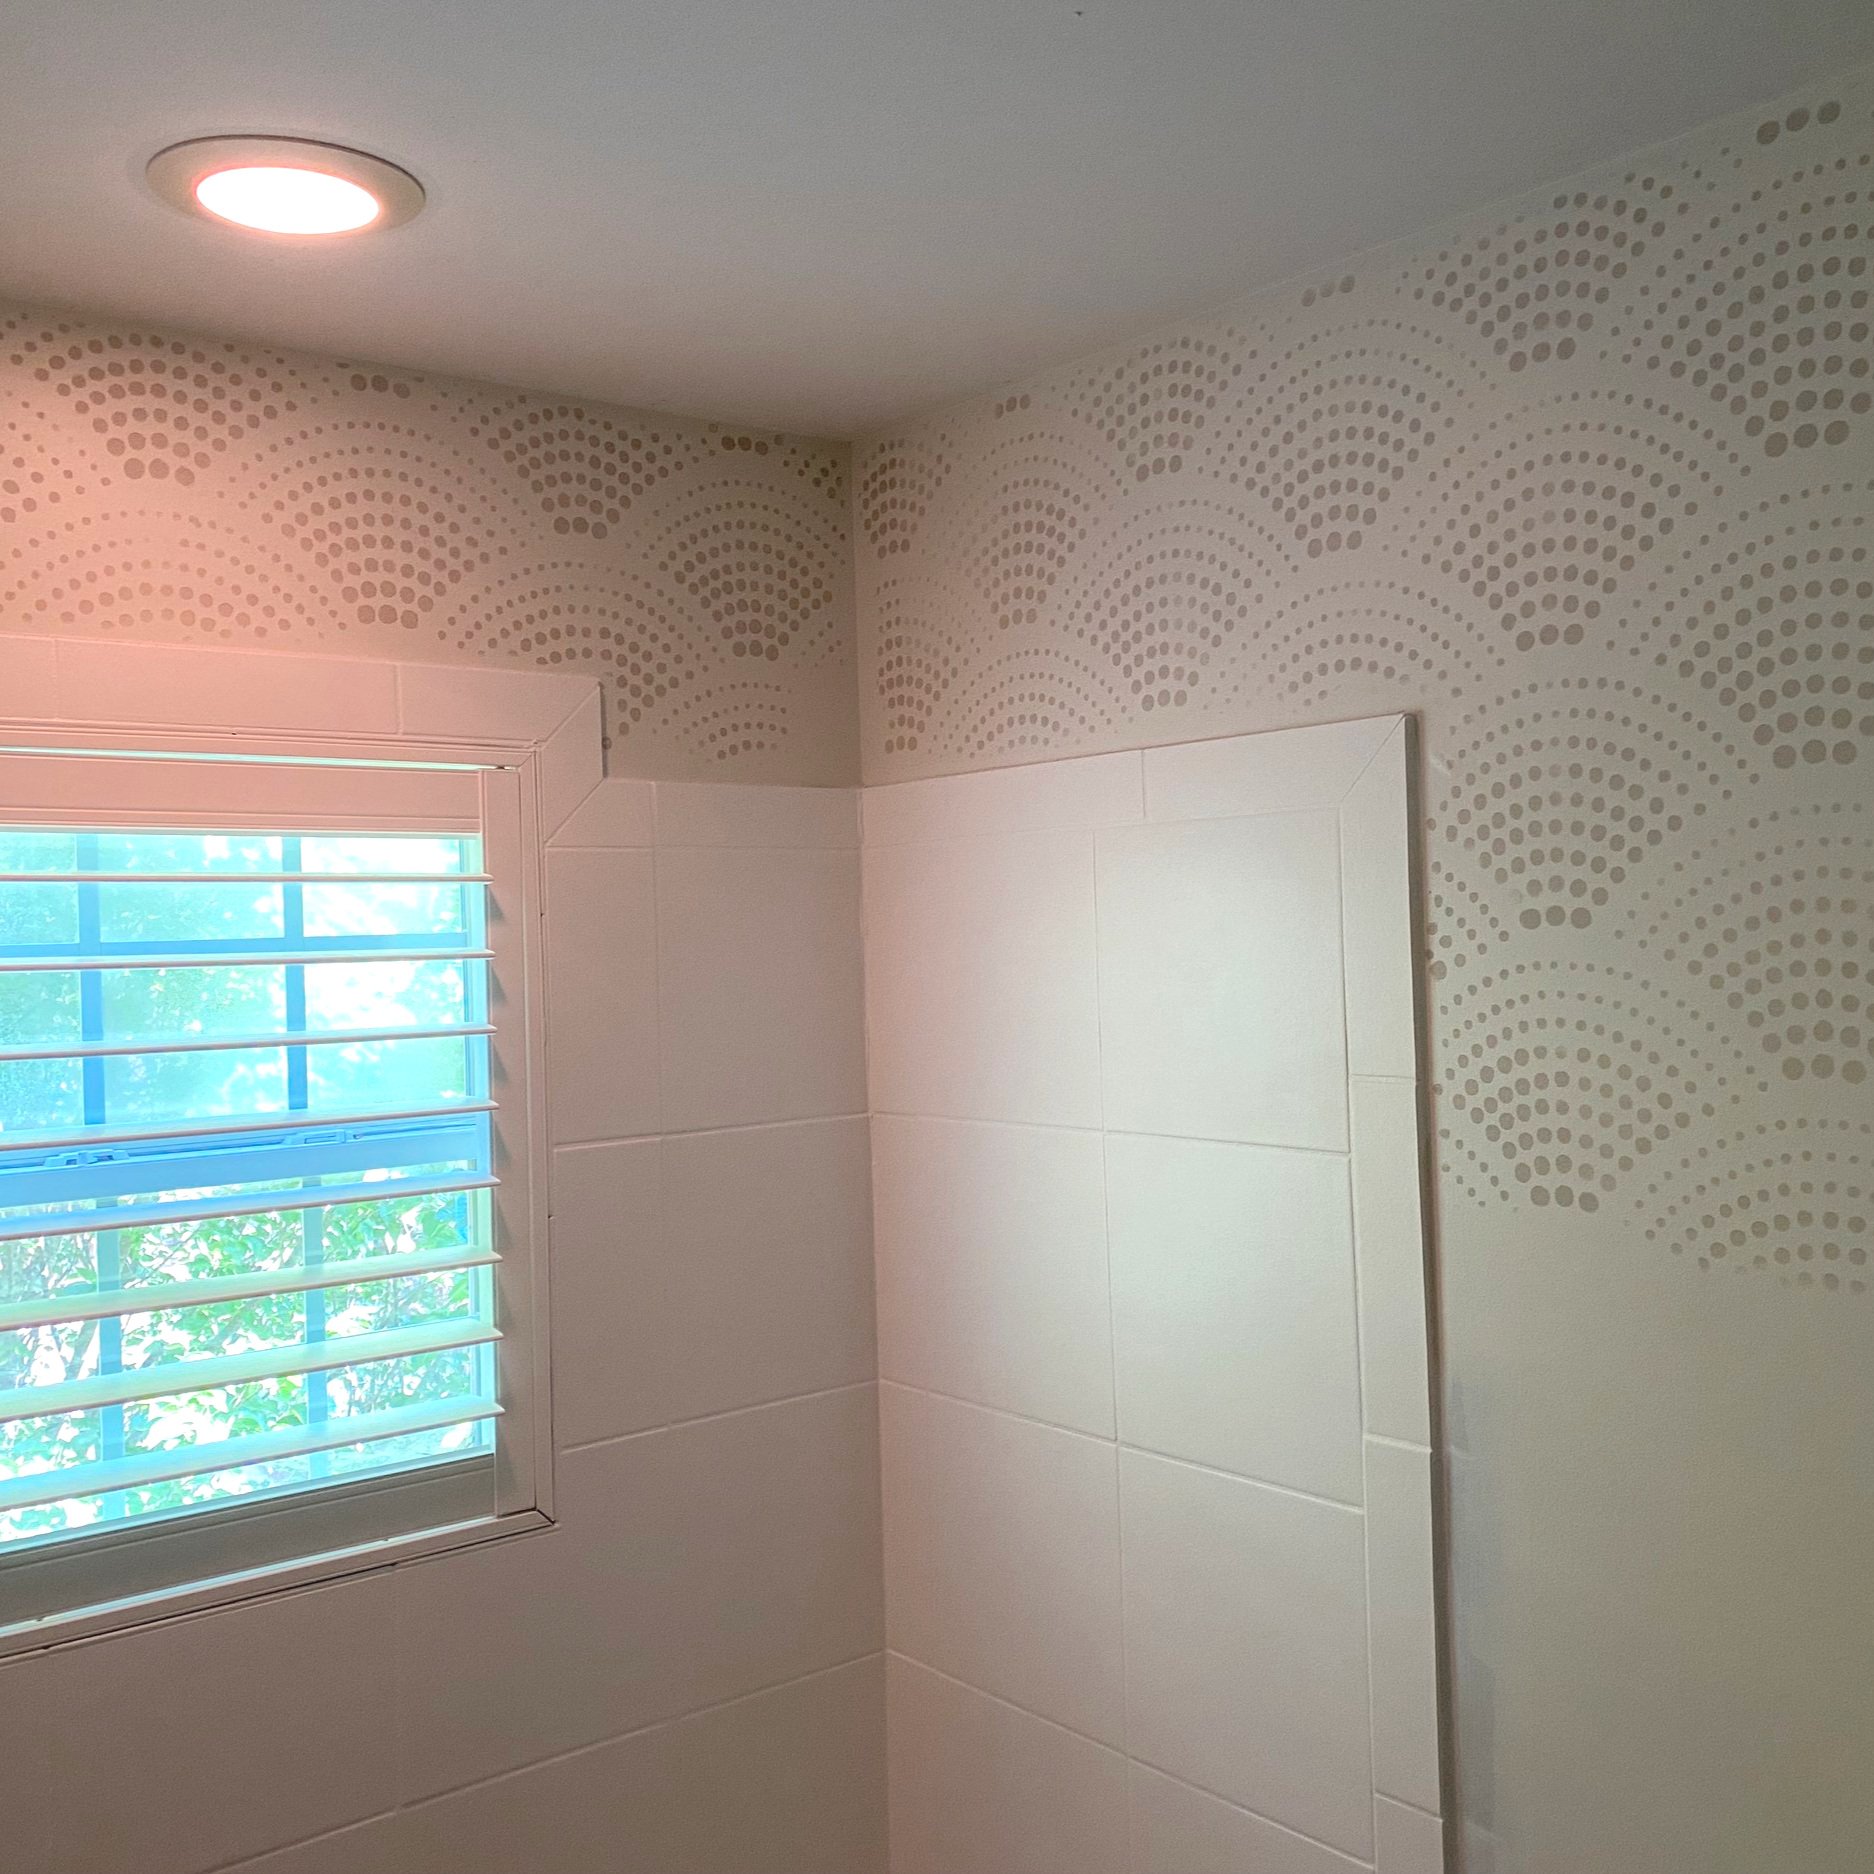
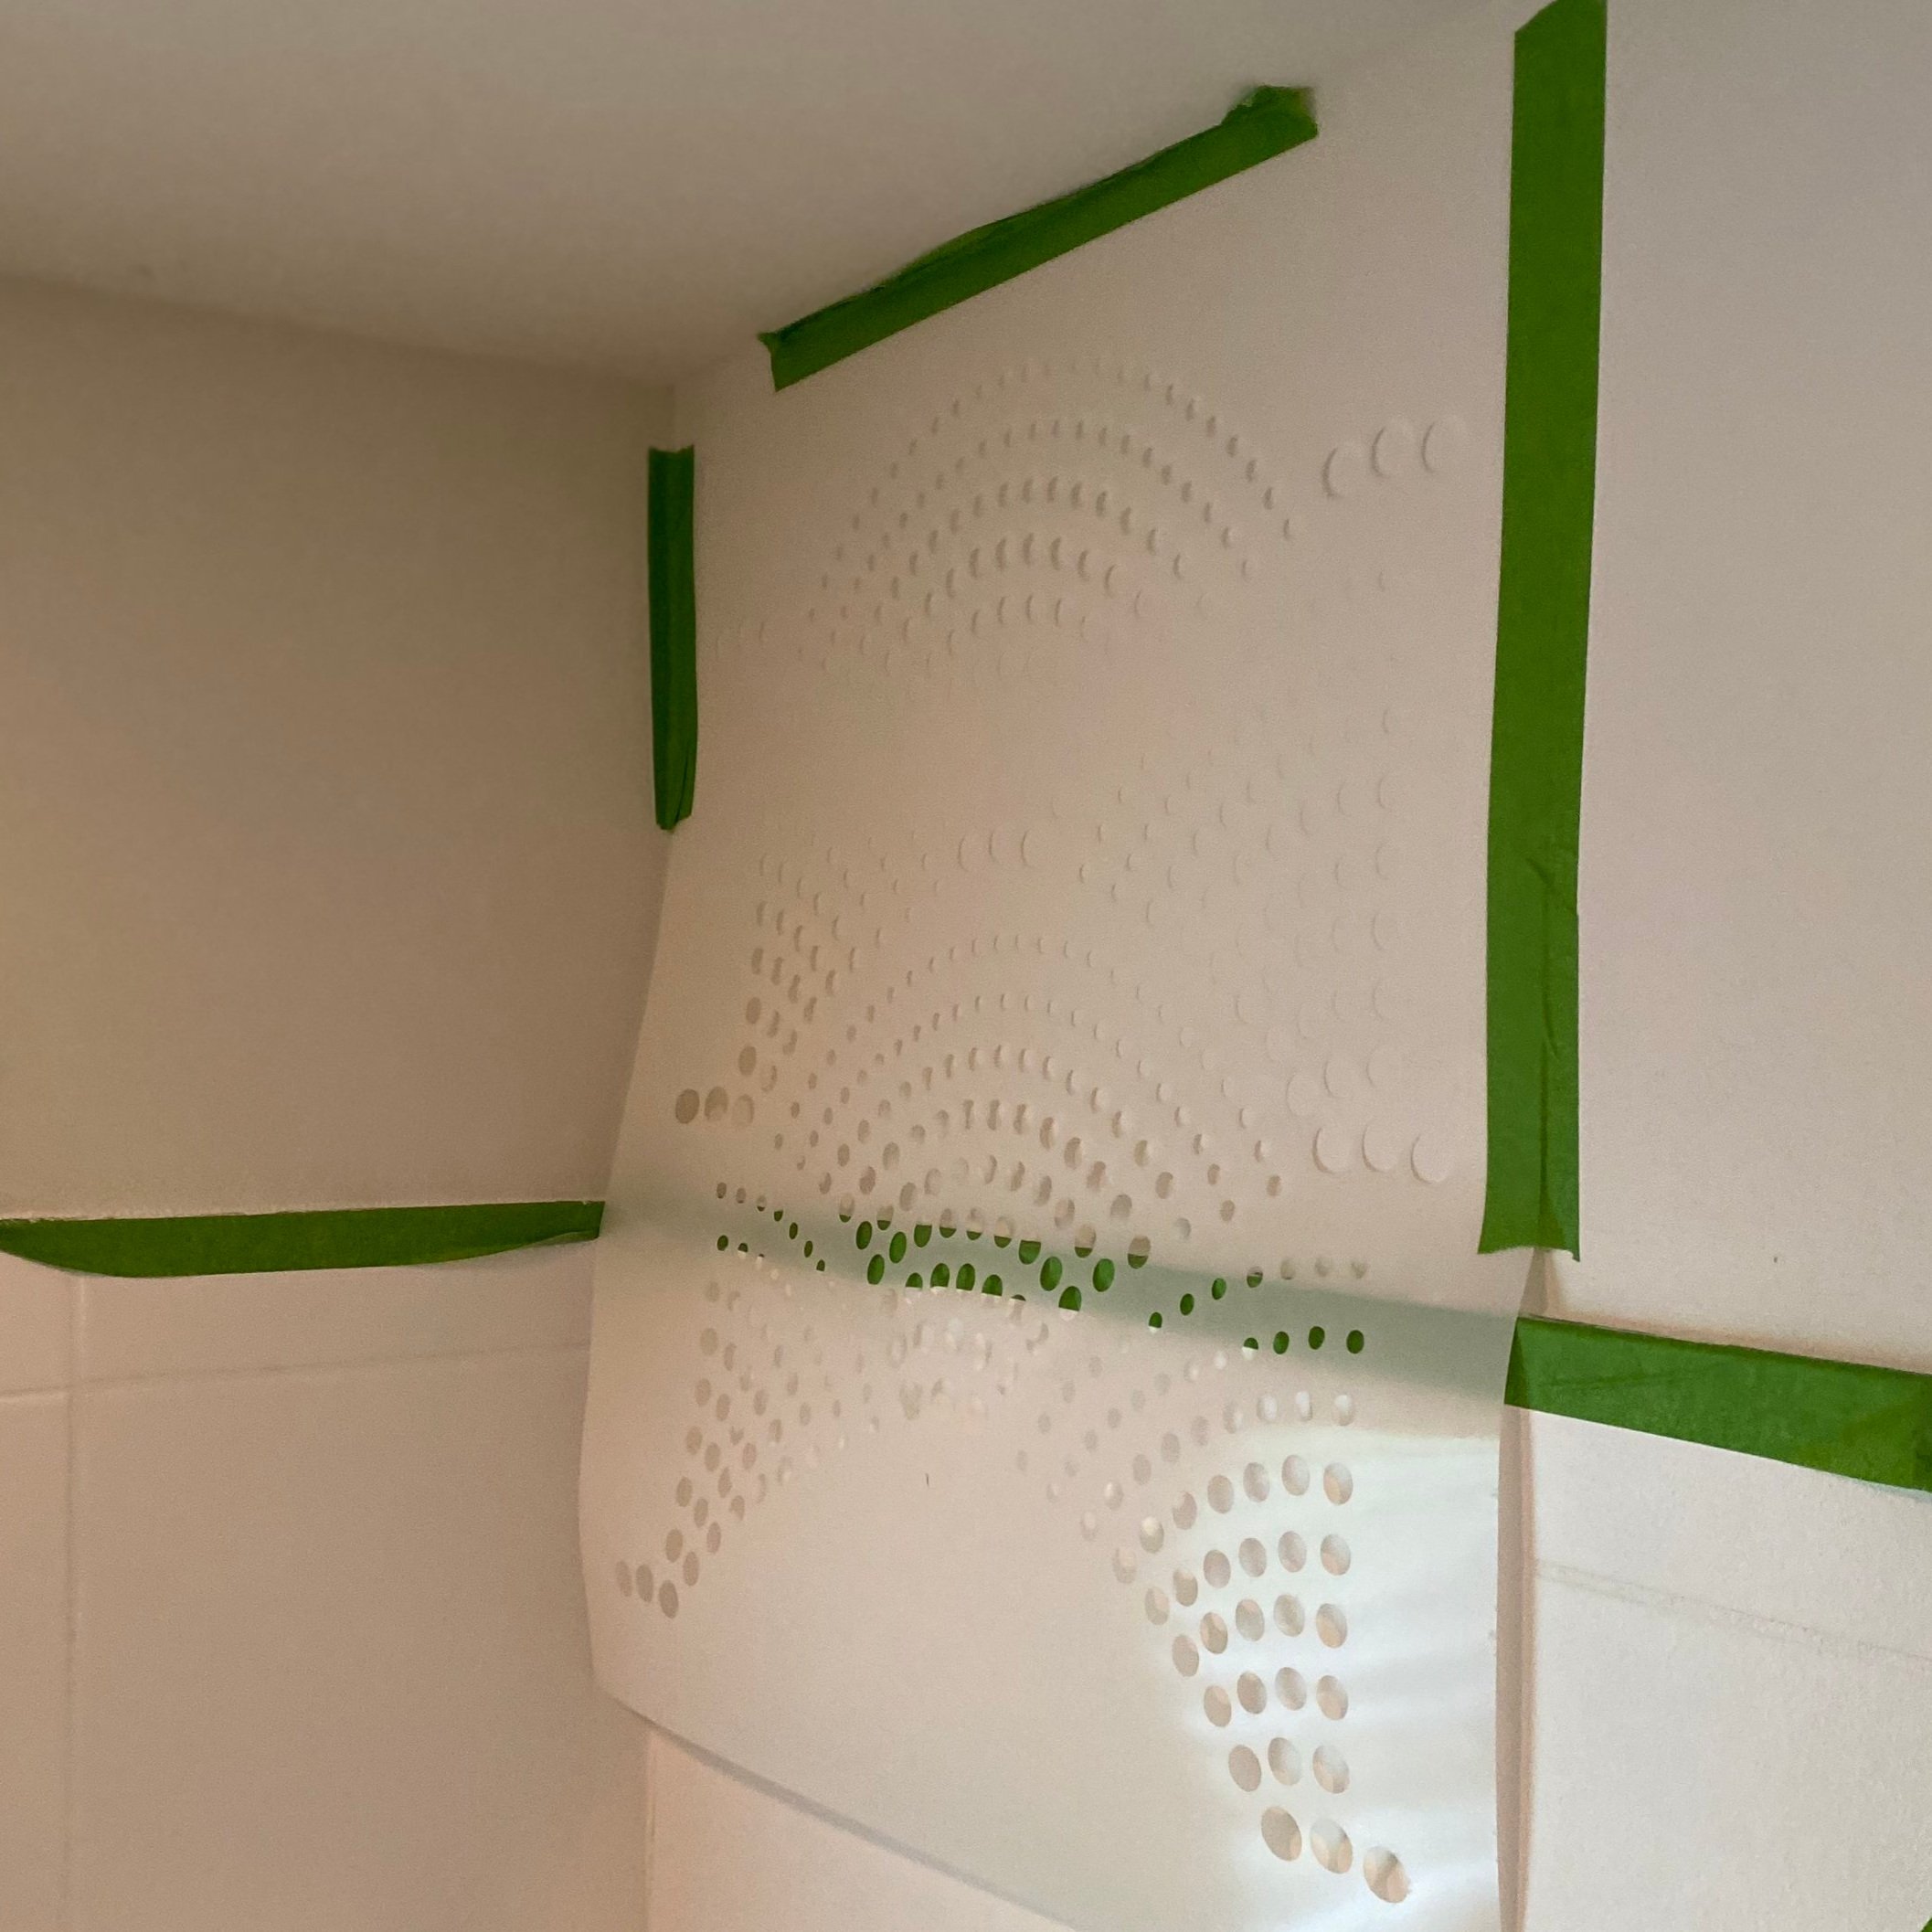
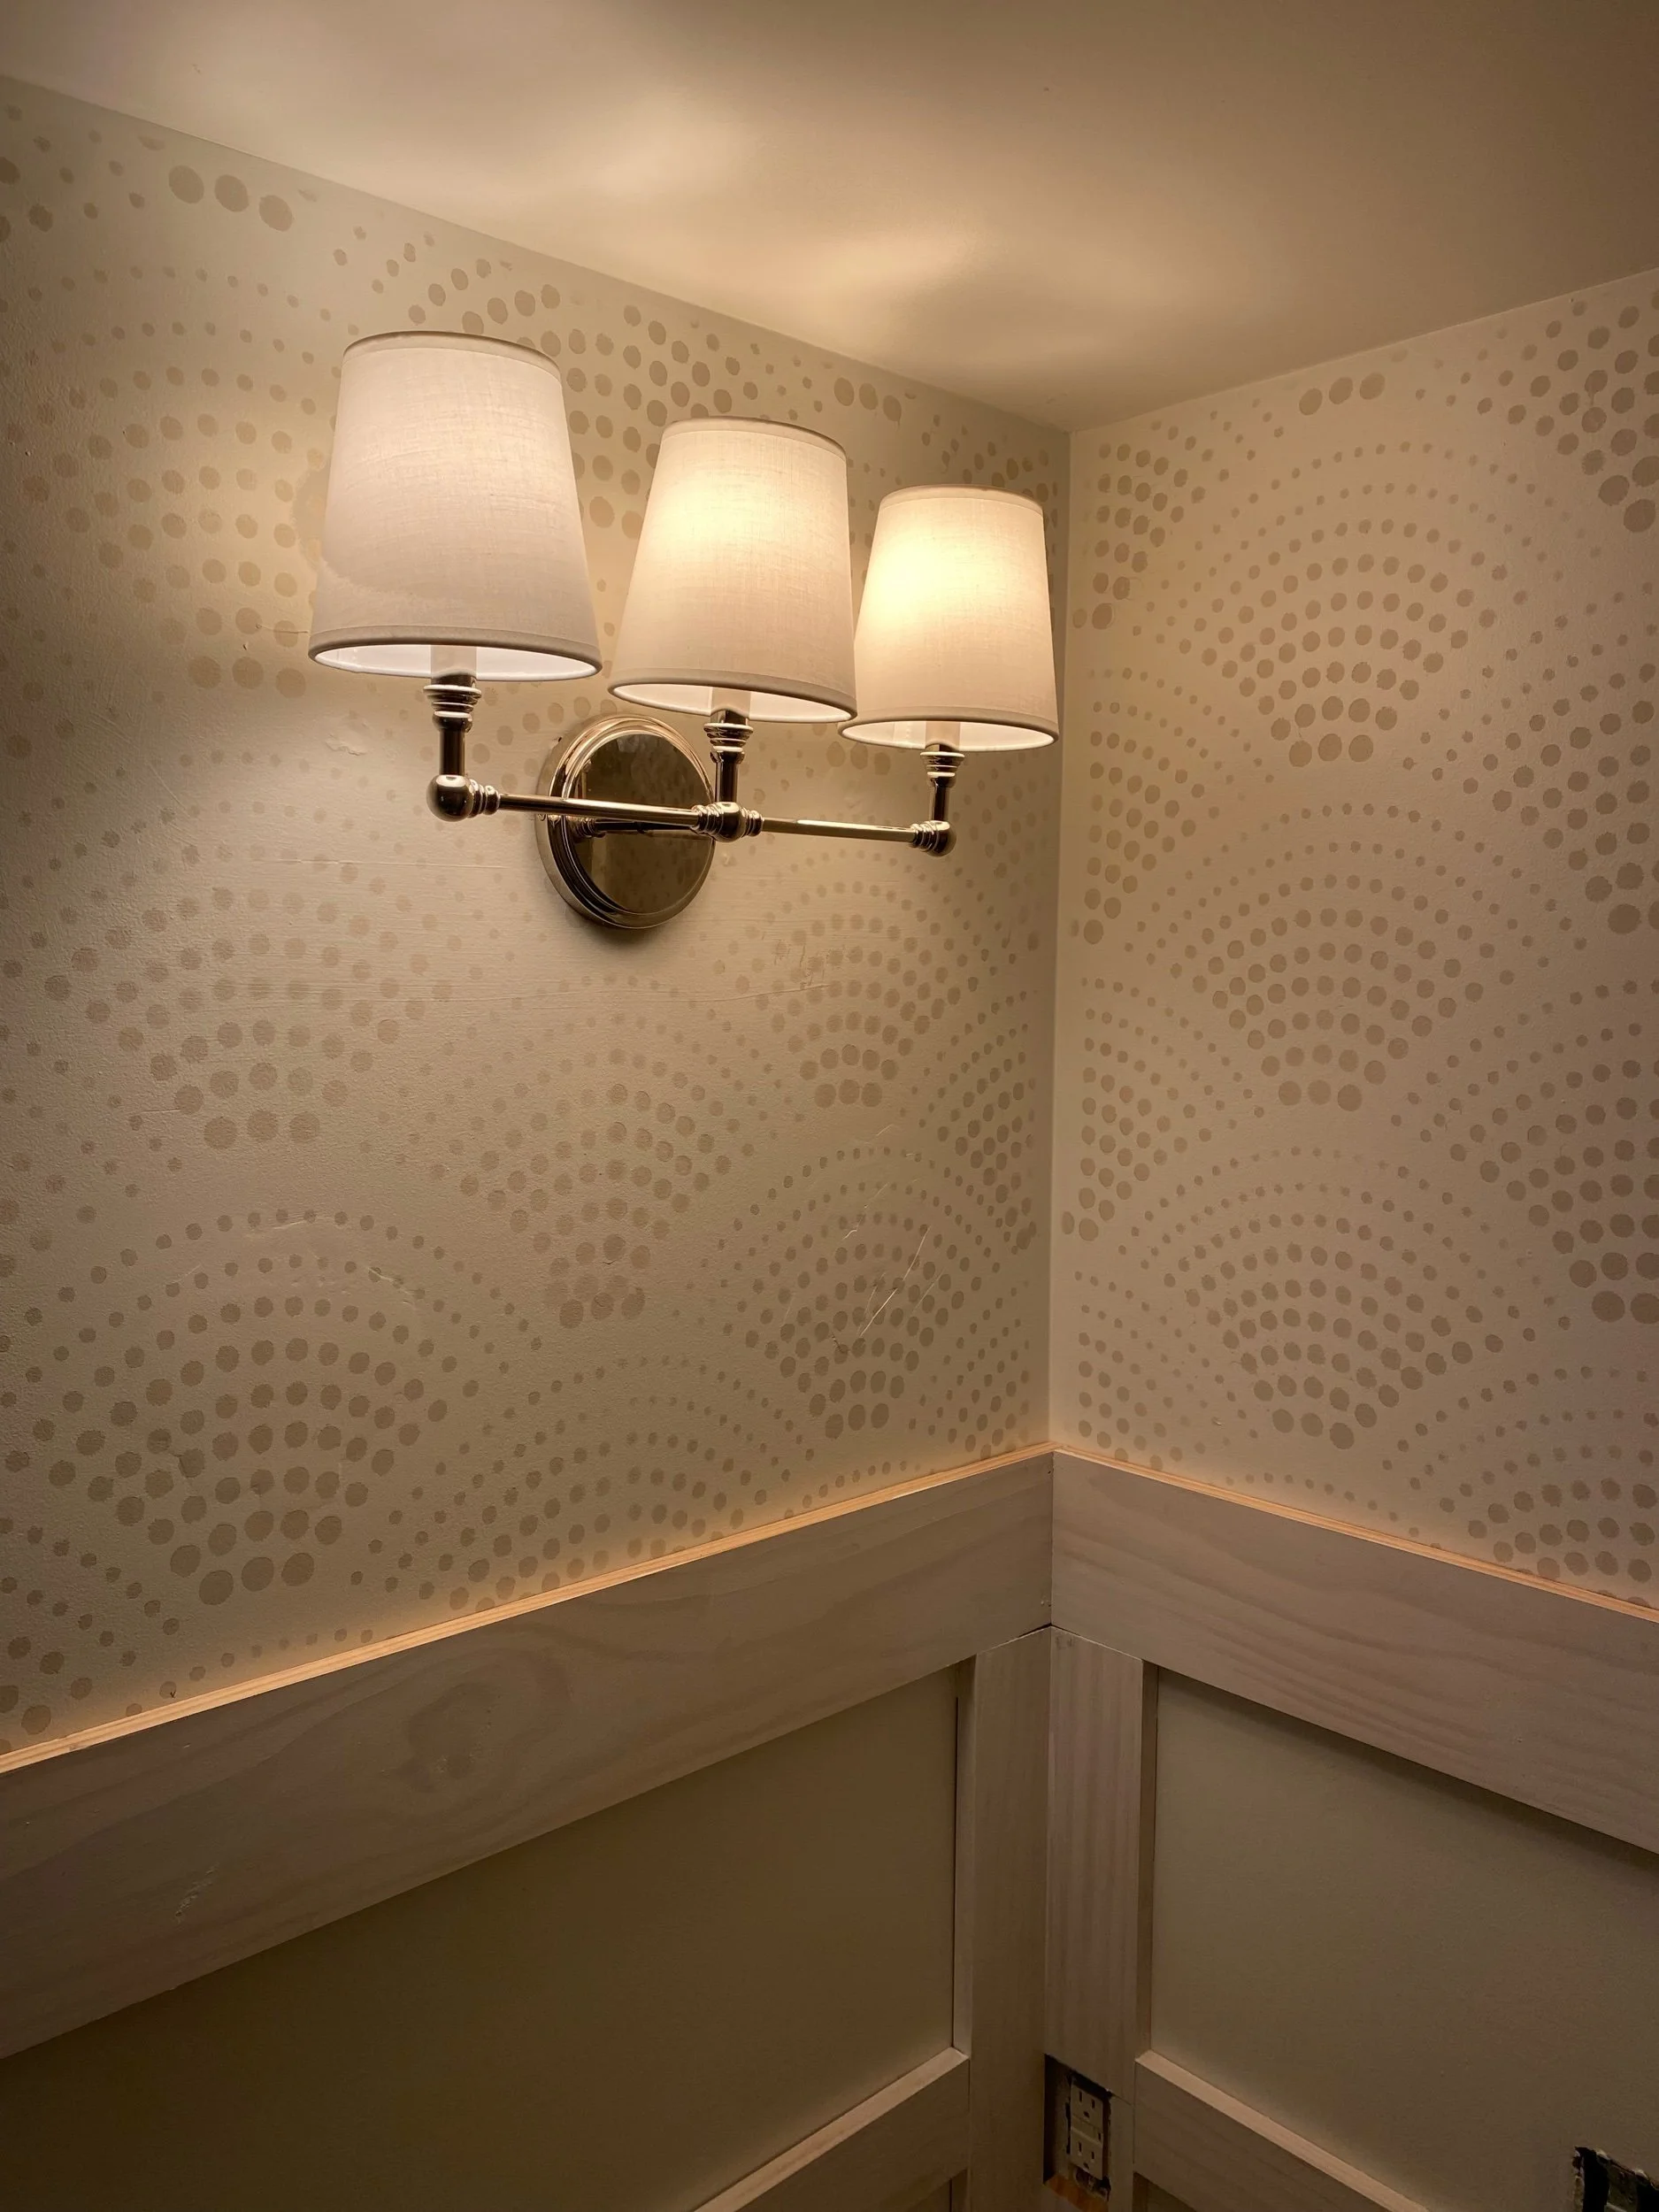
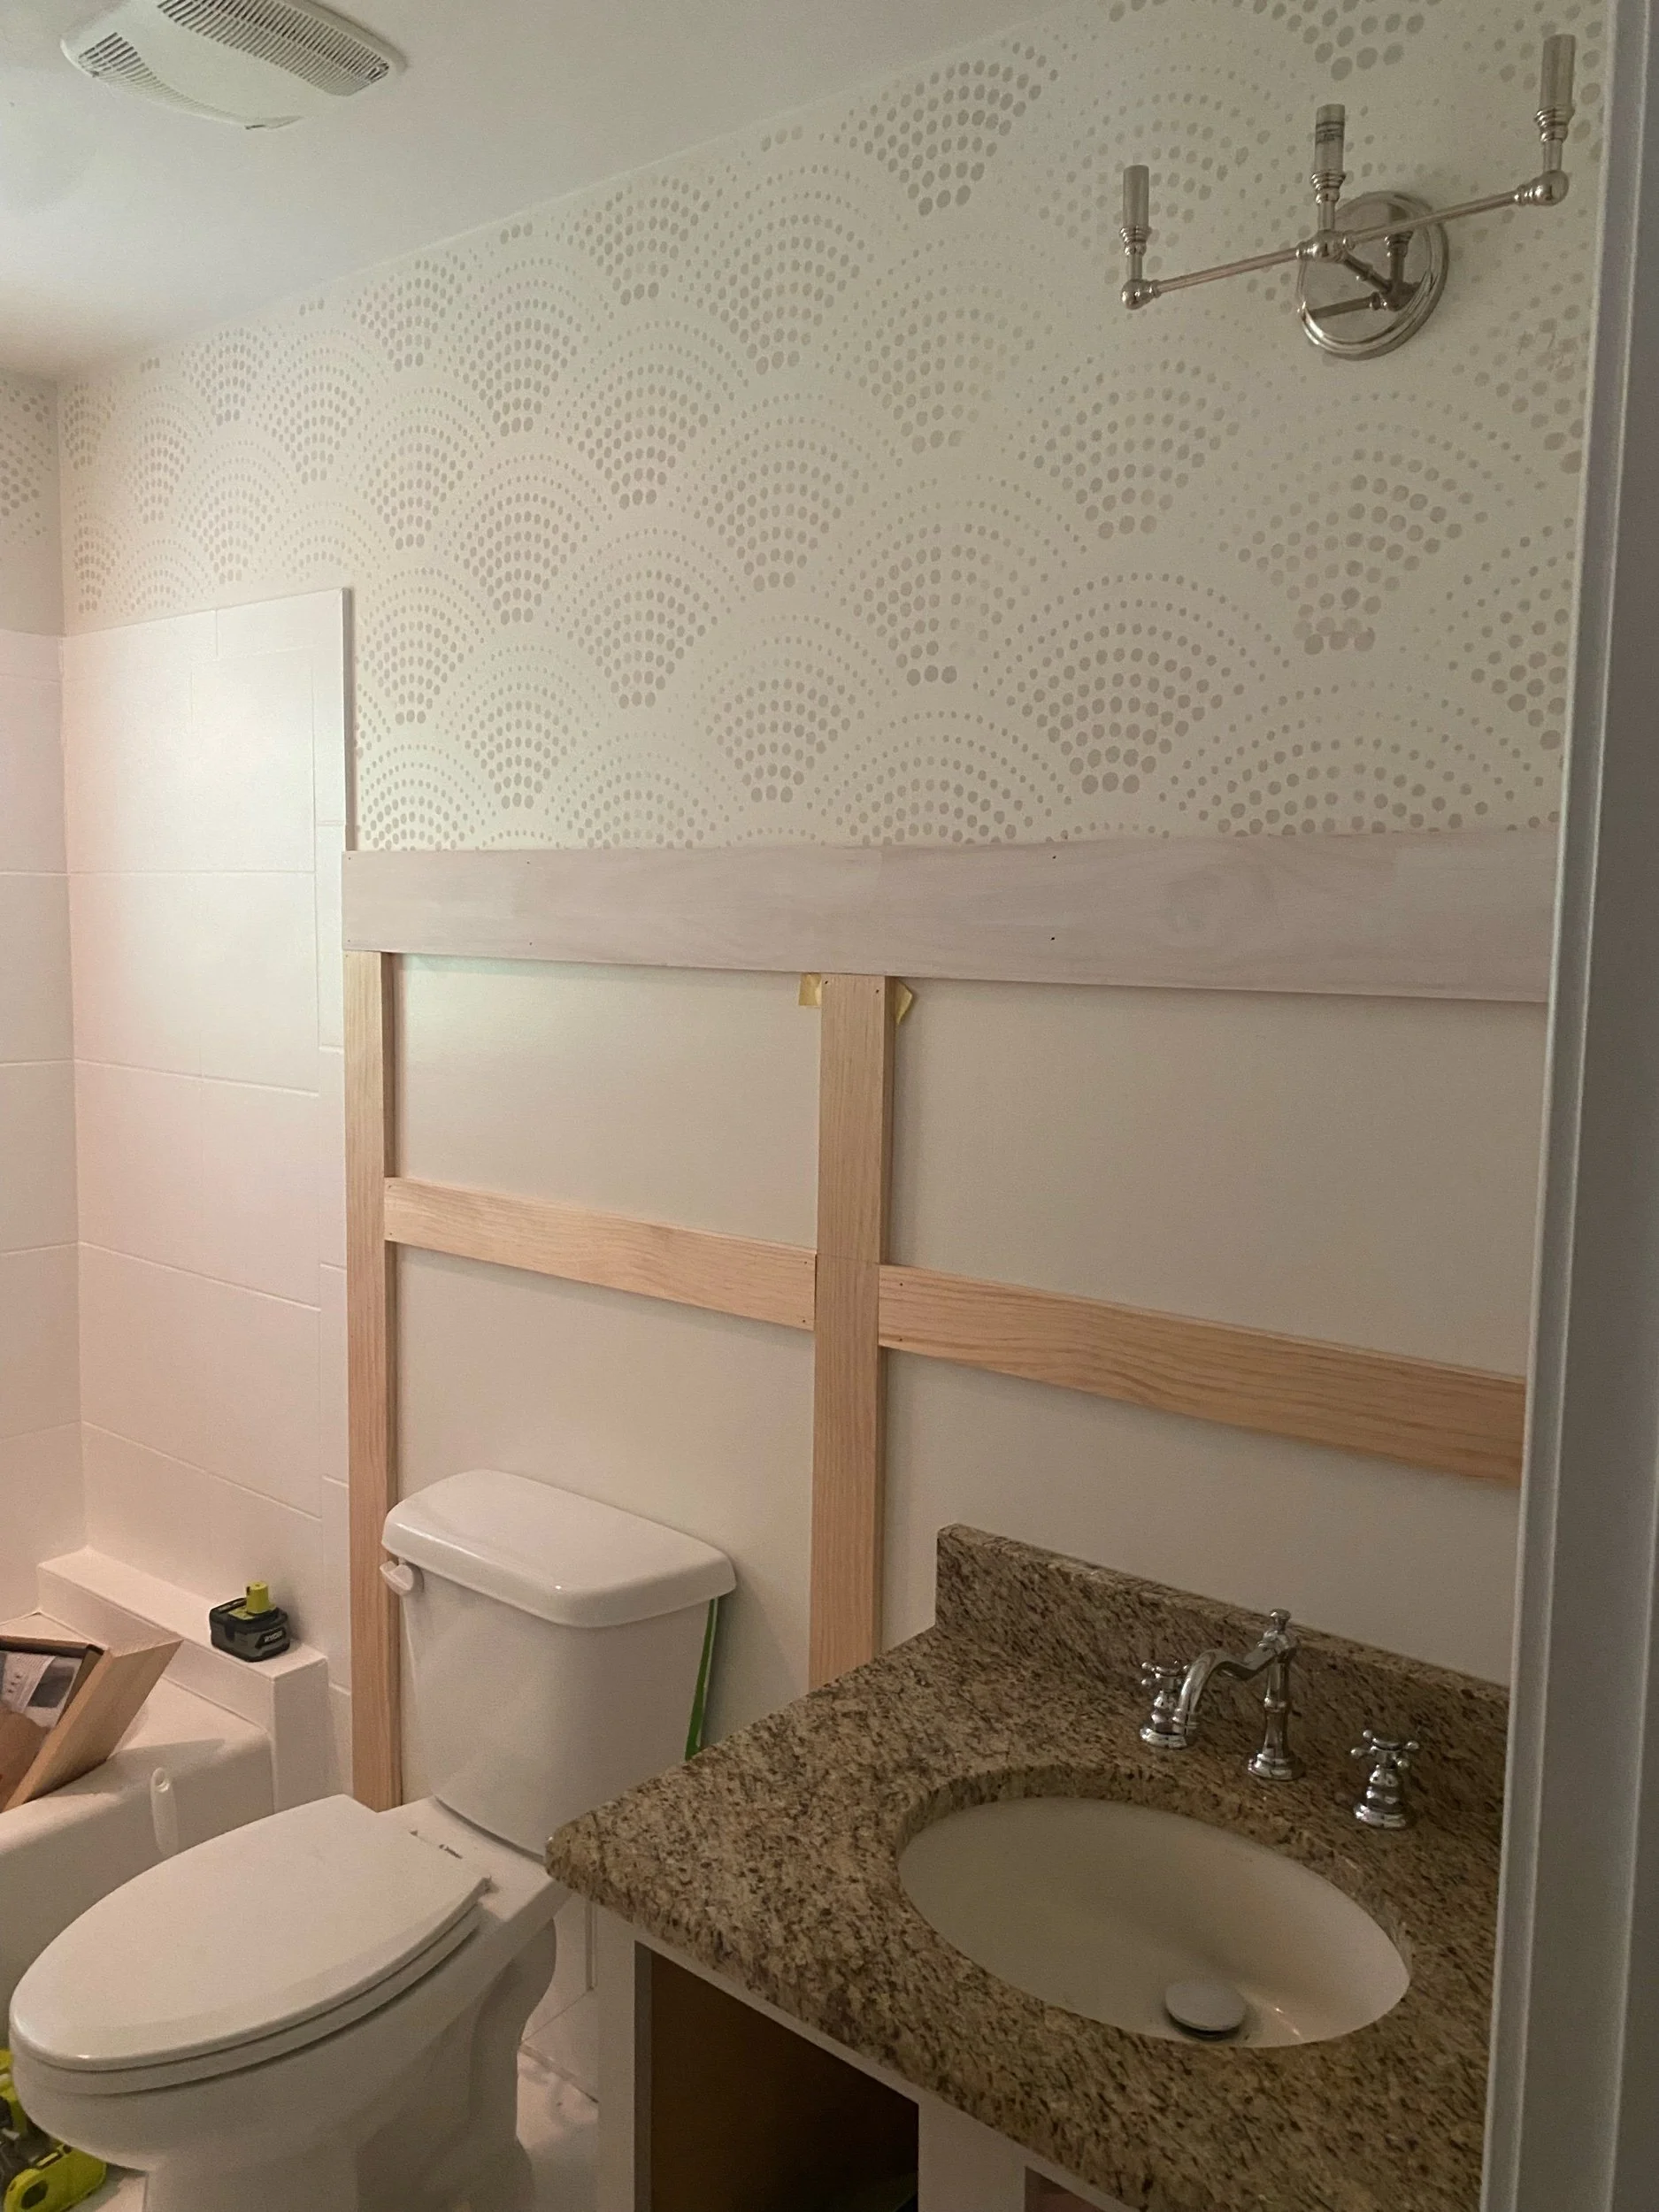
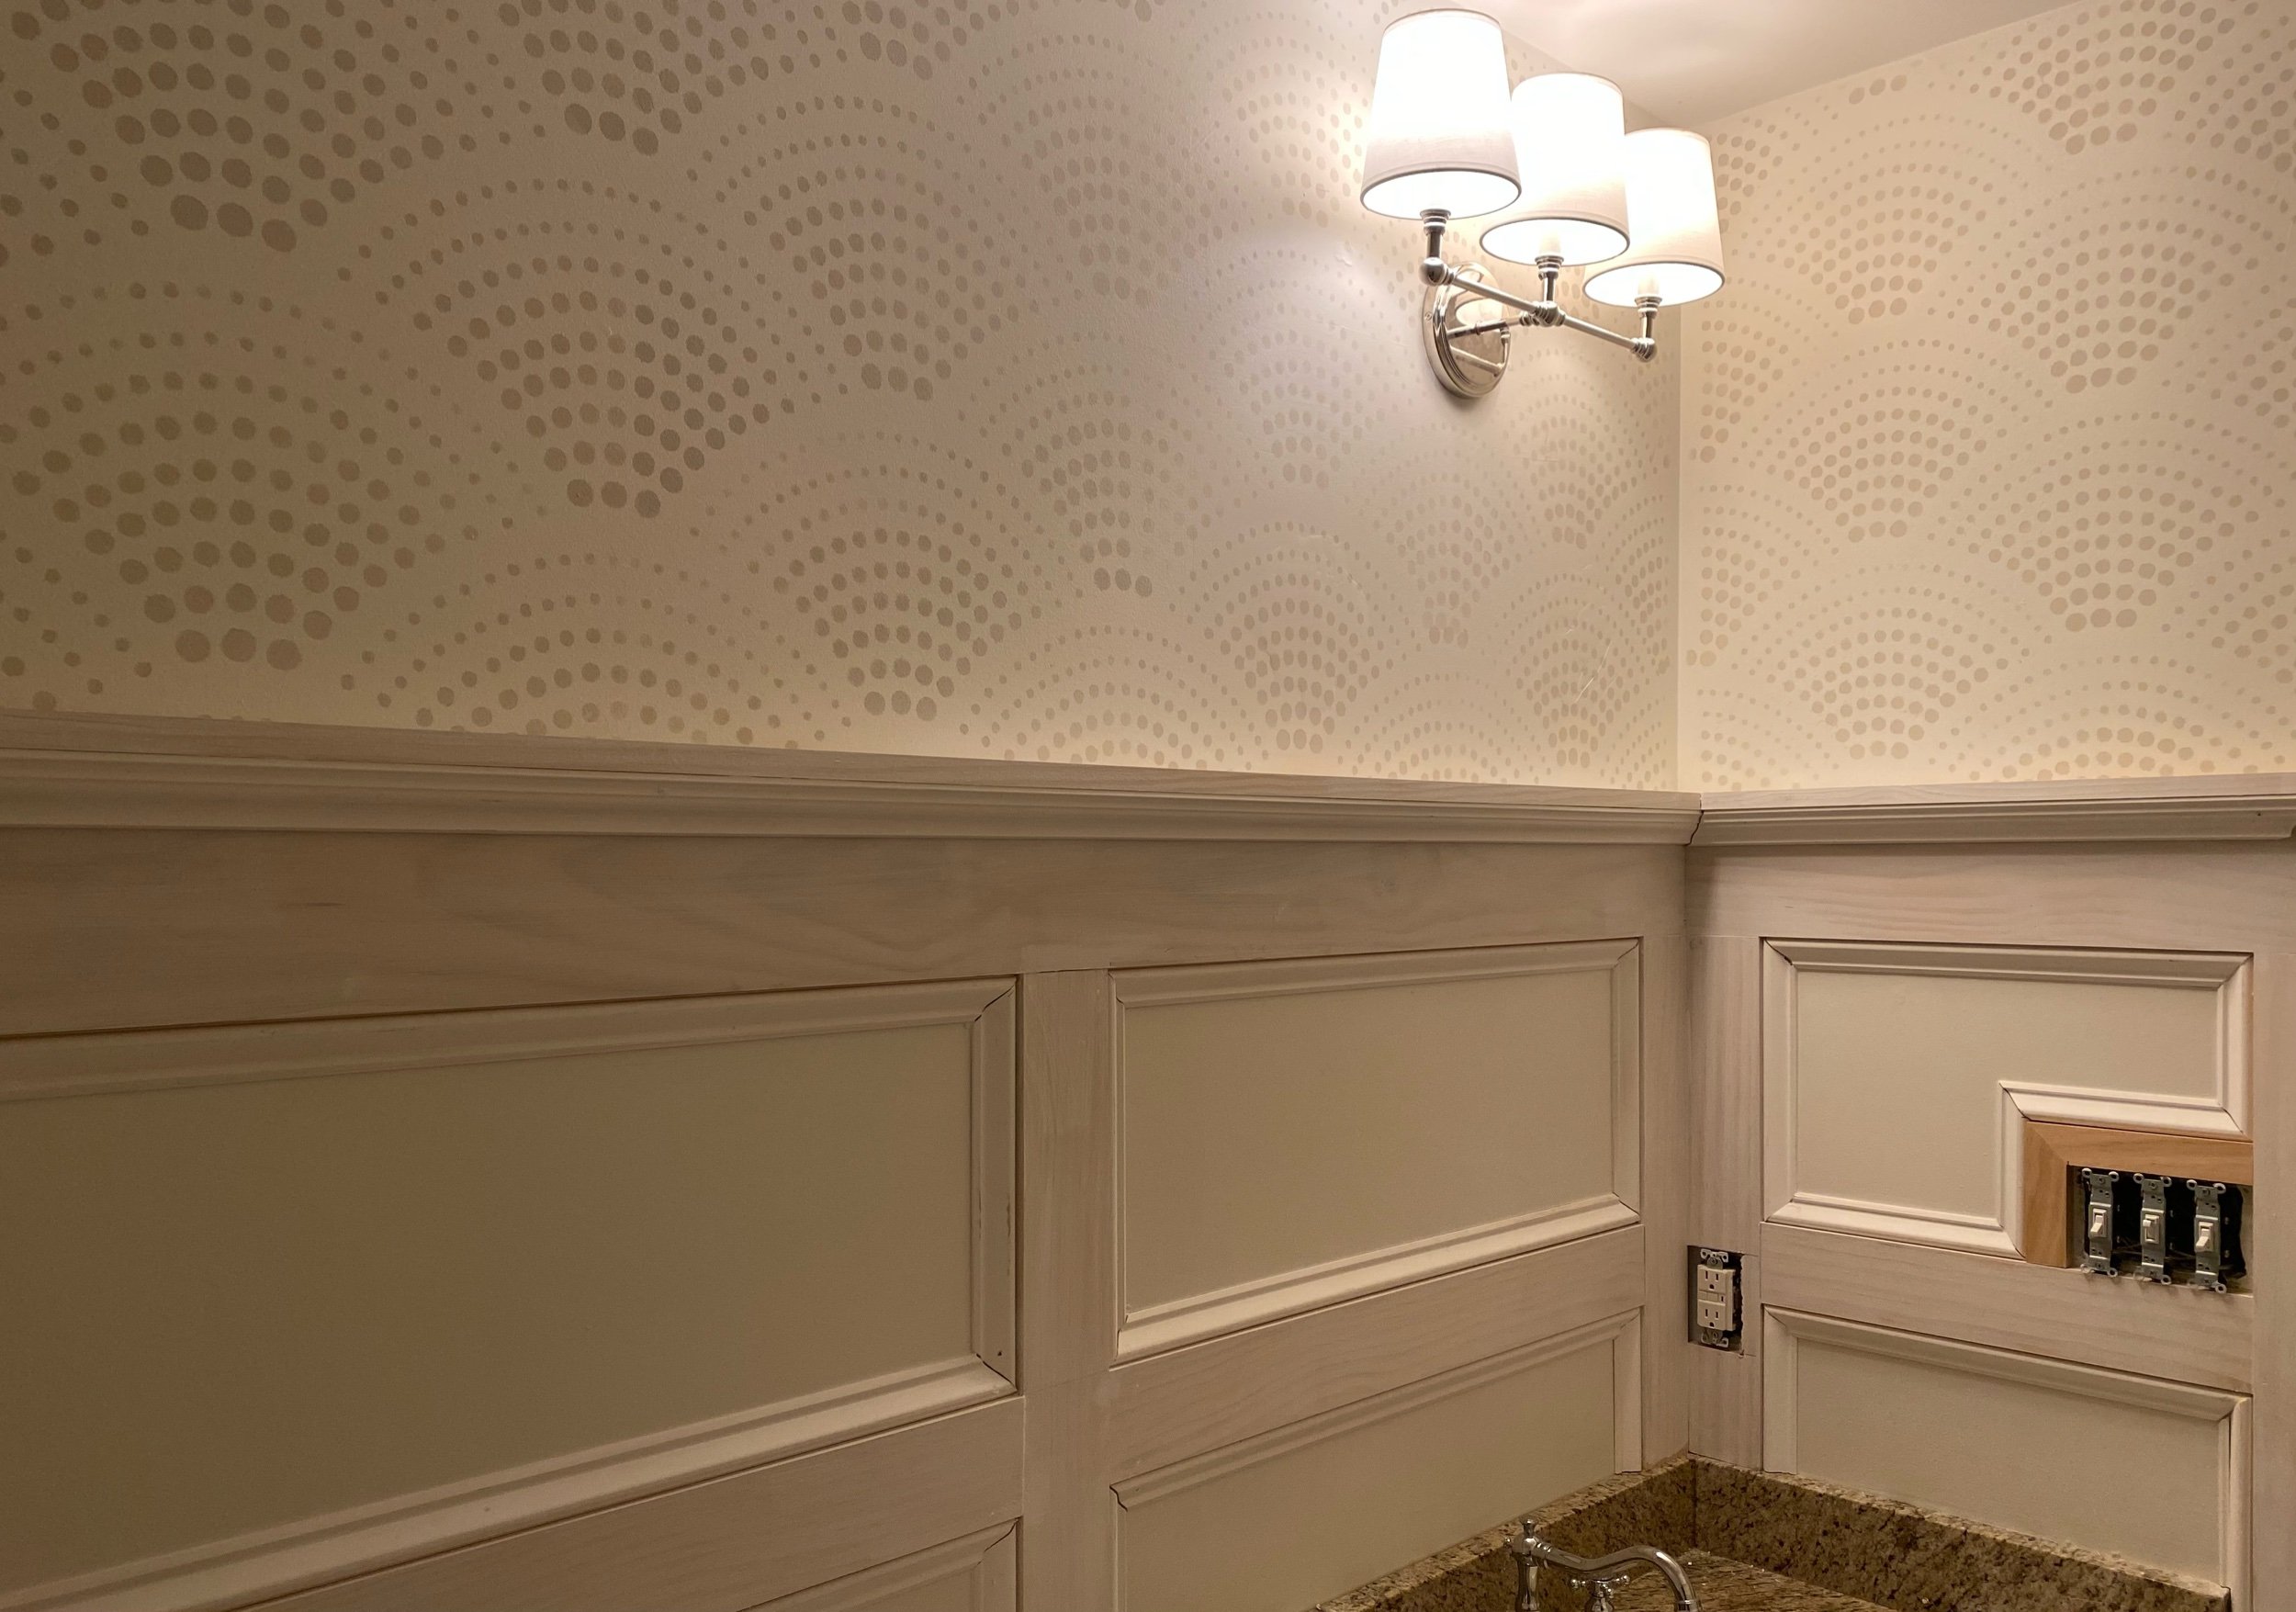
Stenciled the pattern on the upper portion of the walls (Color: BM Balboa Mist. Stencil: CuttingEdge Stencil- Radiant Scallop).
WEEK FIVE AND SIX:
•Installed the new light fixture.
•Cut and primed the wood.
•Bought all of the decorative trim.
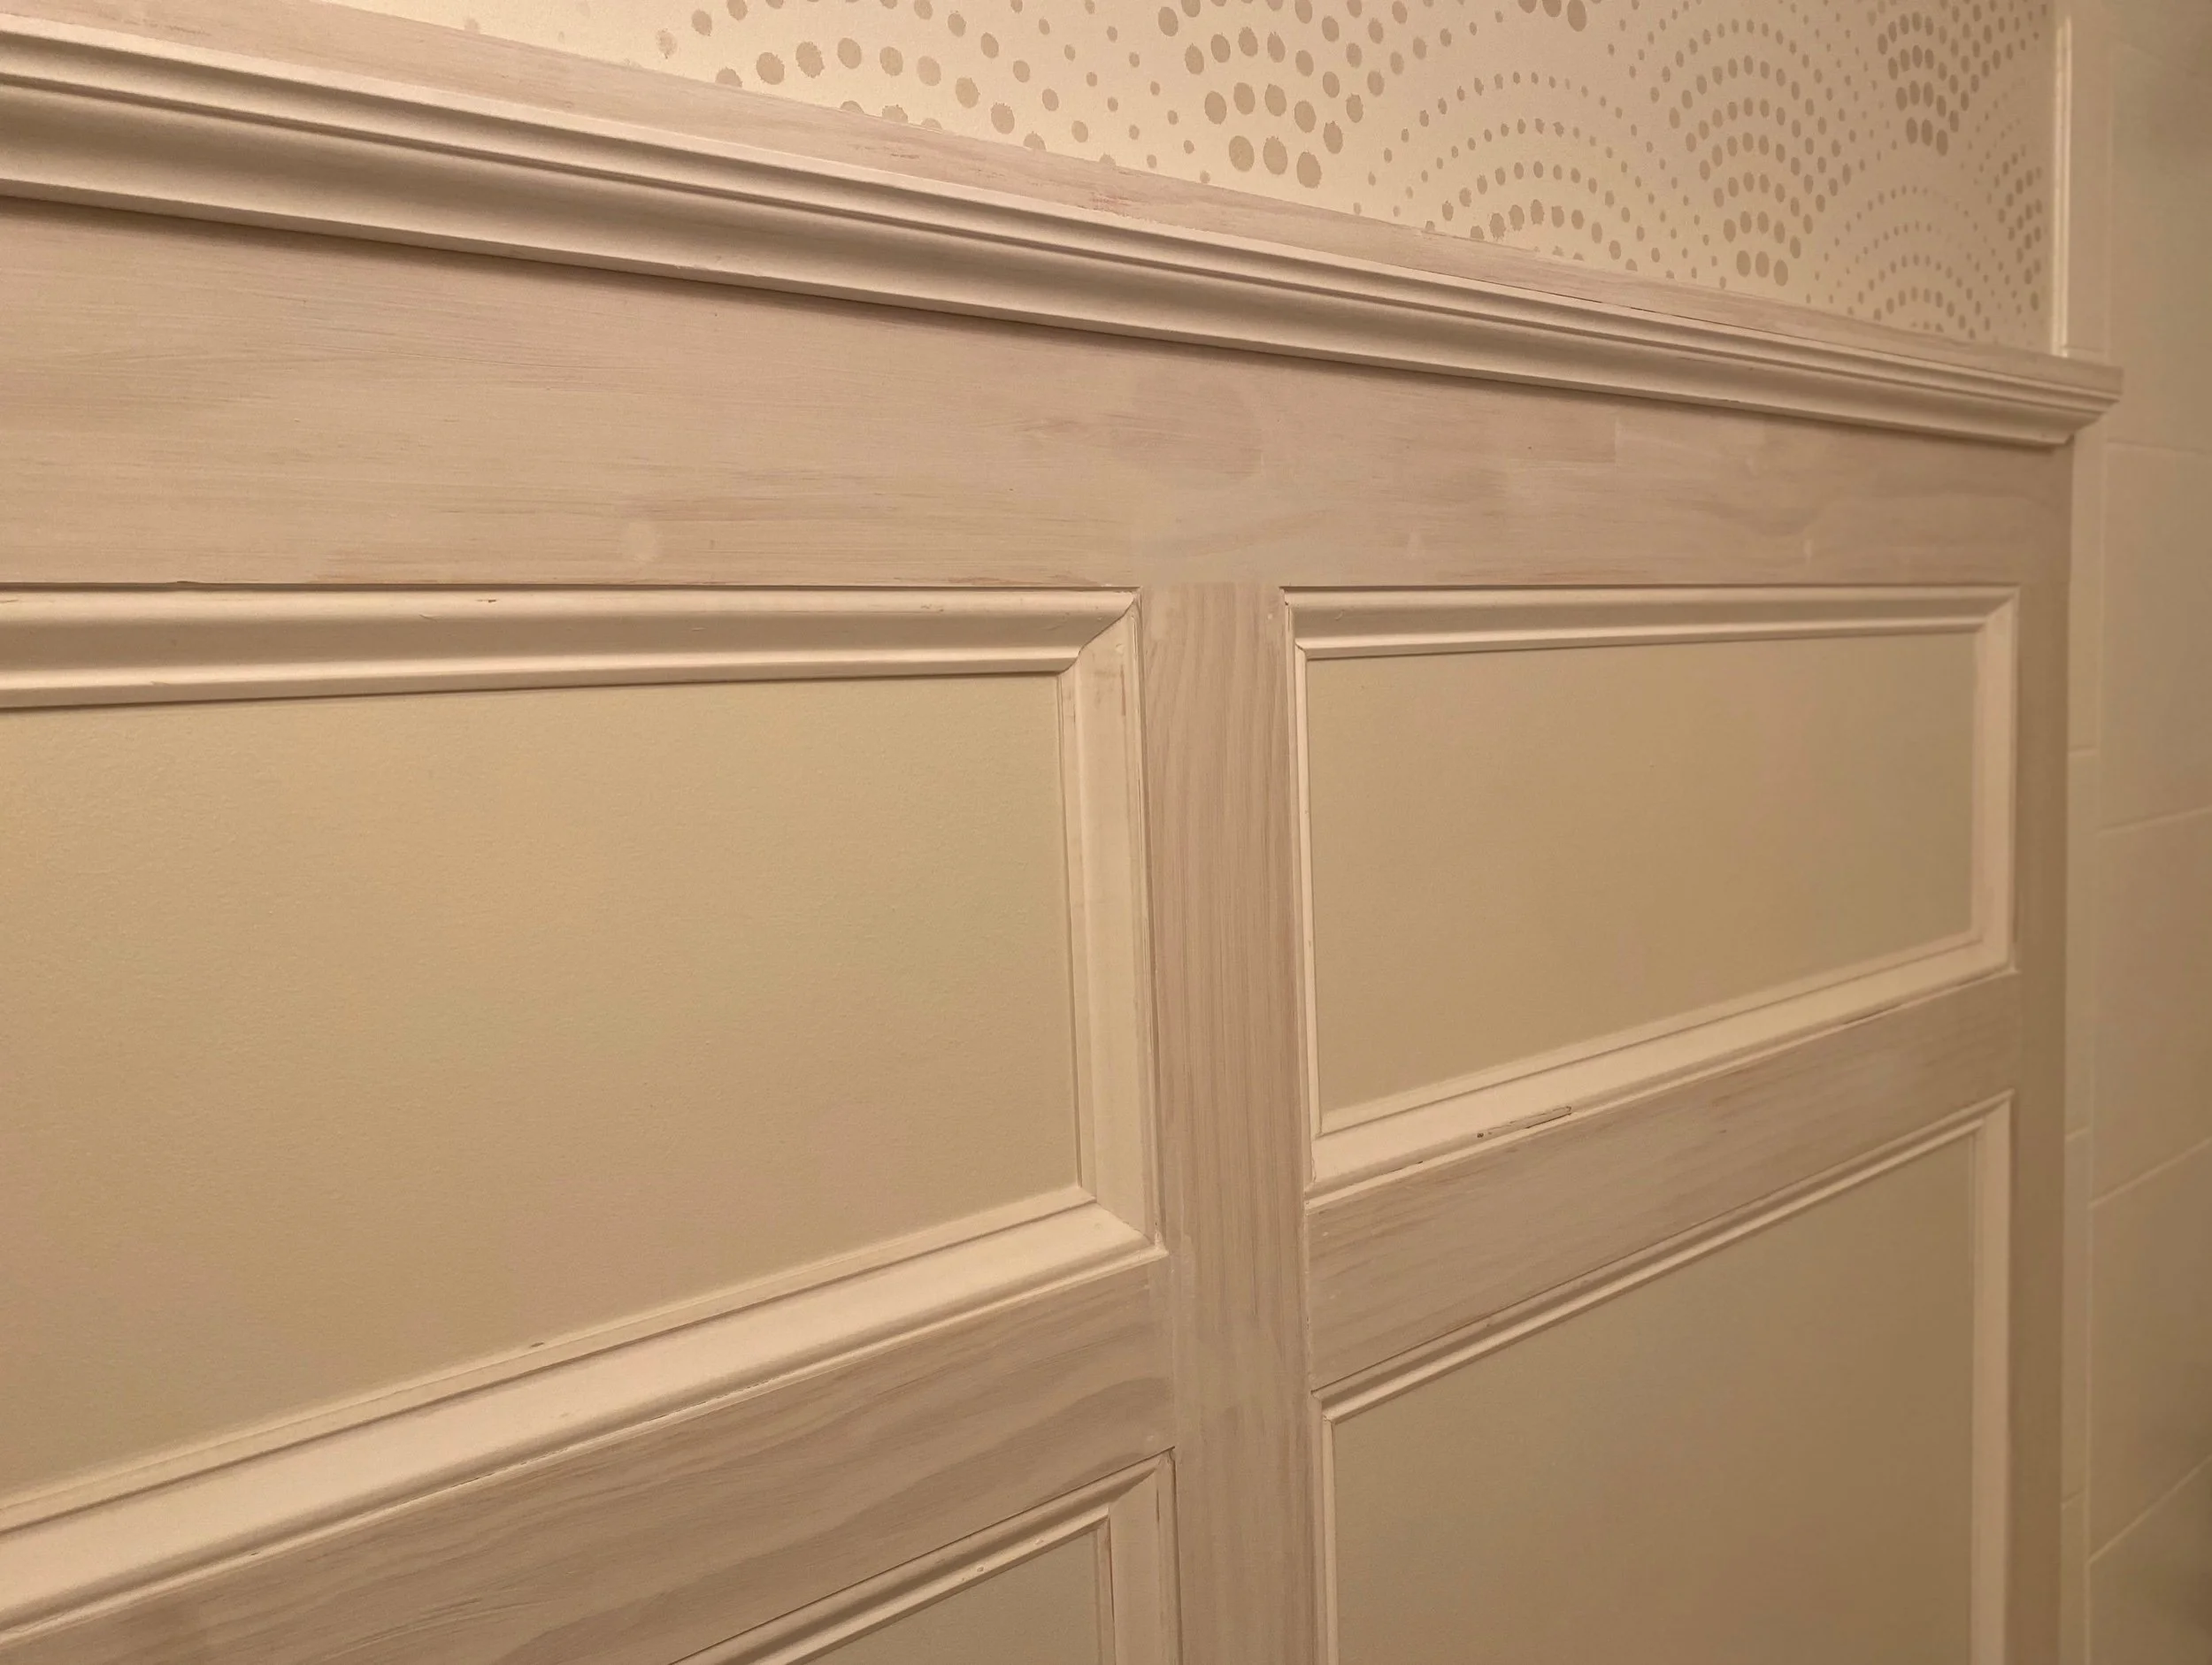
•Mitered (by hand with a miter box since my saw wasn’t making precise cuts) all of the inside trim pieces.
•Attached all of the wood and trim to the wall.

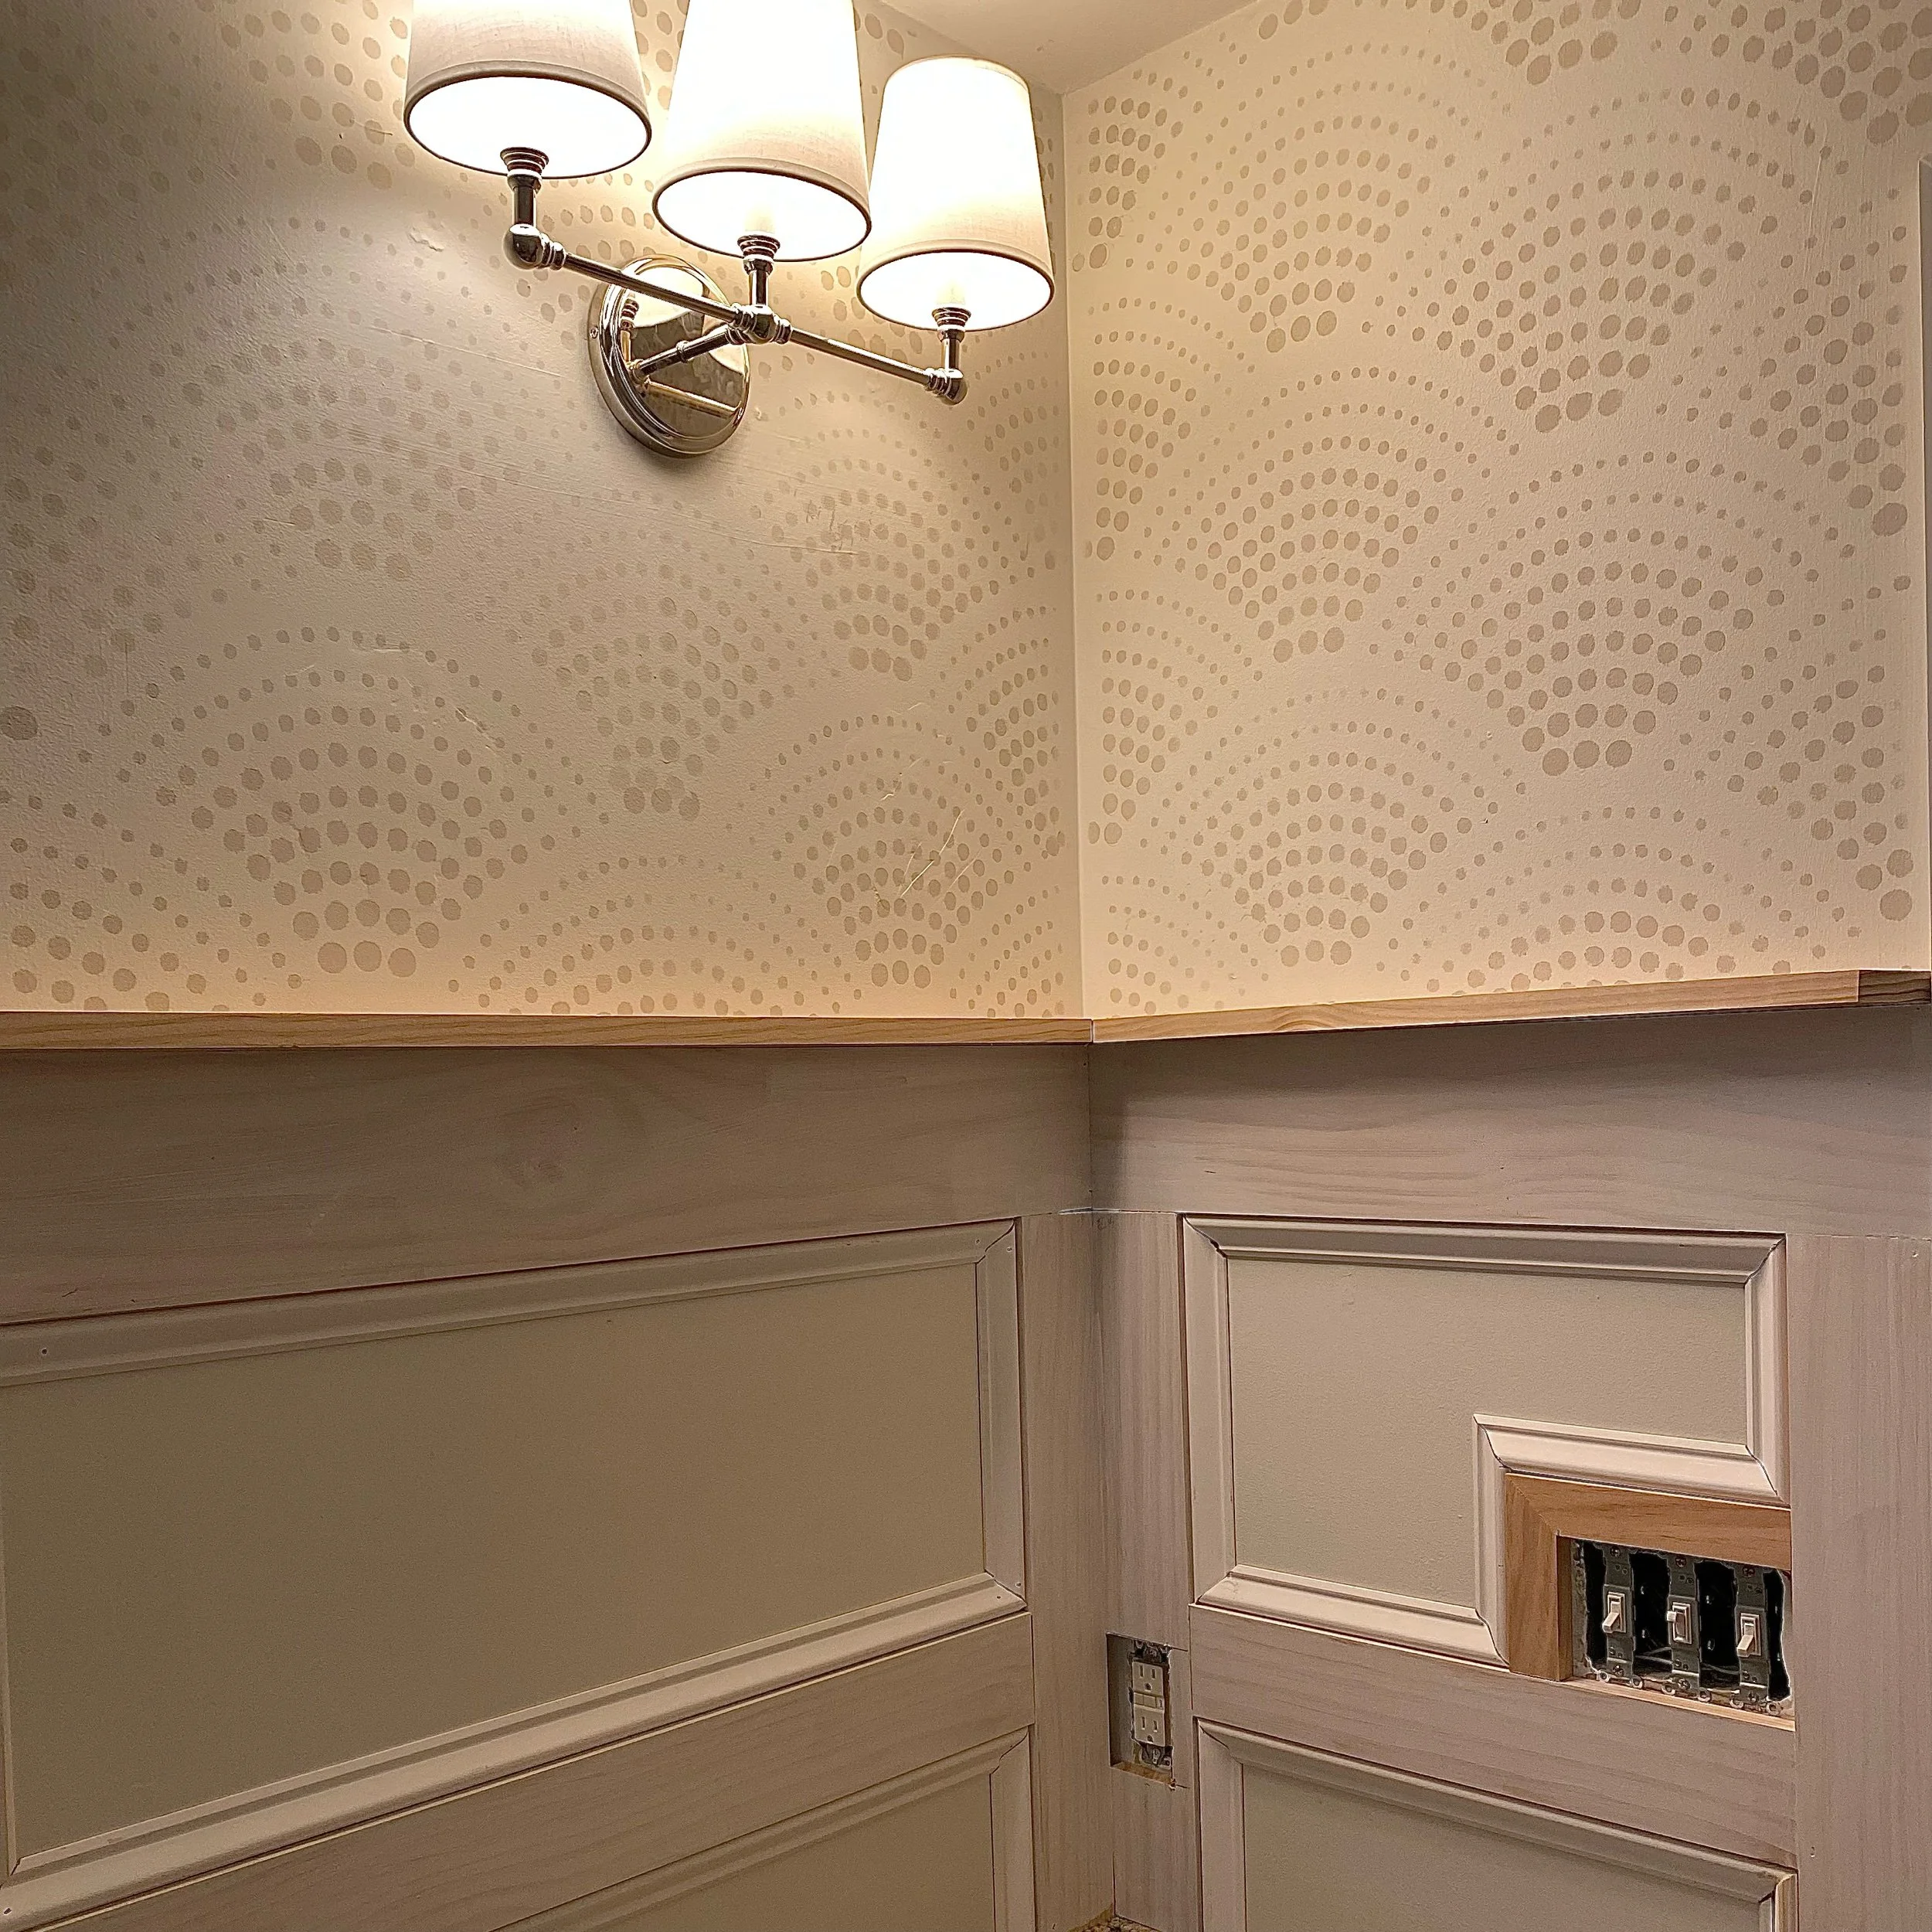
WEEK SEVEN:
•Filled the nail holes with wood filler.
•Added the ledge.
•Caulked all of the gaps.
•Painted all of the wood and trim (color: SW Alabaster, semi-gloss).
•Cut the pole for the shower curtain rod.
•Hung the mirror.
•Hung the towel hooks.
Next up, REVEAL POST!